How to Build a DIY Adirondack Swiveling Bar Stool | 13 Easy Steps!
- Outdoor DIY Projects
- April Wilkerson
- Updated: February 20, 2023
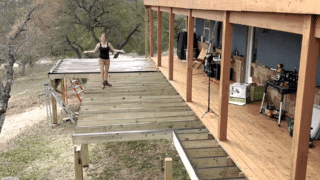
I recently built an outdoor kitchen and bar area, and found myself in need of some chairs. You don’t have to have the same set up, but if you find yourself needing some outdoor seating, the DIY Adirondack Swiveling Bar Stool is a great, versatile option.

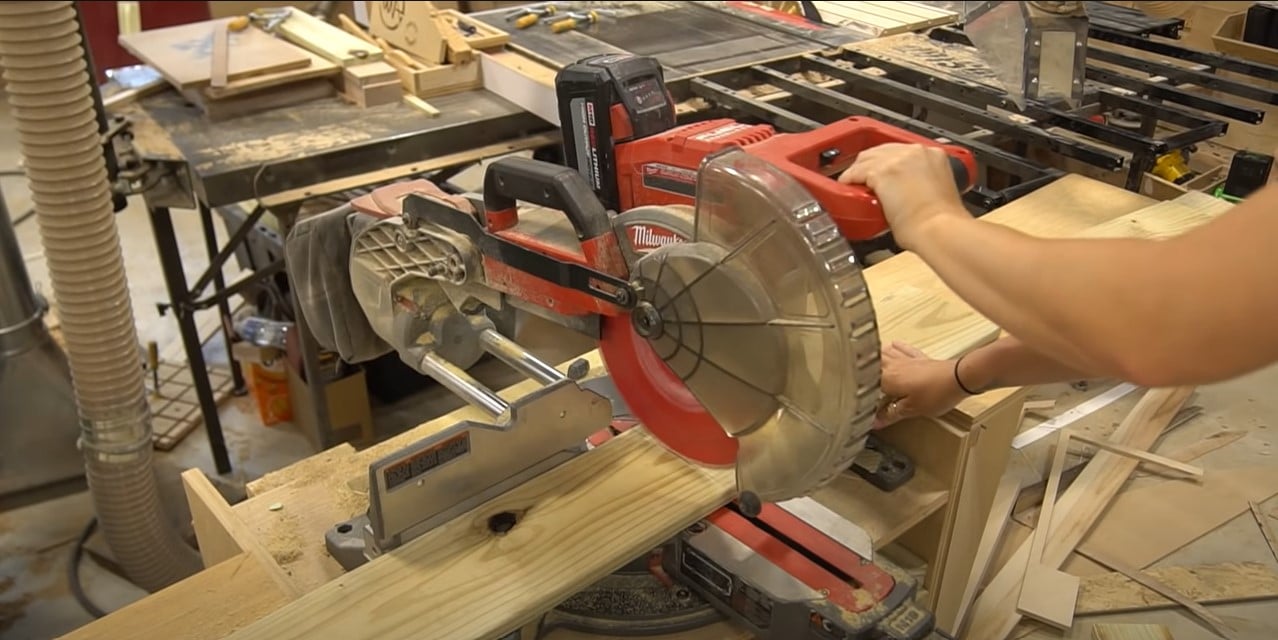
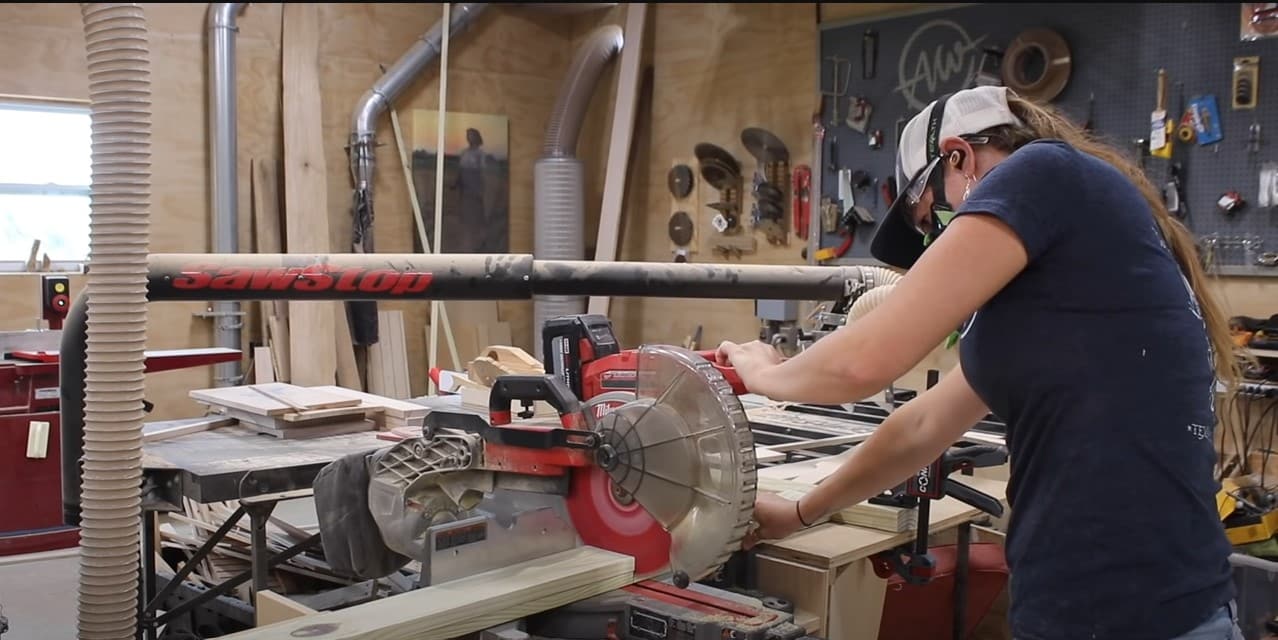
The first thing I like to get started with is cutting all my wood down to size. I created a set of templates for this project and I find it easiest to cut all my boards first at the Miter Saw to get all the pieces roughly to their needed length. For the parts that are squared off I can get all this done at the miter saw. For parts that will have a curve and a template associated with them, I can temporarily attach the template and use a flush trim bit at my router table to cut them out and get identical parts.
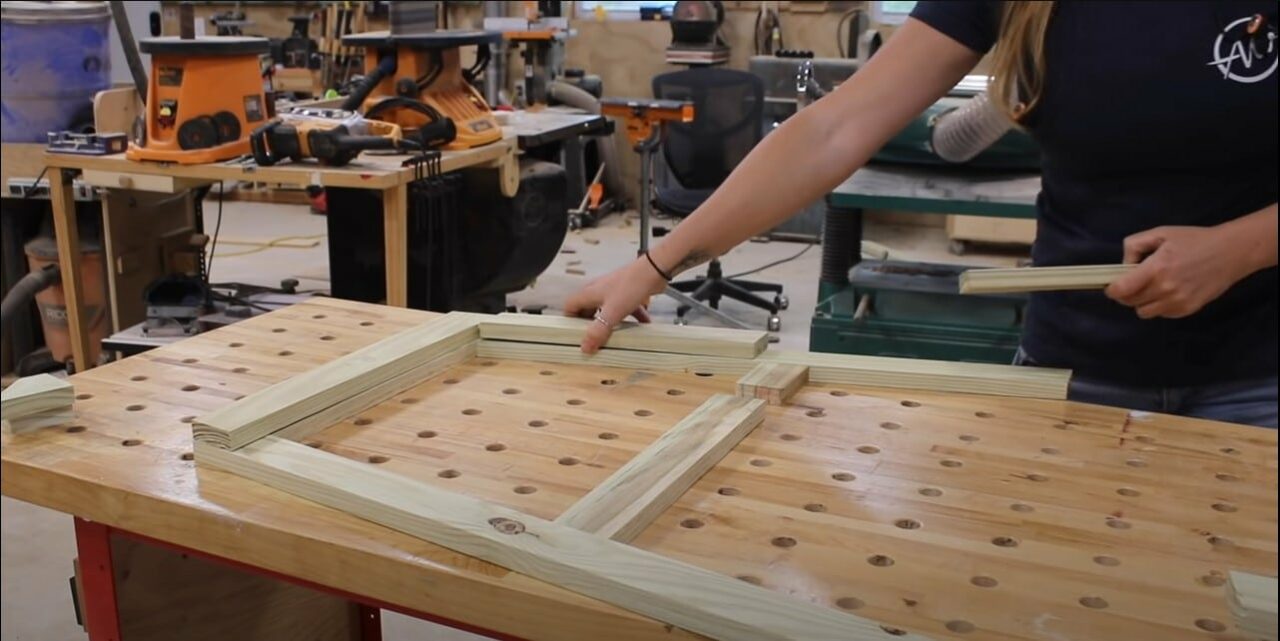
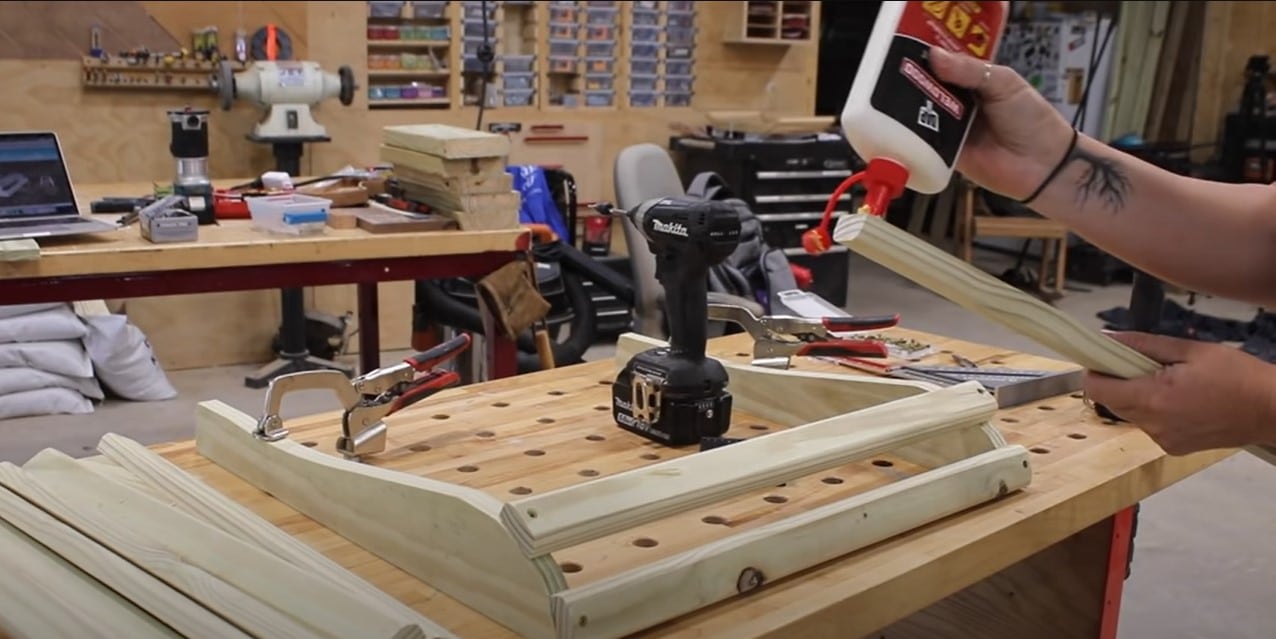
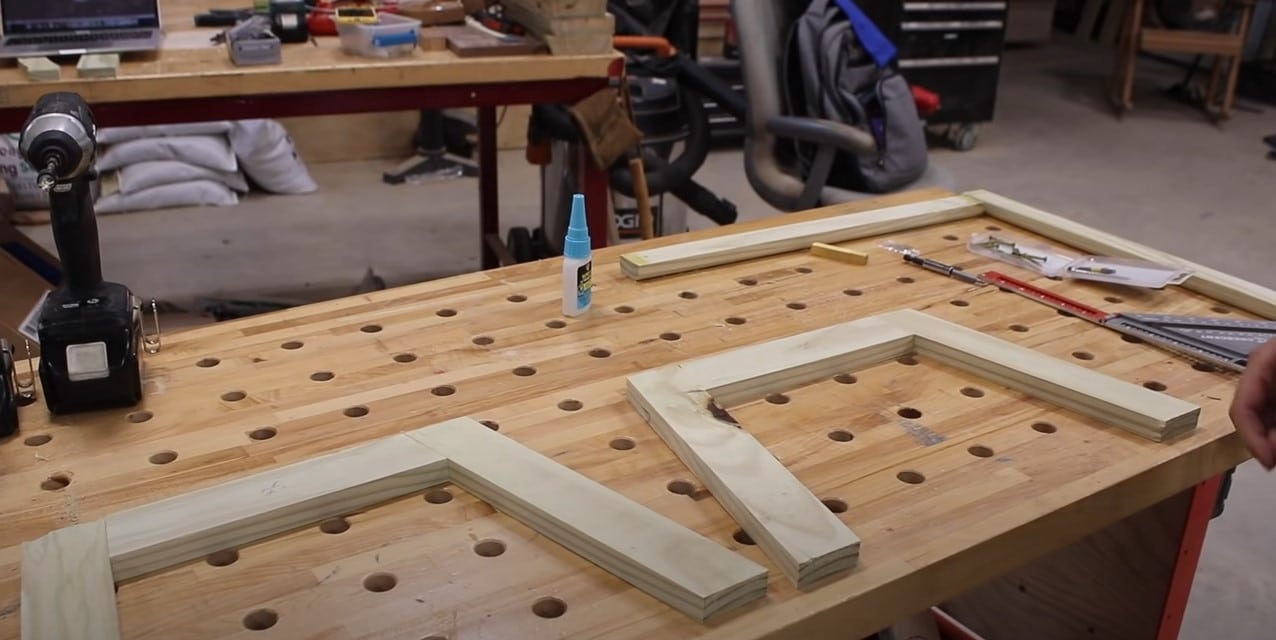
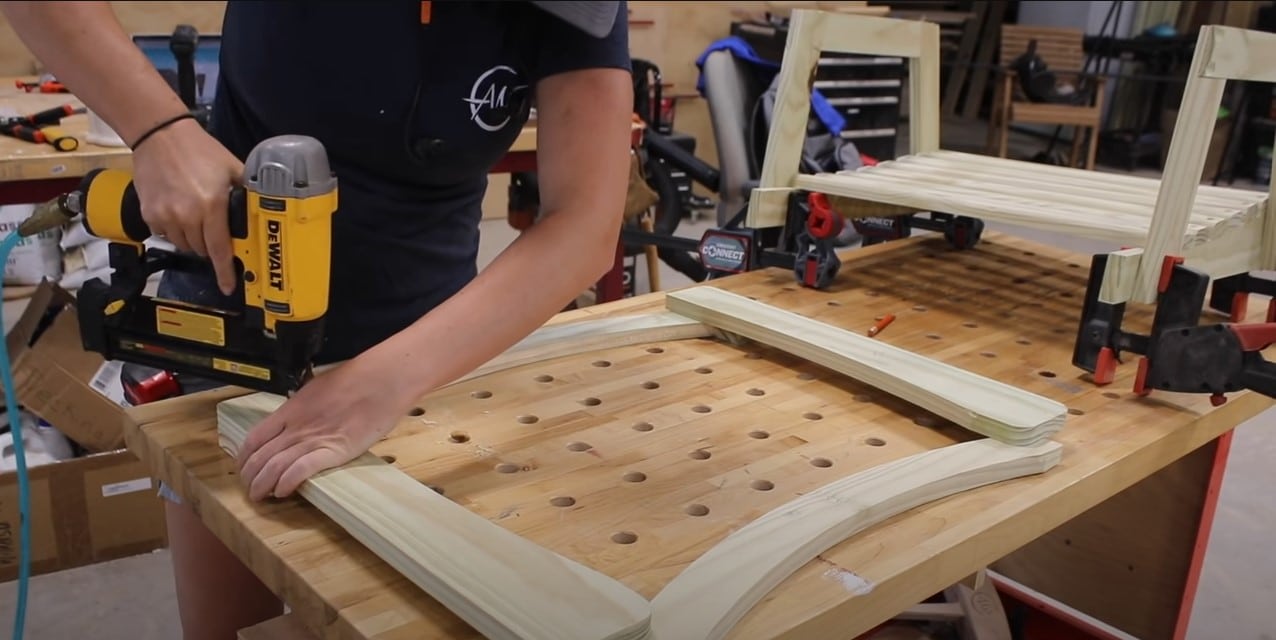
I like to lay out my parts just to make sure it looks right before applying wood glue. In order to get away from having to do so many half laps I recommend building up two layers of 1x material and weaving the layers together to create the legs. Once I glue the two boards together they’ll be bonded and have the strength of a 2x board. I used a Brad Nailer since I will be painting my chair, but you could also use clamps if you don’t want it peppered with holes. Make sure the legs are mirrored and not identical; you want a left and a right.
I absolutely love this technique and have used it on builds in the past. You just need to make sure to get the boards smush together and joined all the way down.
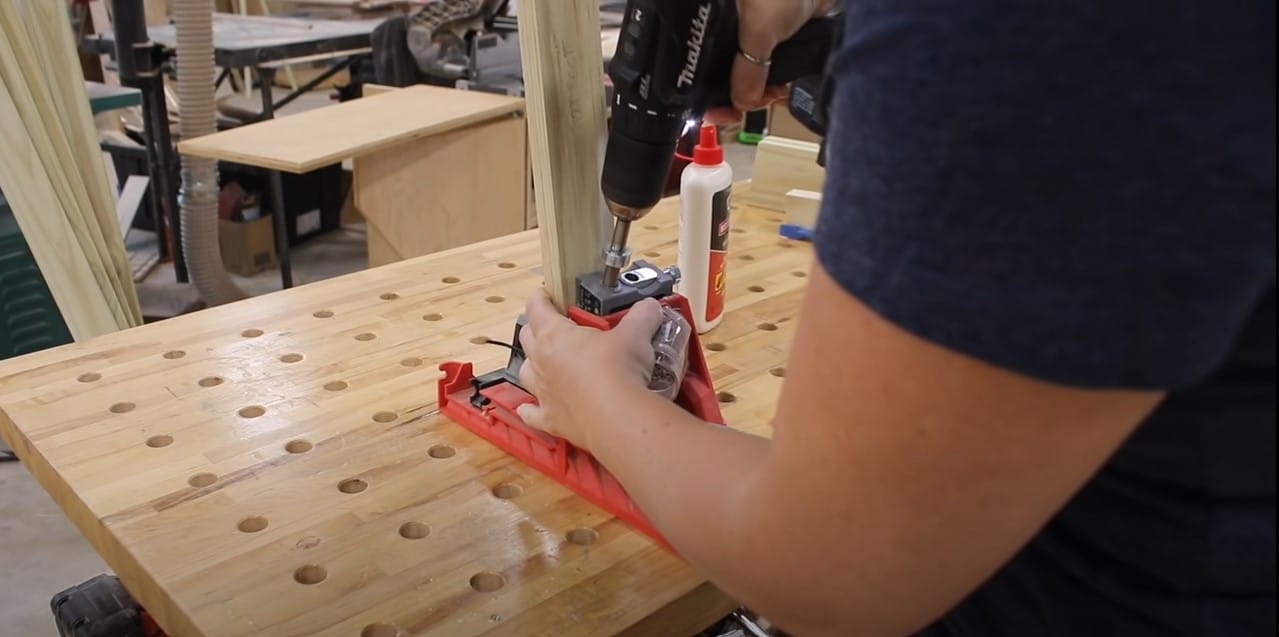
For joining things, I used my armor tool self adjusting pug hole jig. in order to set the depth, i loosen the set screw and place the bit in the jig. This way when I put my material in it will automatically set the correct placement needed. I drilled in the needed pocket holes on either end of the parts needed to span between the legs.
Once I had things in the proper place I went back to attaching the stretcher by placing wood glue on either end and fitting it into the space on the side of both legs. Then, I went around to the front and attached a stretcher that will be the support for the foot rest by screwing it into the side of the legs. Next, I applied wood glue to the foot rest and secured it on top of the stretcher.
I made a mistake here. When I went to attach the stretcher, I noticed I got the two parts on the assembly backwards, which would put the stretcher in the front, instead of the back.
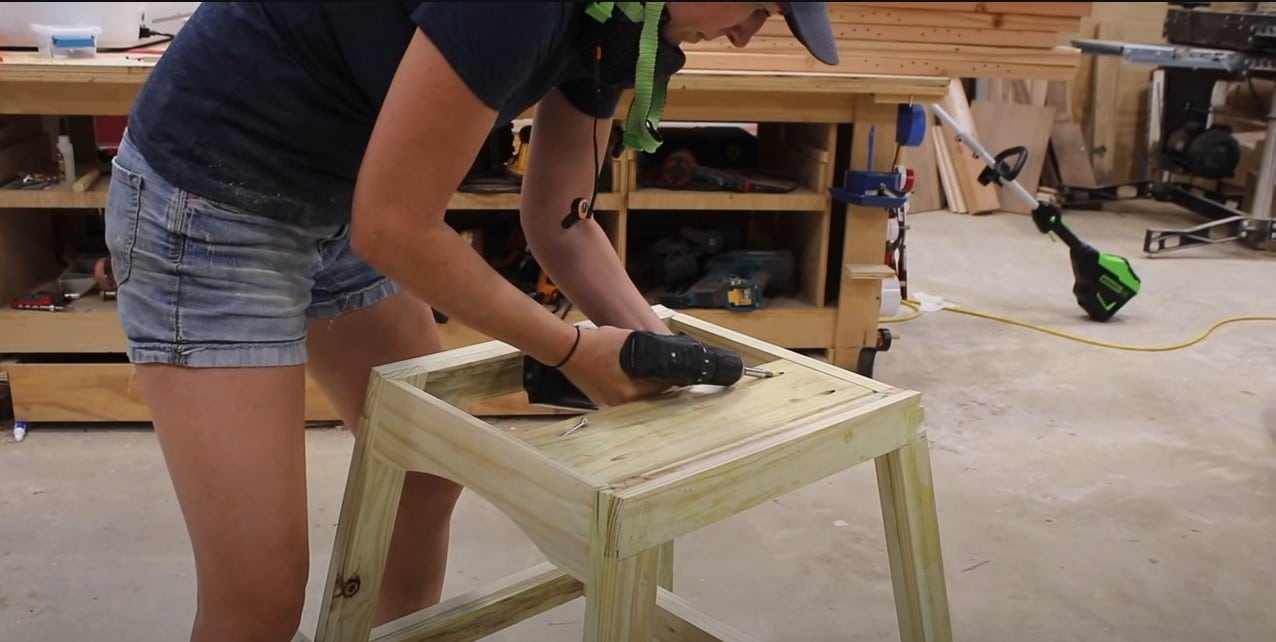
This is the final step to get the base of our DIY Adirondack Swiveling Bar Stool complete. Attach the base for the swiveling hardware called the lazy Susan. These are made by 2×6 with a bevel on either end. You can absolutely do this at a table saw with a sled but I stood mine up at the miter saw. After cutting the angle on one end I would flip the board around to get a mirrored angle on the other side. Secure it with pocket holes and wood glue on either side.
Starting this step off at the Miter Saw where I cut my boards down to length, then to the table saw to cut them to width. Afterwards I head over to the router table to curve the edges of the top side of slats with a round over.
One of my favorite features of the tuition router is that I can lift it up while it is still on the table to do a bit change.
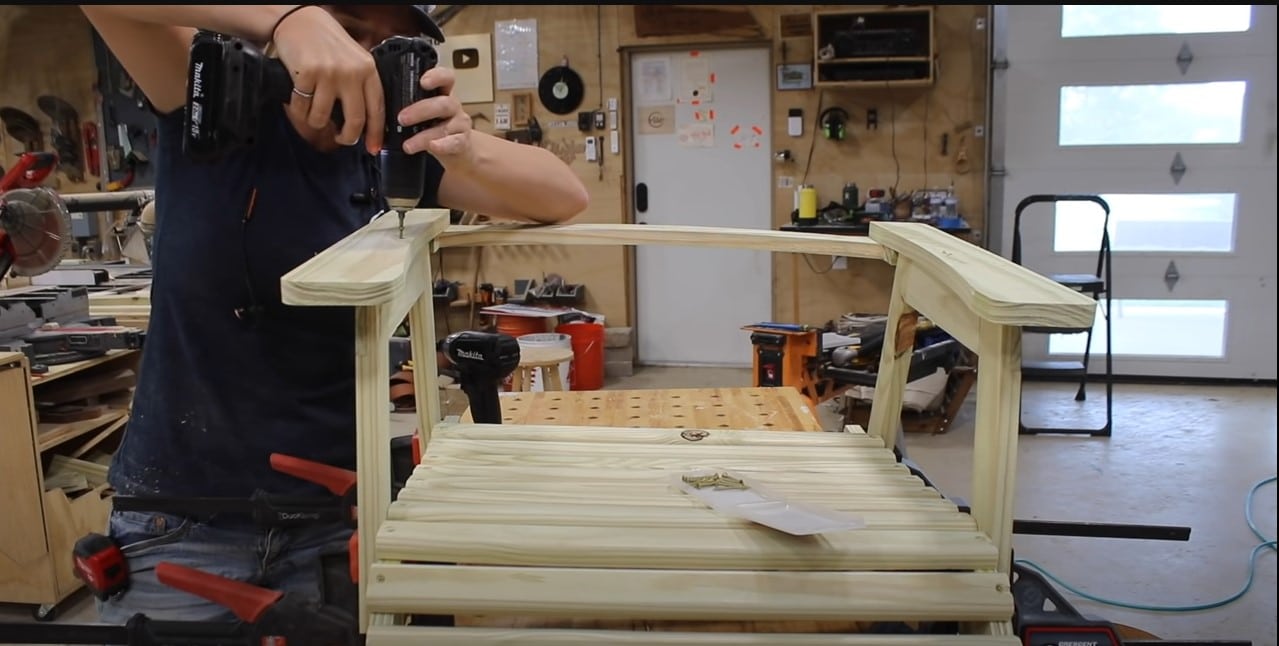
Since I already cut the pieces for my bar stool seat with my templates at the very start so I applied wood glue to either end of the wood pieces but also added screws for some reinforced strength. To prevent splitting I used a counter sink first before adding in my screws. When spacing, I used a saucer to make this step go a little quicker and get each piece an even space.
These parts are made up of 1x material that has a true half lap cut in to join them together, it makes them fit together like puzzle pieces. I used my armor clamps to keep them together while the glue dries. Once it was dry I applied wood glue onto the side of the seat in order to attached the arms into place on either side of the seat assembly. I also nailed these into place as well just to provide some additional support.
Next, I moved on to create the piece that will act as our arm rests and back support. These parts are made to match up perfectly with each other on the back so that it’s very easy to locate them and know that it’s correct. Once the arms are attached I slipped it into place on the seat assembly. This is another part that is attached with glue and screws. It can be difficult to put the screws in because the upward support is so thin so if you order a template I added hole locations to help you know where to put screws to prevent splitting.
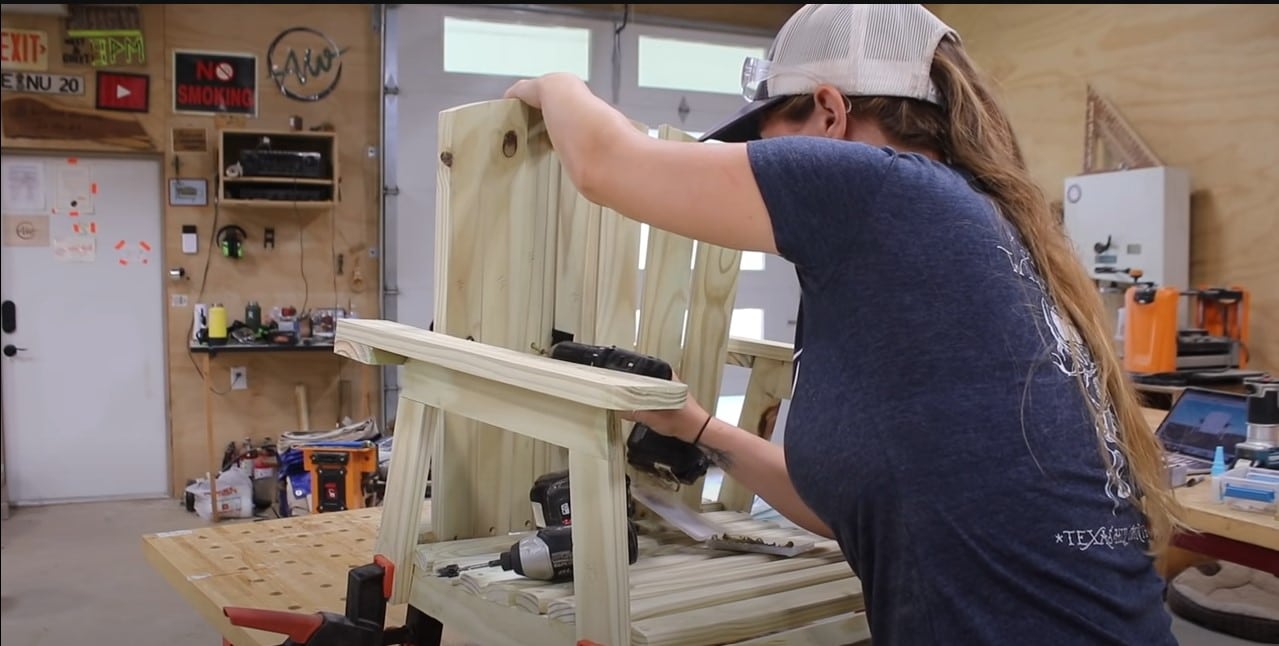
This is a pretty standard Adirondack style fan back. While it is a simple shape, it’s easy to get a piece in the wrong place. I recommend starting by laying all the pieces out to make sure that they are in the right order before attaching anything. These are designed so that you can line up the bottoms as an easy way of seeing if anything is out of order.
For attaching it I recommend first finding center at the lower support and lining up the center slat center to the back support piece. Now you can work your way out with a space. If everything goes right it should slide into the back support piece that was attached to the arms in the previous step. Attach the lower support to the base of the seat and the middle to the base.
After you get the back piece put together it should fit perfectly in the back assembly we attached in Step 9. Attach the lower support to the base then the top of the slat to the top support. Both connection points was more glue and screws. I would recommend pre-drilling with a counter sink.
I will need something to attach the lazy Susan to so that the chair spins. I screwed in the two supports that will give me a base to the bottom of the chair.
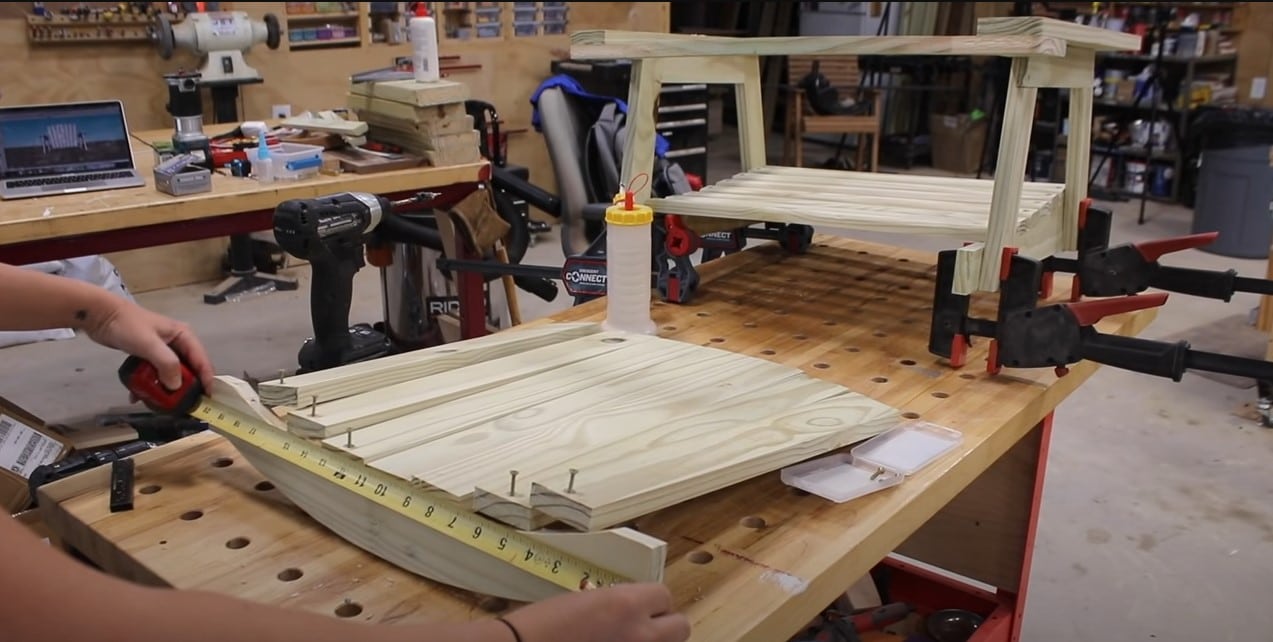
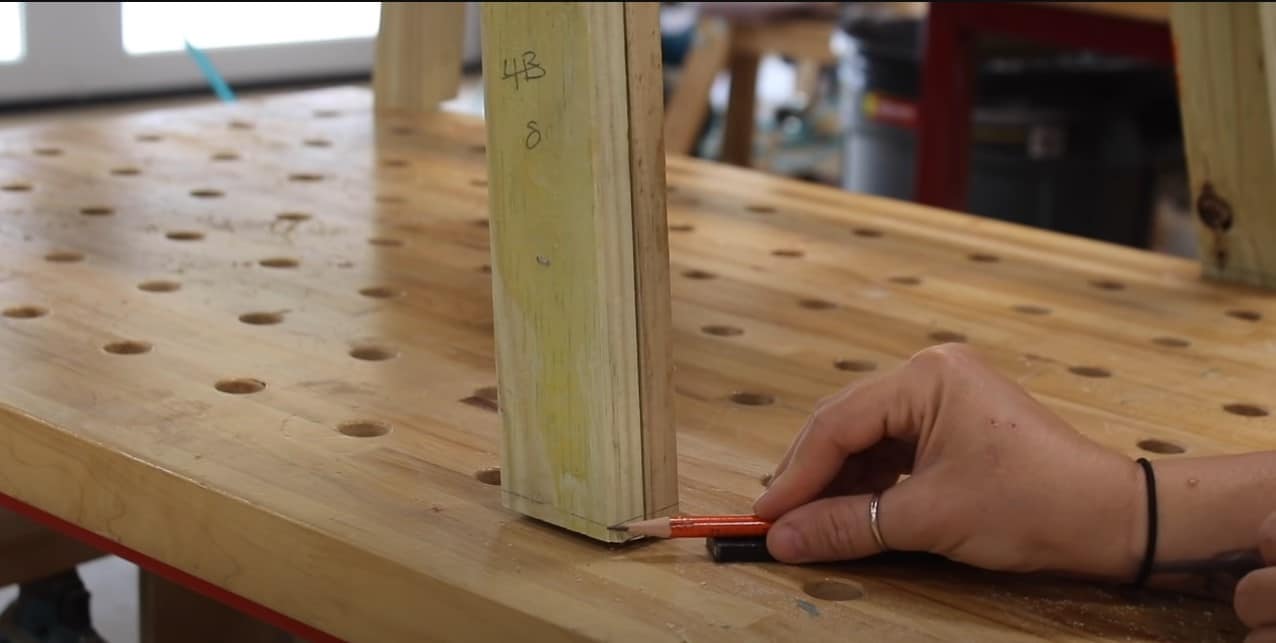
At the point, the feet of the legs are cut square, but since the base is a trapezoid, the feet need to be a compound angle cut on them so that they’ll be in full contact with the ground. Use a small spacer and a pencil to draw a line around each one of the feet. This will show you the exact compound angle you need.
You can use circular saw or a flush trim saw, however I use a table saw with a sled to clamp down on the legs then the sliding table ability of my table saw to support the head as I move the chair through the blade. Hand saw is a great alternative for this step!
Next, join the two assemblies together. First I attached the lazy Susan to the base center. Next I set the seat on top, centered it up, and crawled underneath and used the gap in the 2×6 support to get a screw into part B of the lazy Susan. Finally, I rotated the entire thing to access the other two places that needed to be screwed in. After you’ve secured the chair to the base, hop up and get to swiveling!
You did it! You’ve completed you’re own DIY Adirondack Swiveling Bar Stool. This build is so easy and so fun to do. The diverse uses for Adirondack Style chairs make them fit in any space. They’re also super easy to customize so stain or paint to your hearts content!
To help the building process, I also have build plans and templates:
Watch the whole build series for the Outdoor Kitchen here.
When it comes to painting or staining your Adirondack chair, there are a few things to keep in mind.
If you haven’t already, don’t forget to sign up at the top of this page for my newsletter so you don’t miss new projects!
(Most of the links listed above are affiliate links. As an Amazon Associate I earn from qualifying purchases. Thank you for supporting me in this way.)