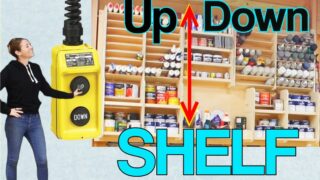
Easy DIY Hardware Storage Cart
- Workshop DIY Projects
- April Wilkerson
- Updated: March 8, 2023
Thinking about building yourself a DIY hardware storage cart? Check out this DIY project where I show you how I built a mobile hardware storage cart!
While I was cleaning my shop last week, I realized just how much hardware I was acquiring and also that I didn’t have a dedicated spot for any of it to go. I decided to take some time and build something to fix that problem. Note: I know that some of my readers are more into DIY crafts, this would also make for a great way to organize craft supplies. You could put the unit on a lazy susan if it is going to go in a carpeted area, and it can sit in the corner and rotate around just like a jewelry display.
Here is my newly built hardware storage cart:

Then here is a video showing the build process:
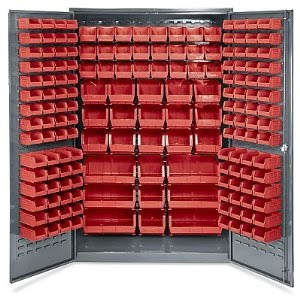
I looked around at current designs other people were using but didn’t really find too many that I would be willing to use in my shop. I didn’t want drawers (because I value visibility), I wanted something mobile and I wanted something that would hold a lot of bins. I saw the below set up and was really leaning towards building it, but then I got the idea to make it a four sided cart instead of an opening cabinet so that I could tuck it under my workbench when it isn’t being used.
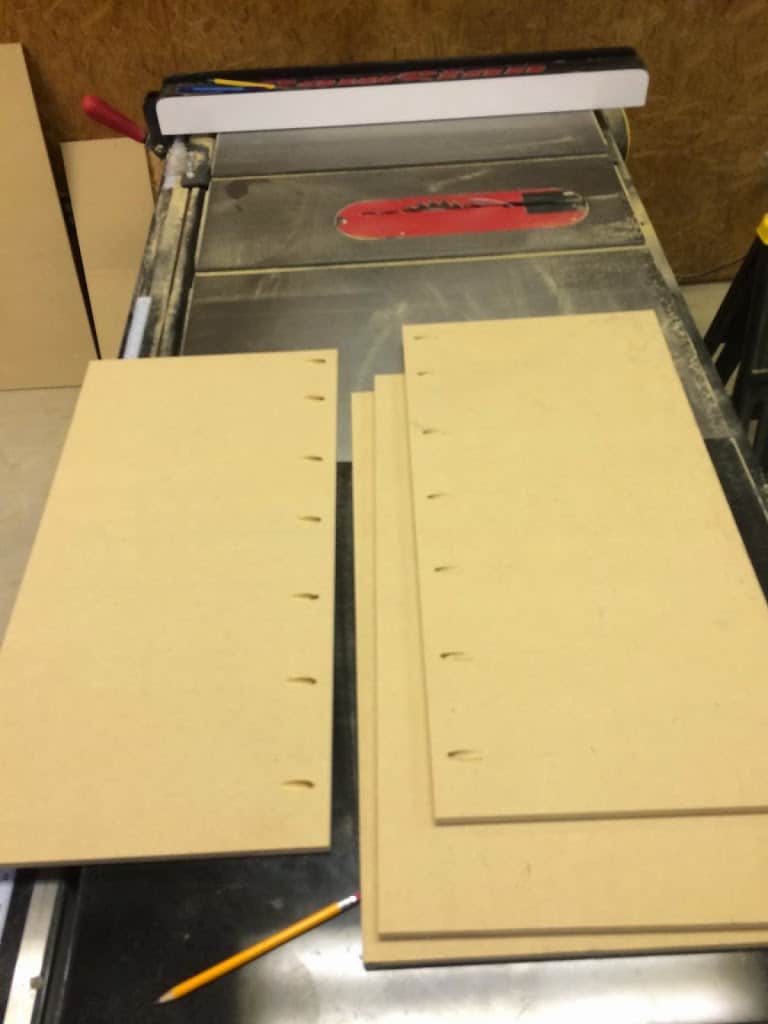
Note: I was given four big cut offs of 1/2” MDF so that’s what I used for this project.
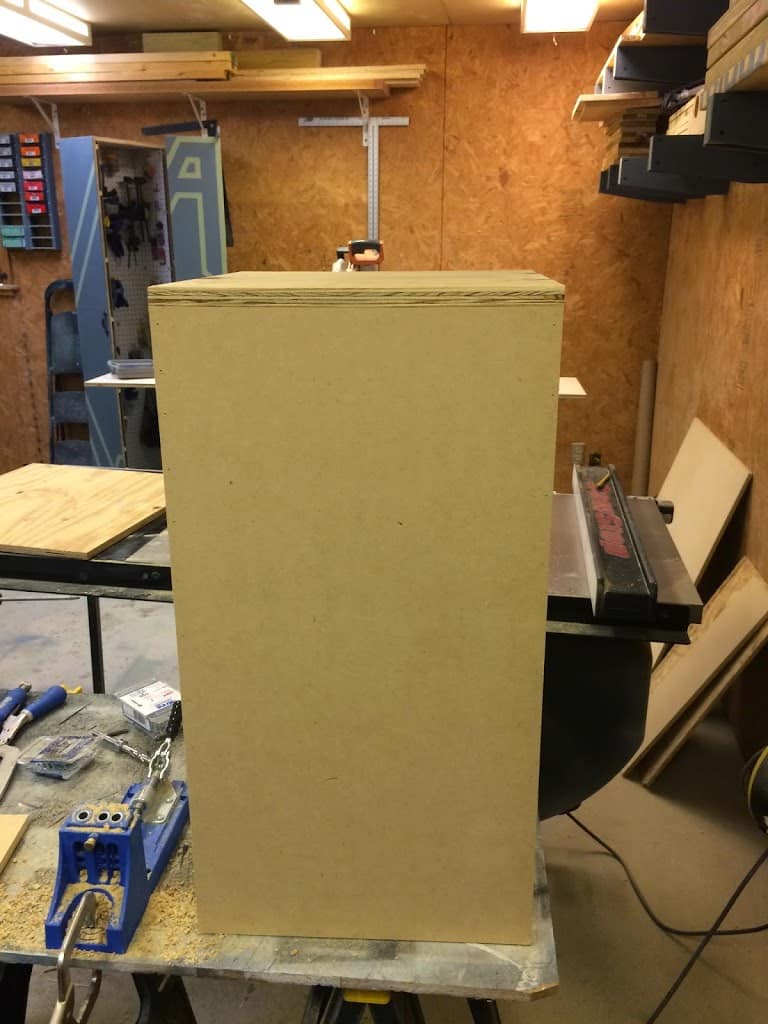
1) I made the body. I planned to make my small bins around 4” wide, so I wanted the body to be at least 14” wide. I cut two pieces 13” wide and the other two at 14”. I had 34” of space to work with under my bench, and I knew that I wanted to put 3” casters on the final cart, so I decided to make the body 26” tall.
2) Next, I used my Kreg pocket jig to make a few pocket holes in the sides and then screw them together. WilkerDon’t: I don’t know what I was thinking, but I only drilled pocket holes in one side and not the other. Eh, silly mistake. Instead of taking it apart to drill the pockets, I just glued and nailed the fourth side in place.
3) Then I cut a bottom. I made mine from 3/4 plywood because I don’t know how well the screws will hold onto MDF over time with all the movement from the casters. Once it was cut, I glued and nailed it into place with 2” nails.
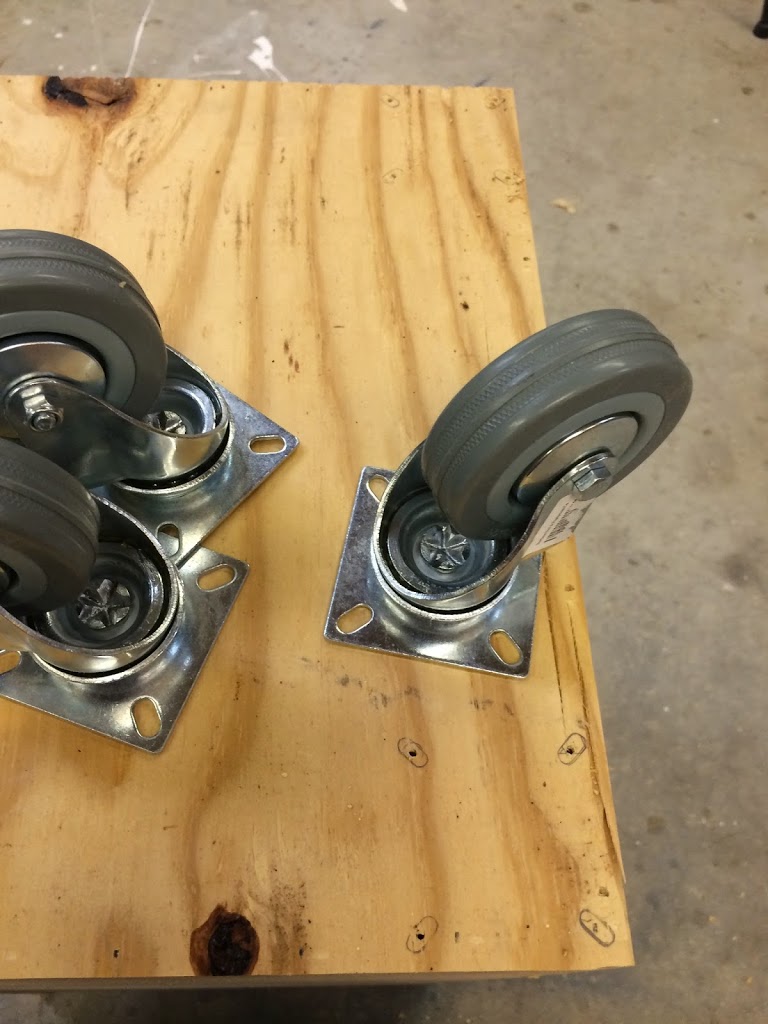
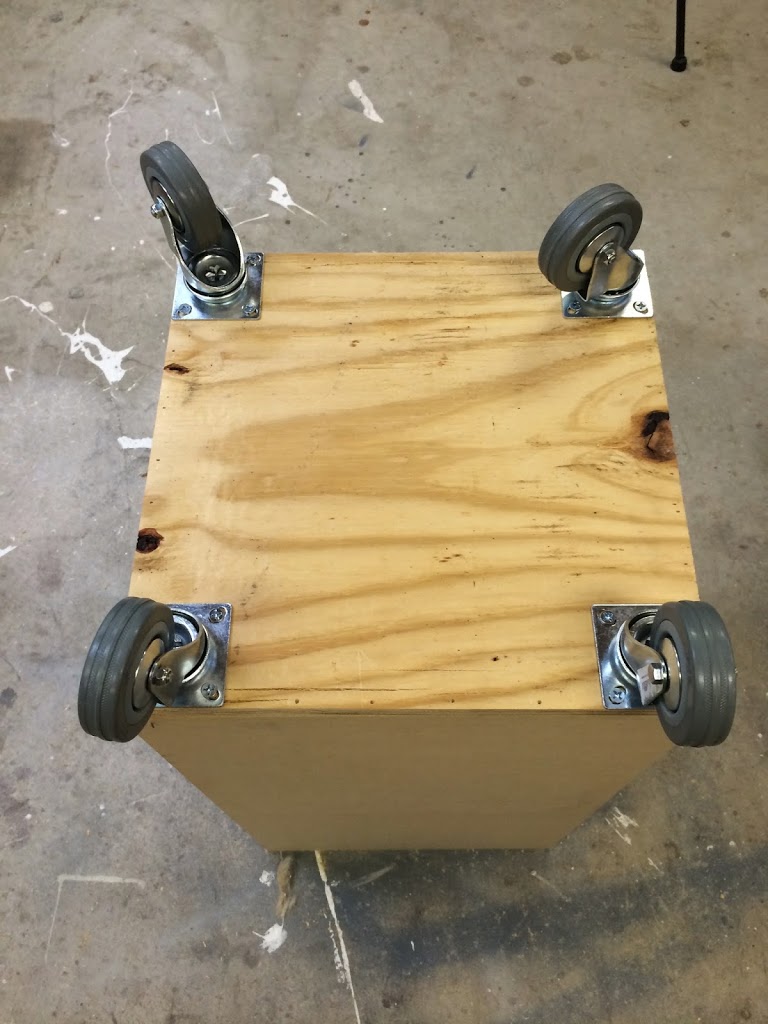
4) To put on the casters, I held them in place while I traced the screw holes with a pencil. Then I came back and first drilled a pilot hole, then screwed them in place.
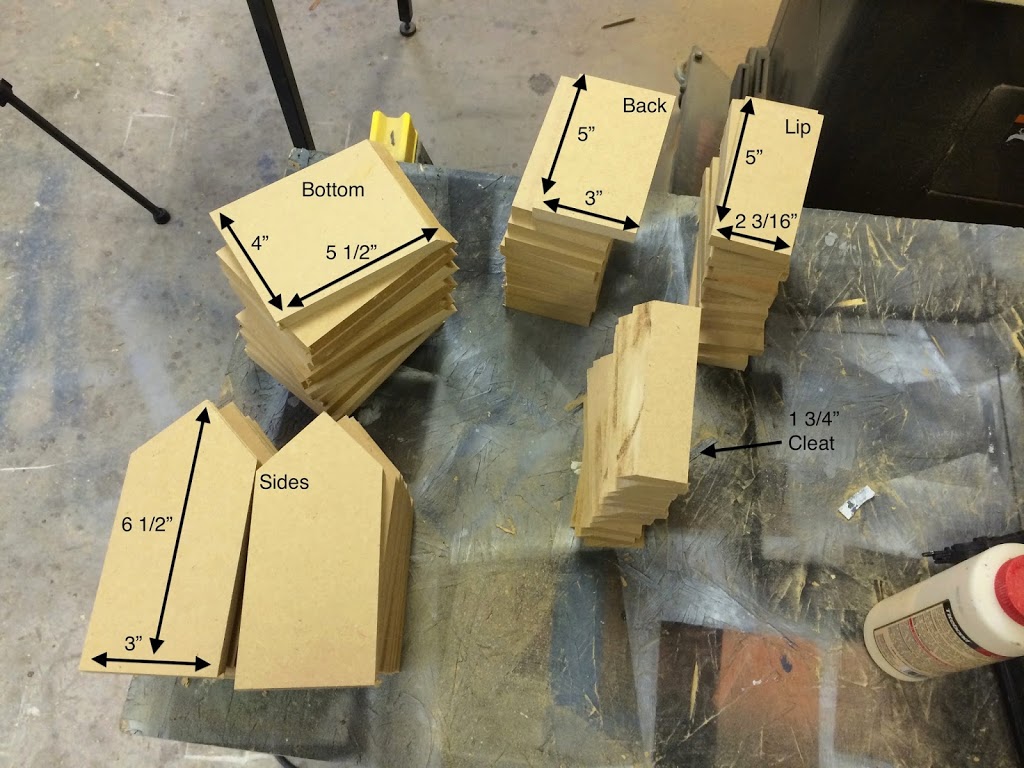
5) Now that the body was done, I started cutting all the pieces for my bins. Note: You can buy the bins at Northern Tool or Harbor Freight if making them seems too time consuming for you. It would have cost me around $80 to get the amount of bins I was after. I thought that was silly, plus I would have been stuck with their dimensions. Below are the dimensions I used for my smaller bins.
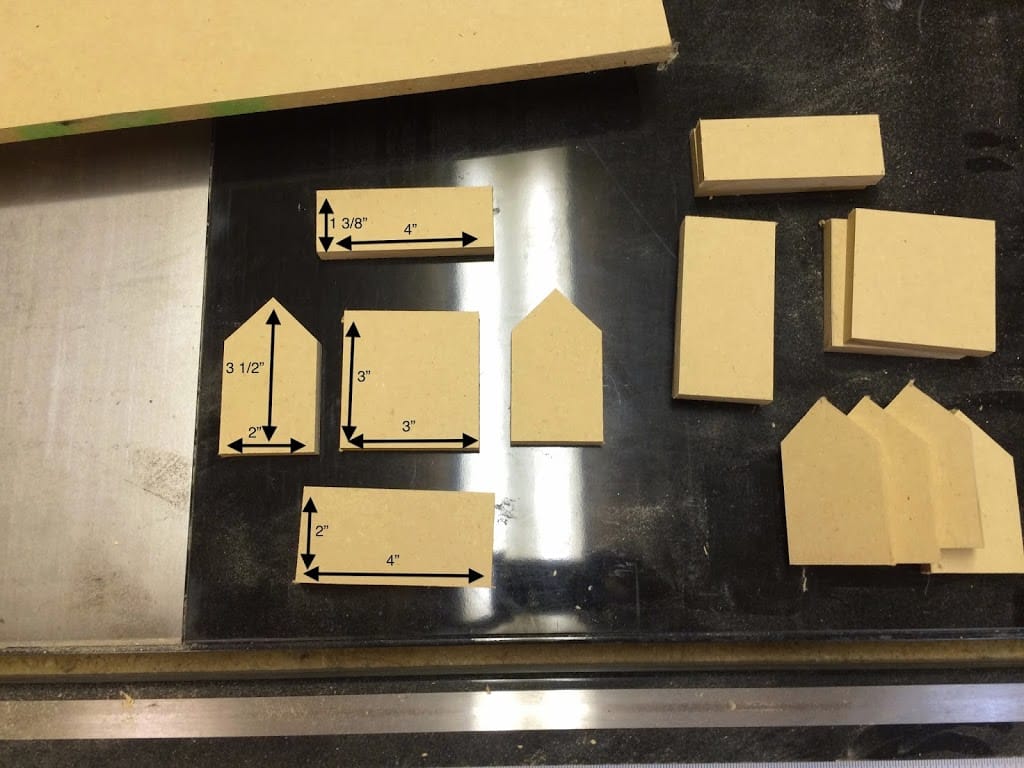
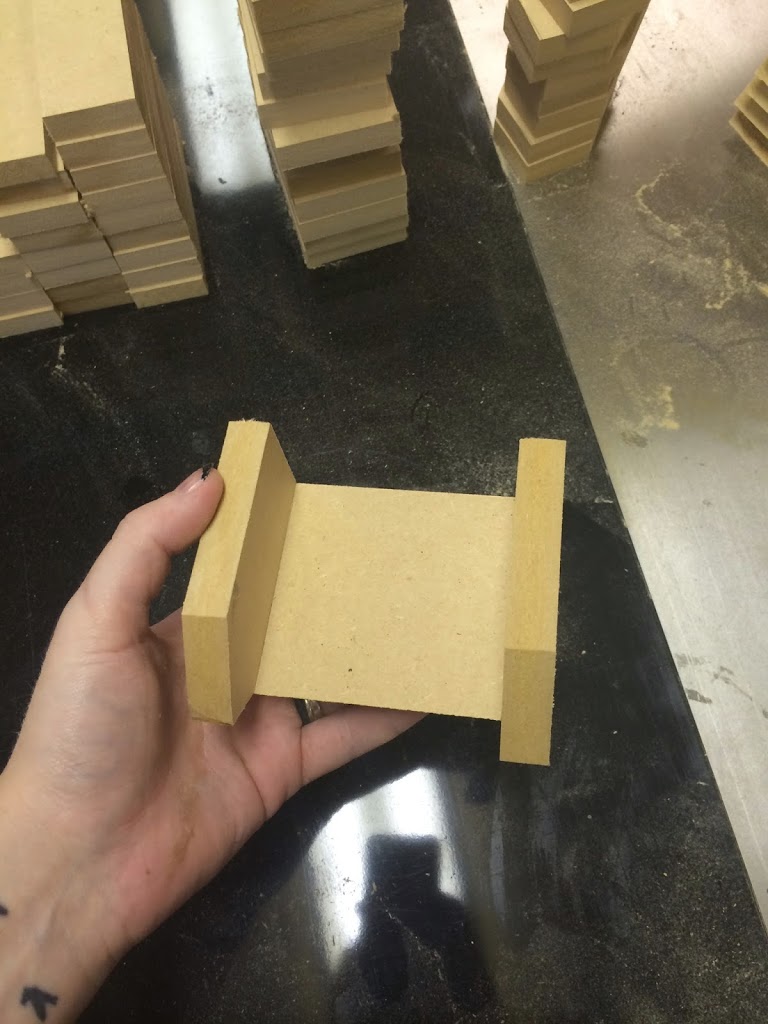
6) To put them together, I first glued and then nailed each piece. I used 3/4″ nails. I would start with attaching the sides, then add the back, then finally the lip.
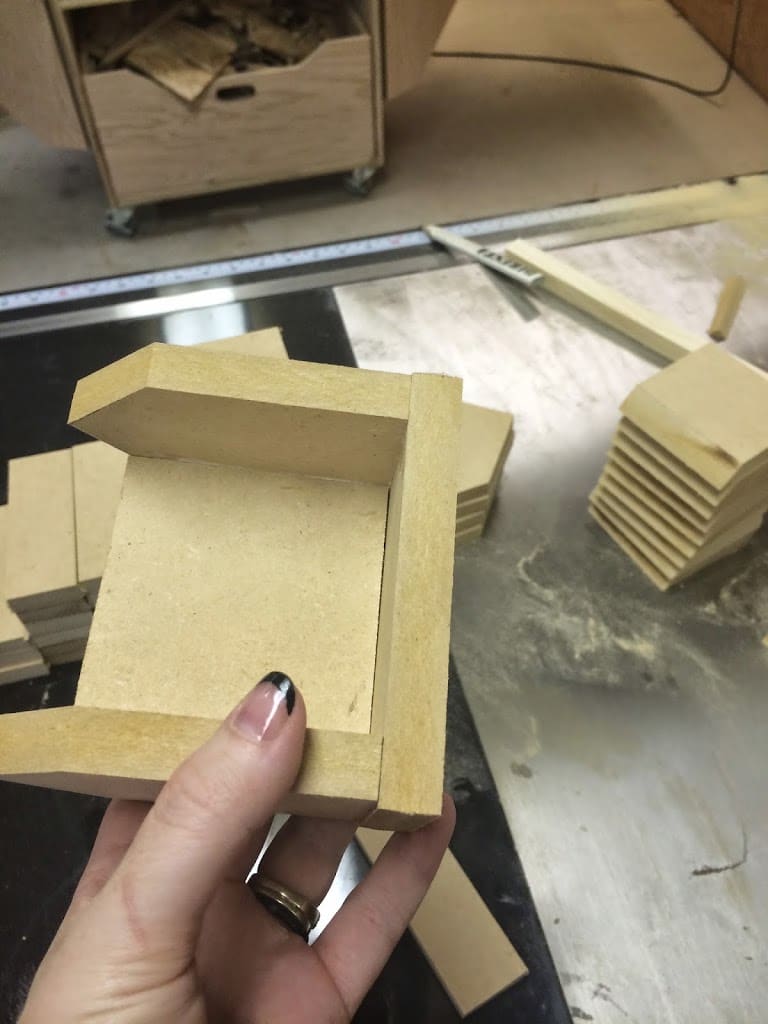
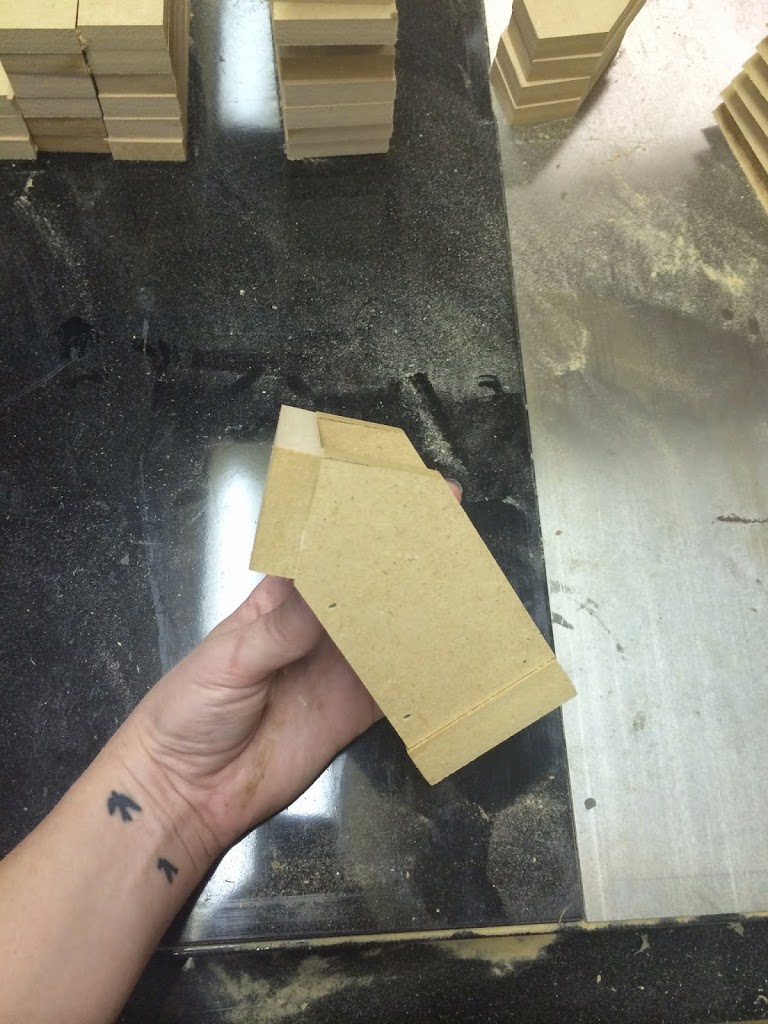
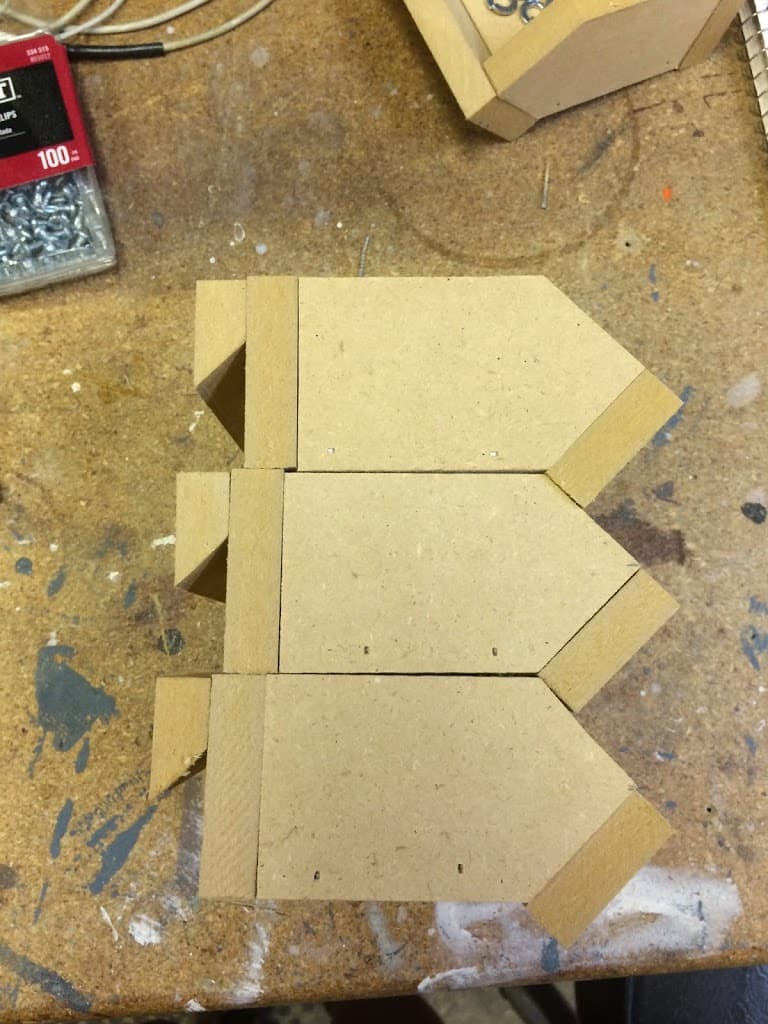
7) I wanted my bins to be easily removable so I decided to use the french cleat system. I cut a few strips at 14″ long and 2″ wide and then beveled one side at 45. I then glued and nailed these on the body 1 1/2″ down from one another.
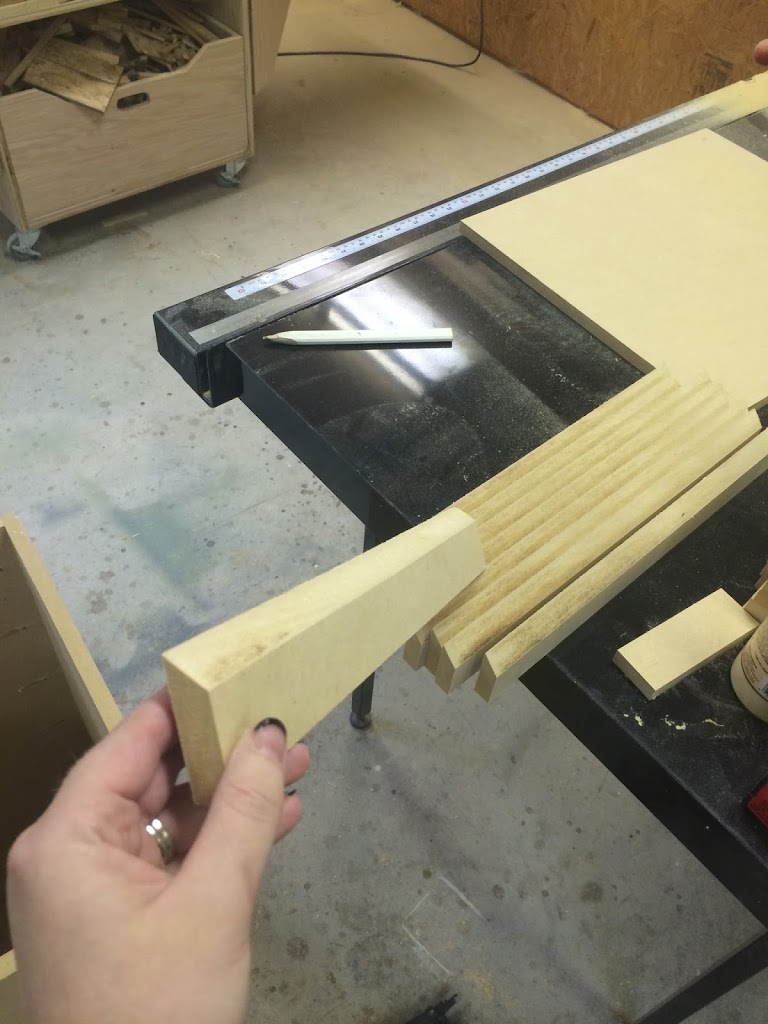
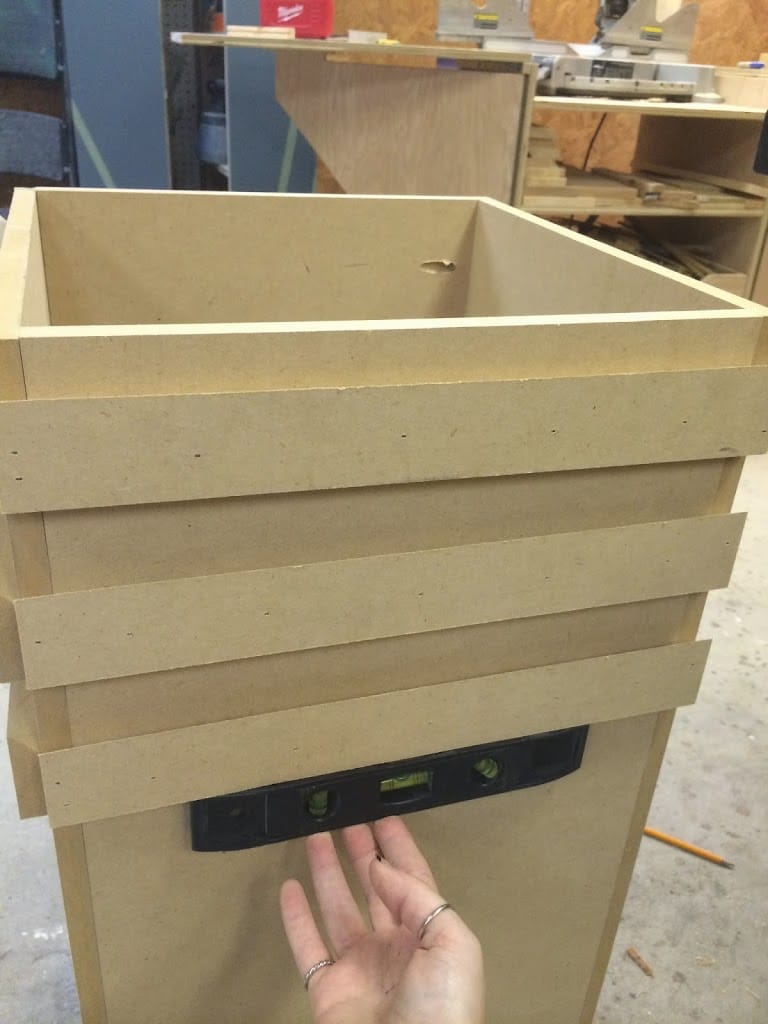
8) Then I cut the cleats that would go onto the back of the bins and glued then nailed them on. I made these 1 1/8″ tall.
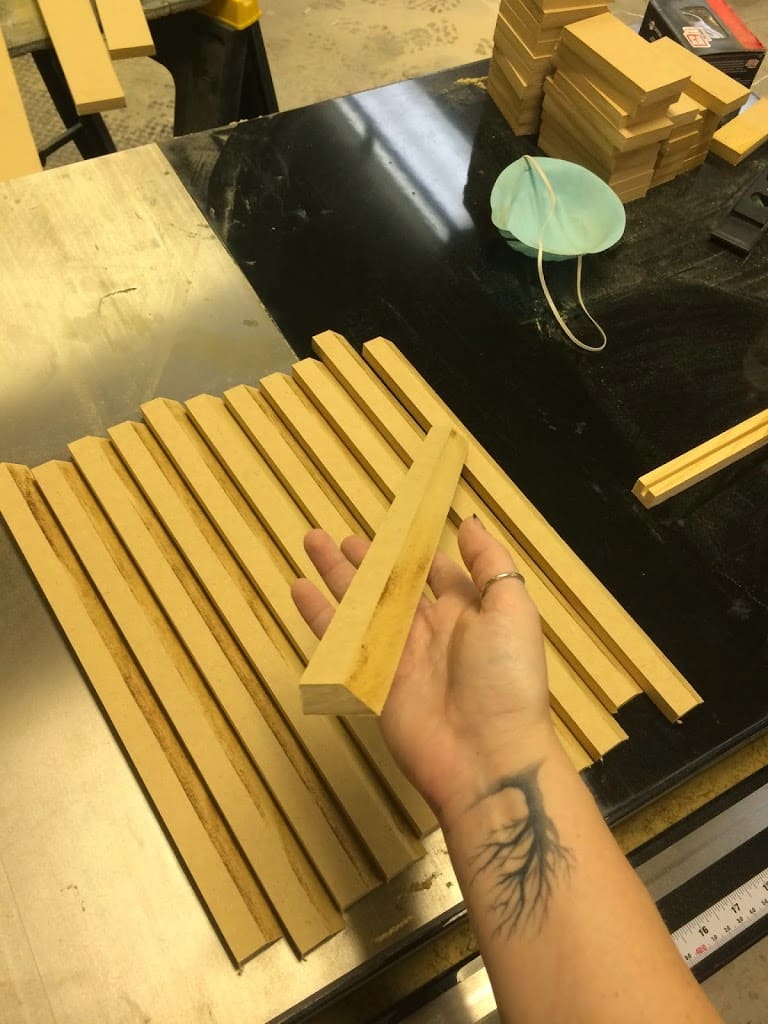
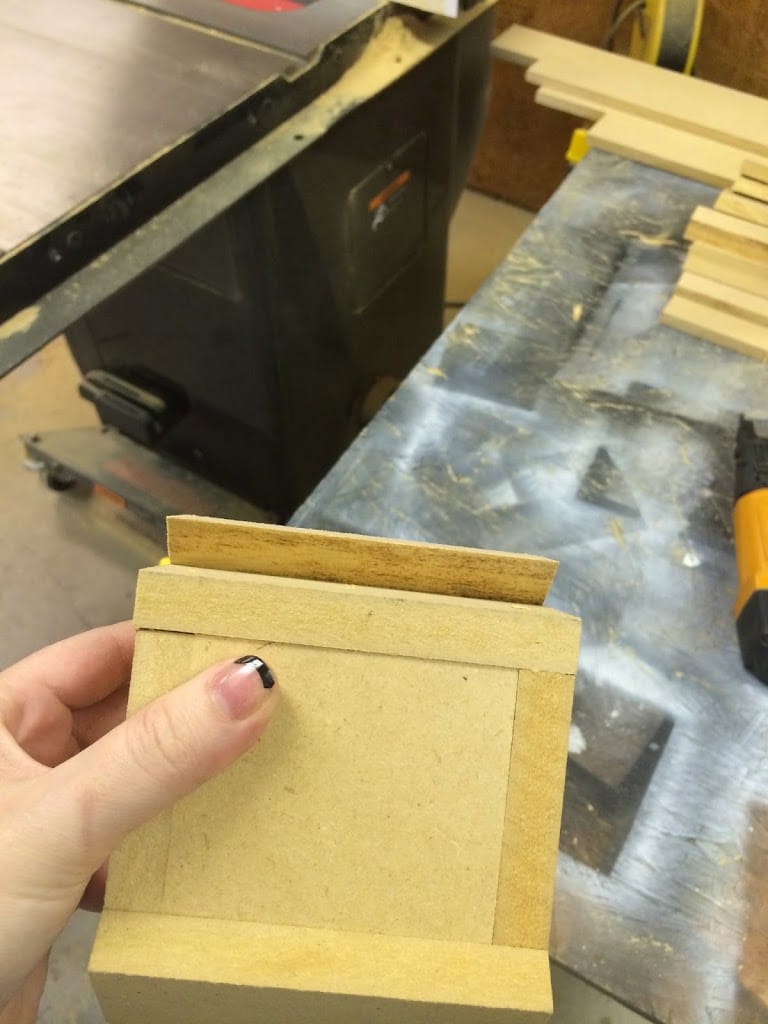
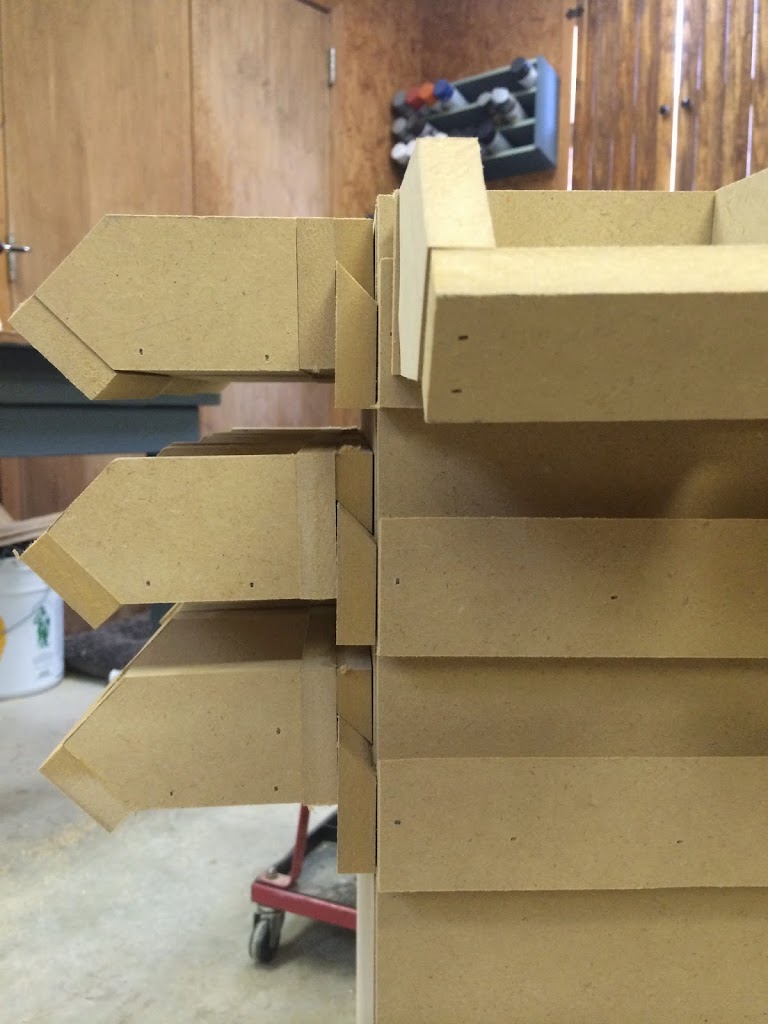
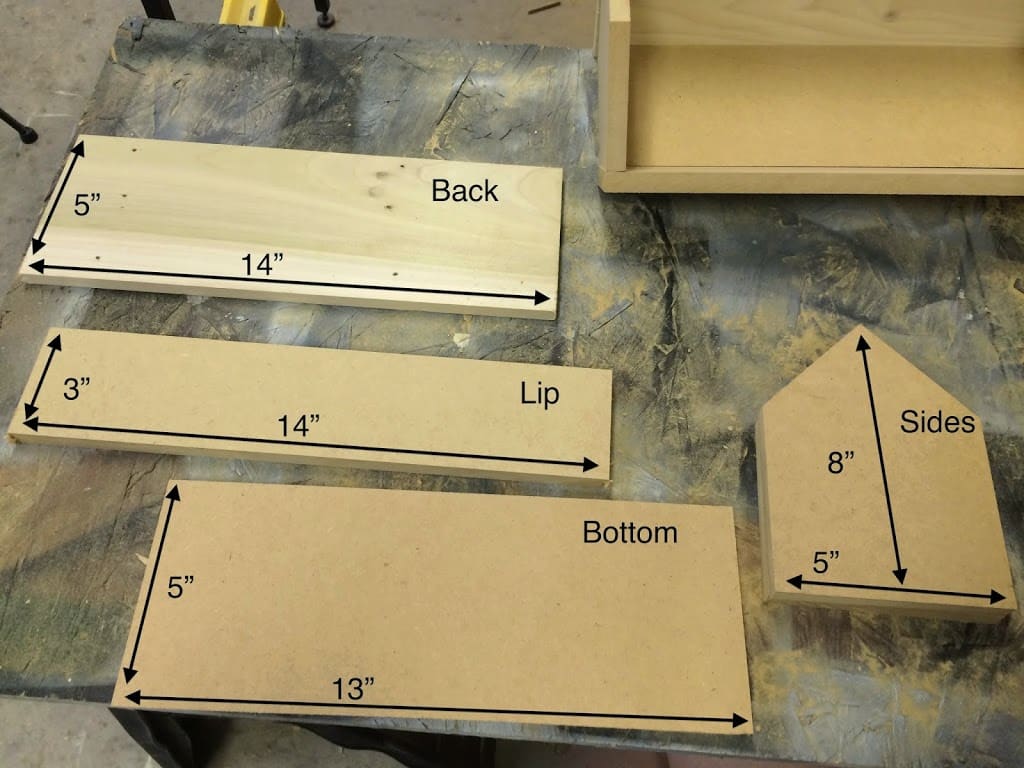
9) Then I just repeated the steps and made a few medium sized bins. Click on the photo below for the dimensions I used.
10) I then glued and nailed the french cleats on the body but spaced these apart 1 7/8″.
11) Then once again, I repeated the steps to make two large size bins (I ran out of MDF or I would have made a third) : ) I spaced these french cleats down 6 5/8″
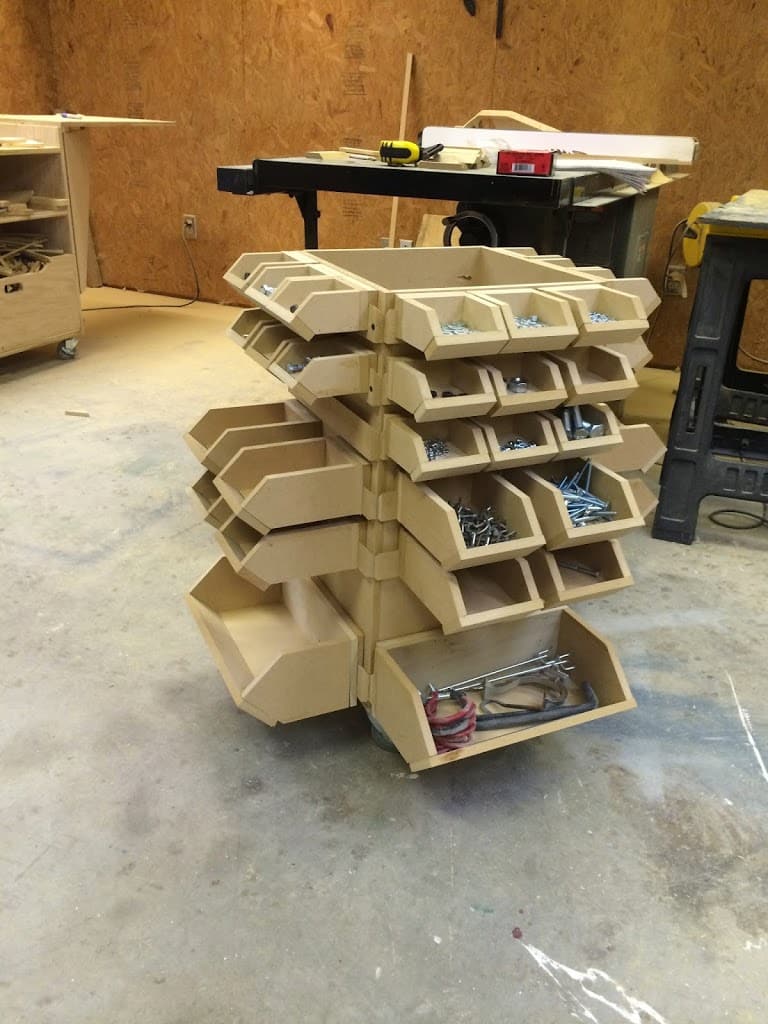
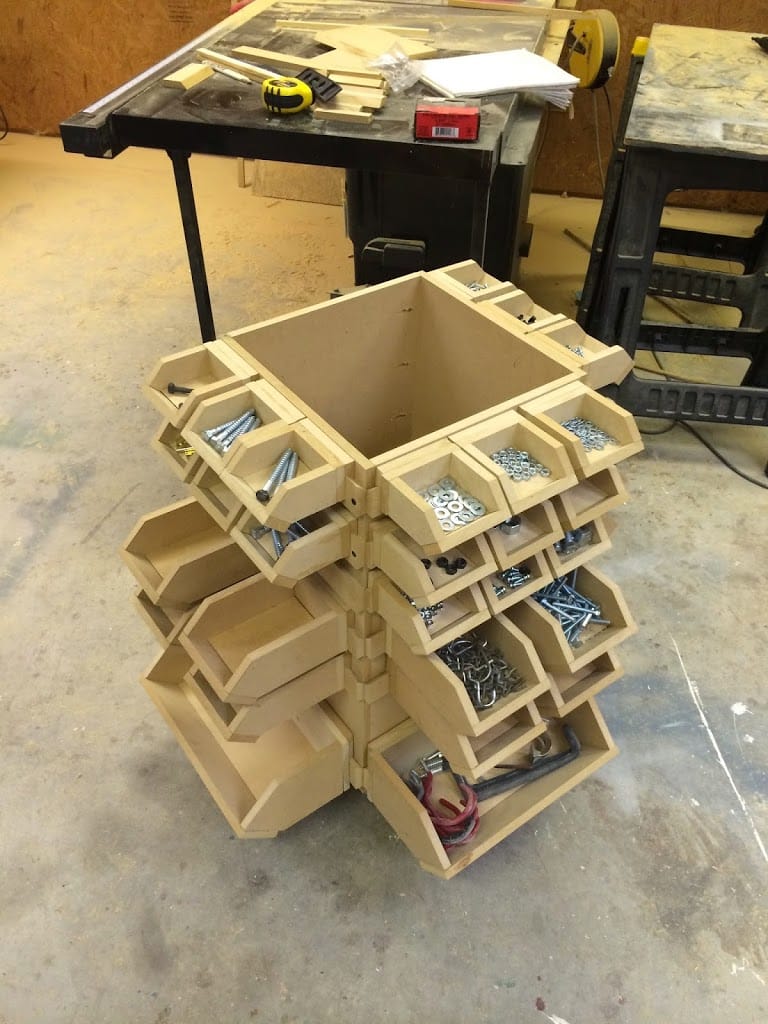
Tucks under my work bench nicely!
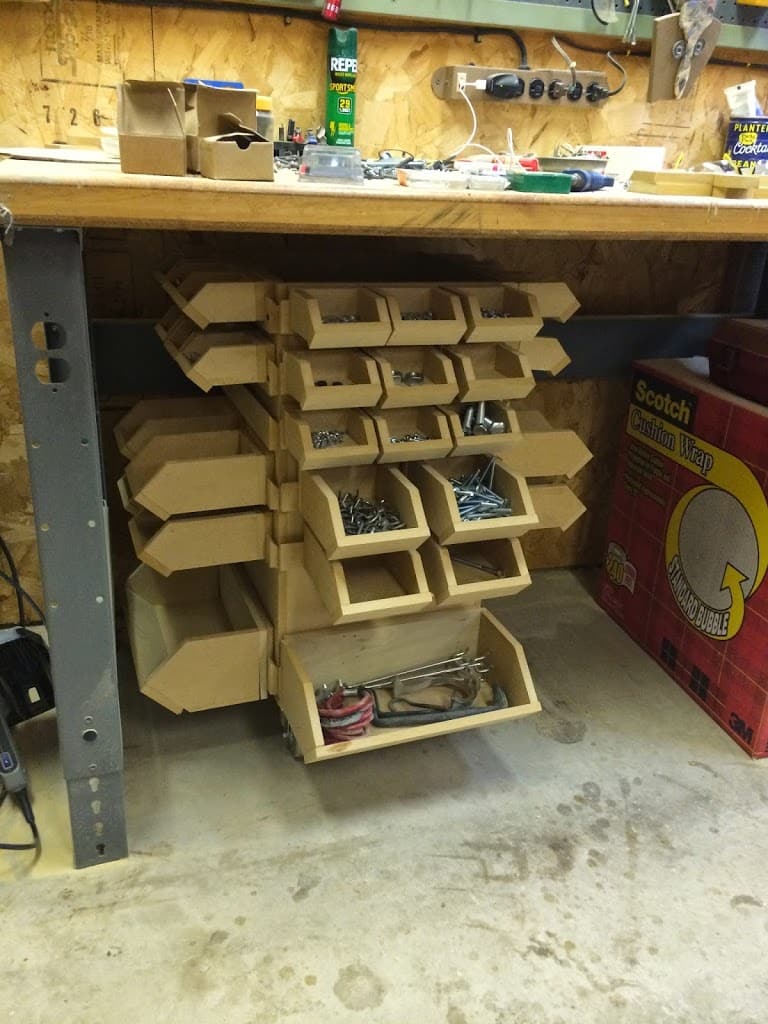
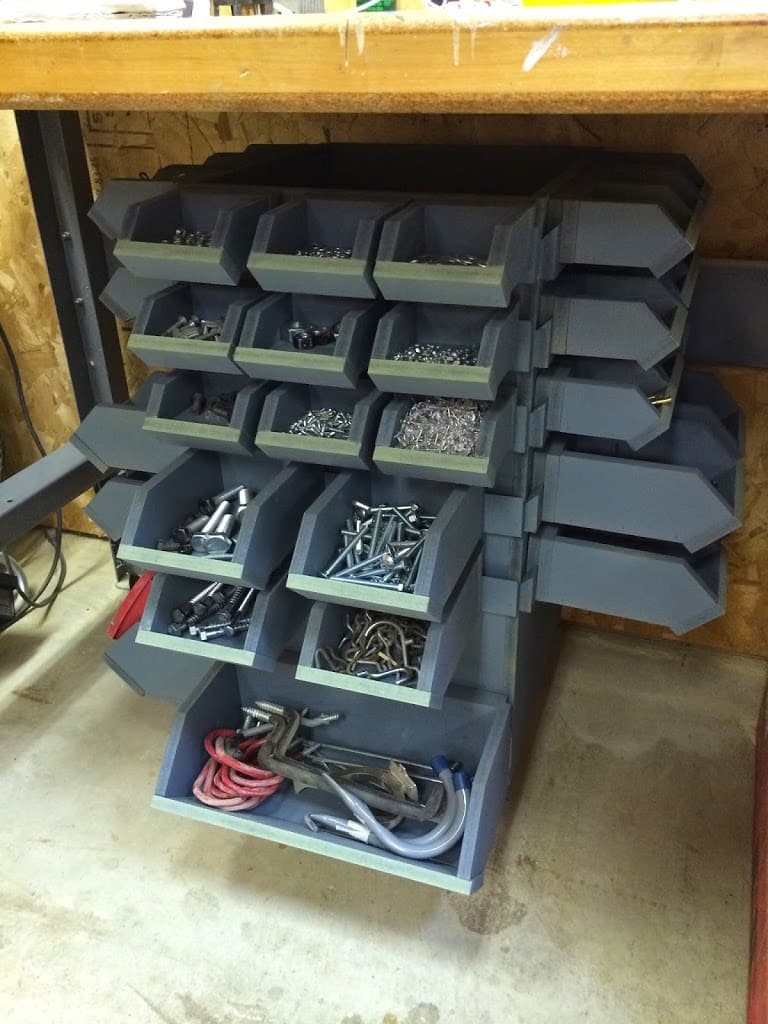
12) Last thing I did was paint it my shop colors. I was originally going to label the bins but after filling it up, I don’t have trouble seeing what’s inside so I decided to leave it alone.
One Response
This is the project that drew me to your youtube channel.
Great job…you have inspired me to get those screws out of cans…..keep up the good work.
Comments are closed.