
Stenciling A Design | Easy DIY Wall Art
- Home Decor DIY Projects
- April Wilkerson
- Updated: March 9, 2023
Wondering if stenciling a design onto a wall will make it look better? Check out this easy DIY project where I added a stencil to a wall as a decoration!
Wow first post!…not really sure if there is a correct way to blog, so if there is I’m apologizing in advance because I’m sure I’m gonna do it wrong.
Jump right in? oh ok…
SO, my laundry room sucks. It’s boring and it’s small. So I am steadily trying to improve both points with the help of pinterest, paint and patience.(I think those three Ps could save the world actually).
Here is a snapshot of my laundry room before….
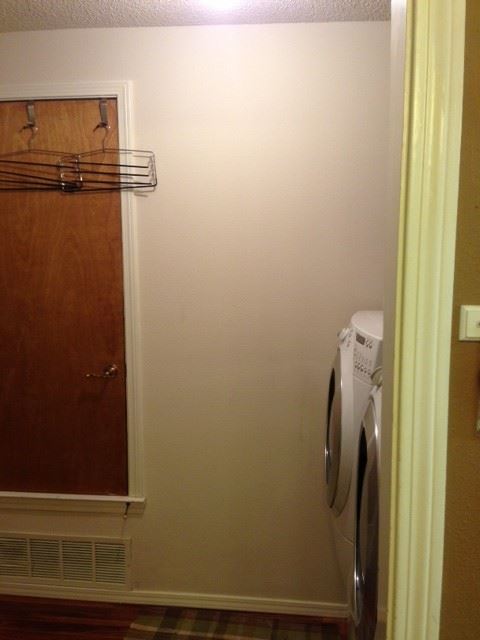
As you can see it has bare walls, outdated doors, and my front loaders are side by side. Here is a photo of it now…
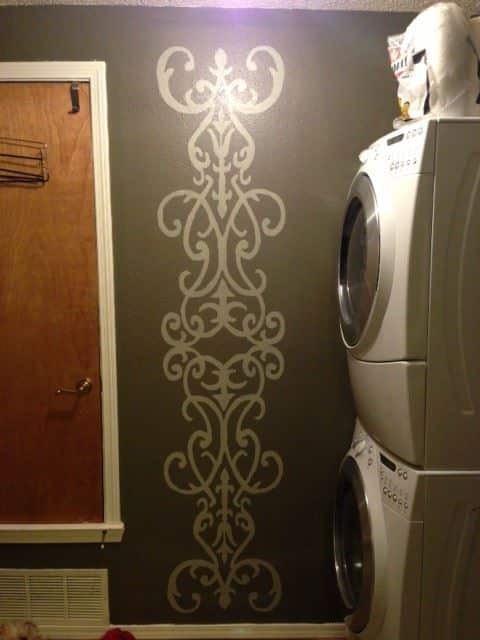
My washer and dryer are stacked (I plan to build a pantry next to them). I have painted the walls, and painted a very pretty design to fancy it up some. The doors and that ugly vent cover are my next to do so be sure to check back.
I’m sure this design looks very familiar to all you pinners out there because it is floating around Pinterest like crazy. I saw it and instantly loved it, but one of my major downfalls is I cannot draw for the life of me. How you ask, did I do it then?
1) I went to Home Depot, in the mailing supply section, and bought a giant roll of brown construction paper along with an exacto knife and some clear packing tape. My goal was to make my own stencil.
I figured out the dimension I wanted the design on my wall then (since the design is symmetrical and the top is a reflection of the bottom) I measured out only how tall the bottom half is and cut the construction paper to size and taped it to the wall.
I took out my handy projector and projected the imagine of the design up on the paper and started tracing.
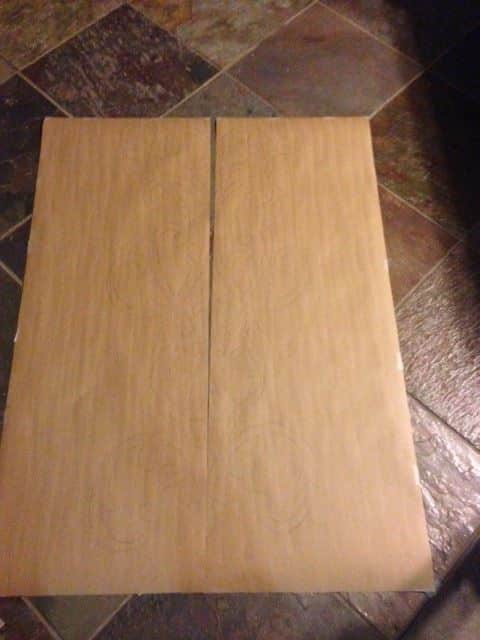
I guess you can’t see the lines too well, but they are there.
4) After I traced out the entire bottom portion of the design, I realized there was no way I was ever going to be able to get the left side to be perfectly symmetrical with the right. So…I just cut it in half and figured instead of having a stencil of the entire bottom half, I would have a 1/4 stencil of the entire design and just use it four times instead of twice. If you don’t care about the finish product being perfectly symmetric then don’t bother cutting it in half!
5) I chose the paper because I knew cutting it with an exacto knife would be easy. I also knew it would be too flimsy. This is where the packing tape comes in! Take your stencil and before making any cuts, laminate it on both sides with the packing tape. I made the mistake of only laminating one side, and it made the stencil difficult to work with.
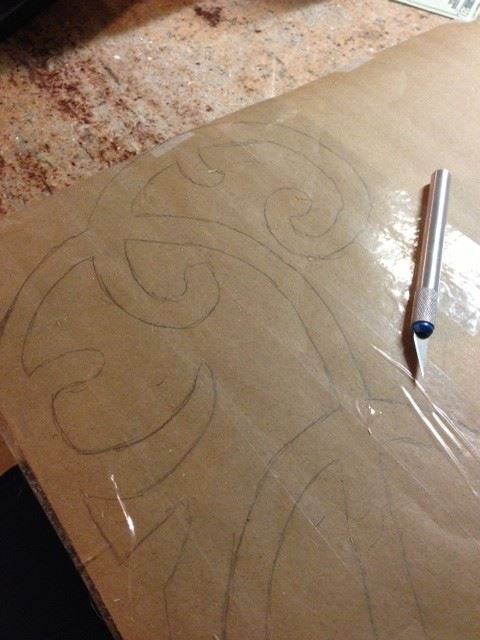
Take your time cutting it out if you want clean lines. Also remember which part is the stencil! You are wanting to keep the background and will throw away the actual design part.
After it was cut out, I marked off a couple of lines on my walls showing me where each stencil was going to go and taped it up in place for the first 1/4.
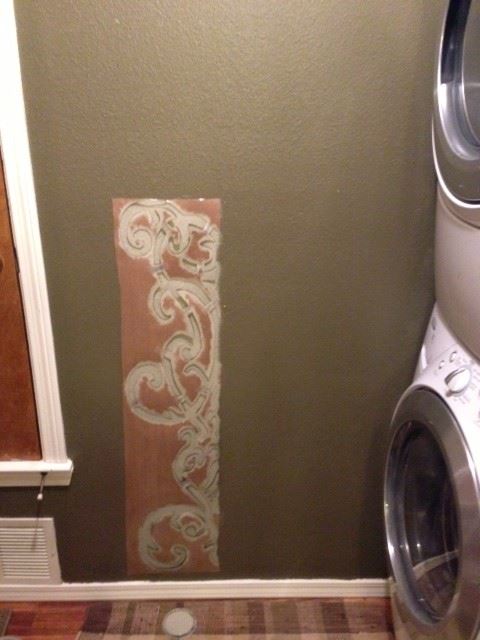
Once the stencil is in place, I started painting. The key to getting a clean look is to not have too much paint on your brush or it will drip behind the stencil and mess up your lines. So it’s slow work, but a very pretty outcome if you take your time.
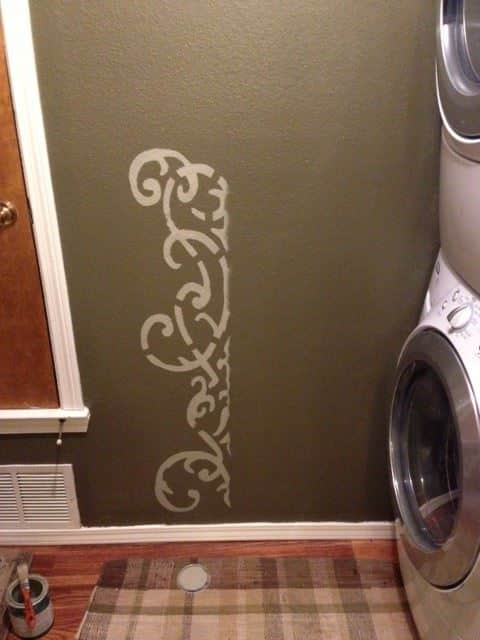
9) After the first 1/4 is up, just take off the tape and flip the stencil over to do the right side. Make sure you line it up to match the side you just painted on the wall.
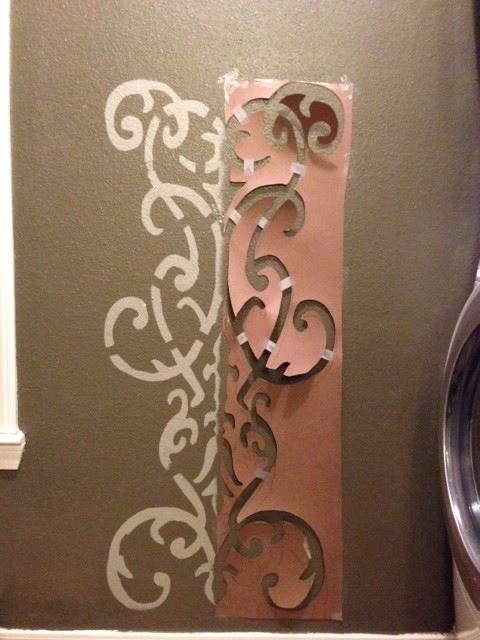
Again, just a little bit of paint on your brush and take your time.
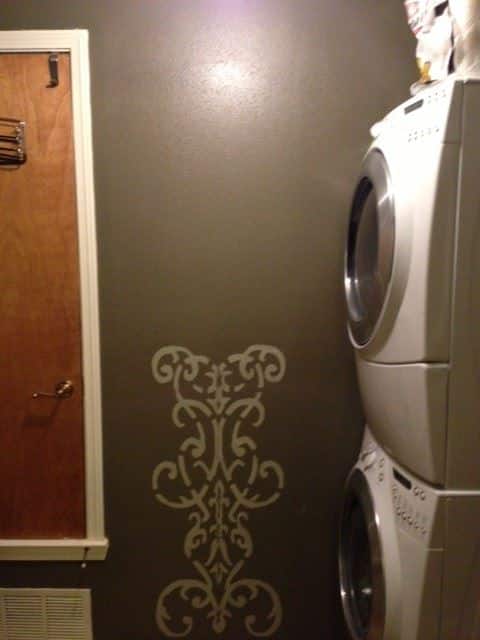
Voila! Now if you made your stencil the entire bottom half of the design, then you get this result in one tape job. If you do it in quarters, you can see it comes out very nice and symmetrical.
Now you just repeat. Take the stencil off the wall and flip it up. Tape it in place. Paint.
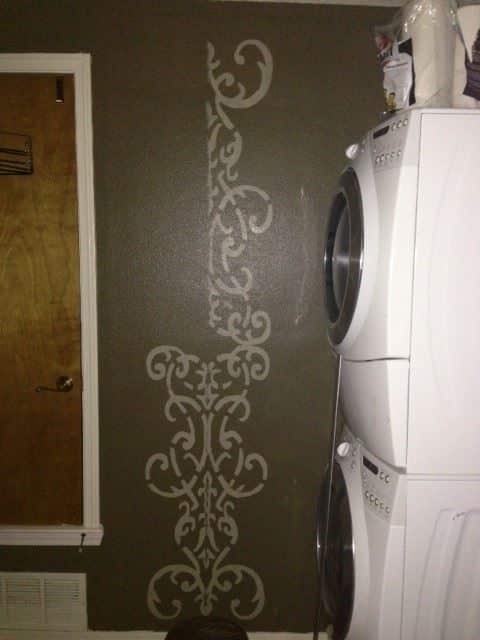
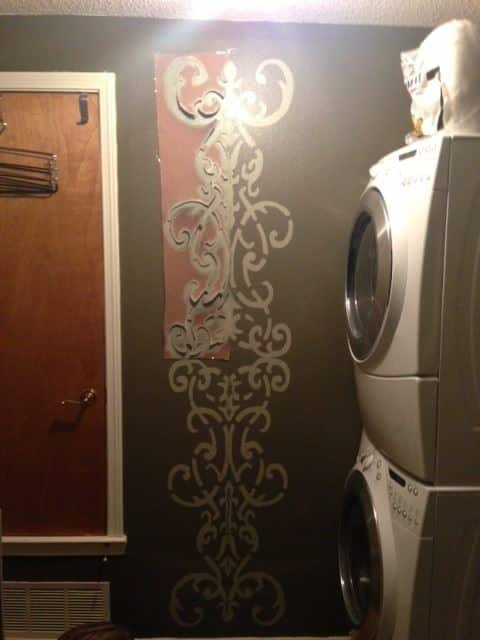
12) Now that all four quarters are painted on, I took a small artist’s brush and went back through the design and touched up the middle section where the stencil meets and the sections where the tape holding the stencil together blocked the paint from getting on the wall. I thought about leaving it because the breaks actually go with the design…but I decided to do it like the original. : )
I love it! To pick out the colors I went to Home Depot and found the dark green for the walls, then just went two shades lighter to find the contrast color of the design.
Total Cost: $6
5 Responses
Looks great!!!!!
Gorgeous! Just found you and love the site – keep going! Instead of packing tape, I’ve used clear contact paper for projects of all sorts and am totally in love. Easy to work with and a roll goes a LONG way – literally! Just use a trusty bank card to smooth into place as you unroll and no messy bubbles. Good luck, keep the inspiration coming!
Awesome, thanks for the compliment and the suggestion!
You have a great blog. 🙂 Like seeing your projects so far!
: ) Thanks Mary. I’m glad to know someobdy is enjoying them!
Comments are closed.