
Simple Cabinet Painting Project
- Workshop DIY Projects
- April Wilkerson
- Updated: March 8, 2023
Thinking about a cabinet that could give you a painting project? Check out this DIY project where I show you how I painted this tall cabinet in my shop!
I actually painted this DIY cabinet of mine a while back but I wasn’t sure if I was going to end up changing it again, so I haven’t posted it. However, I think I will leave it alone (at least for the time being).
After some playing around, this is how it turned out:
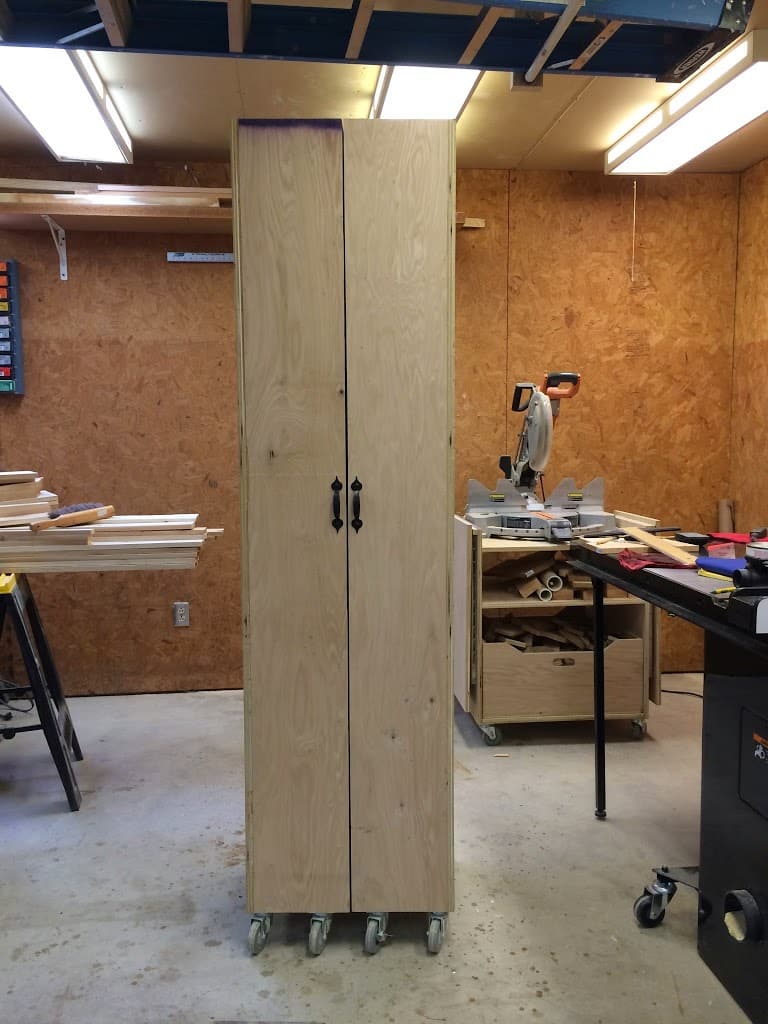
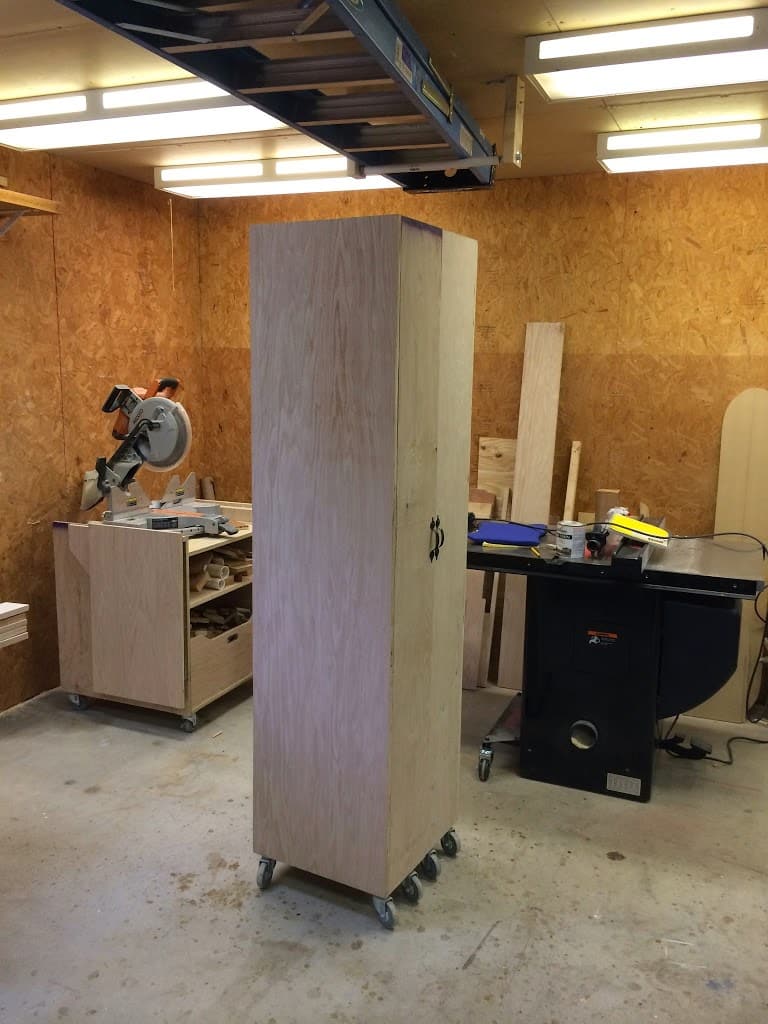
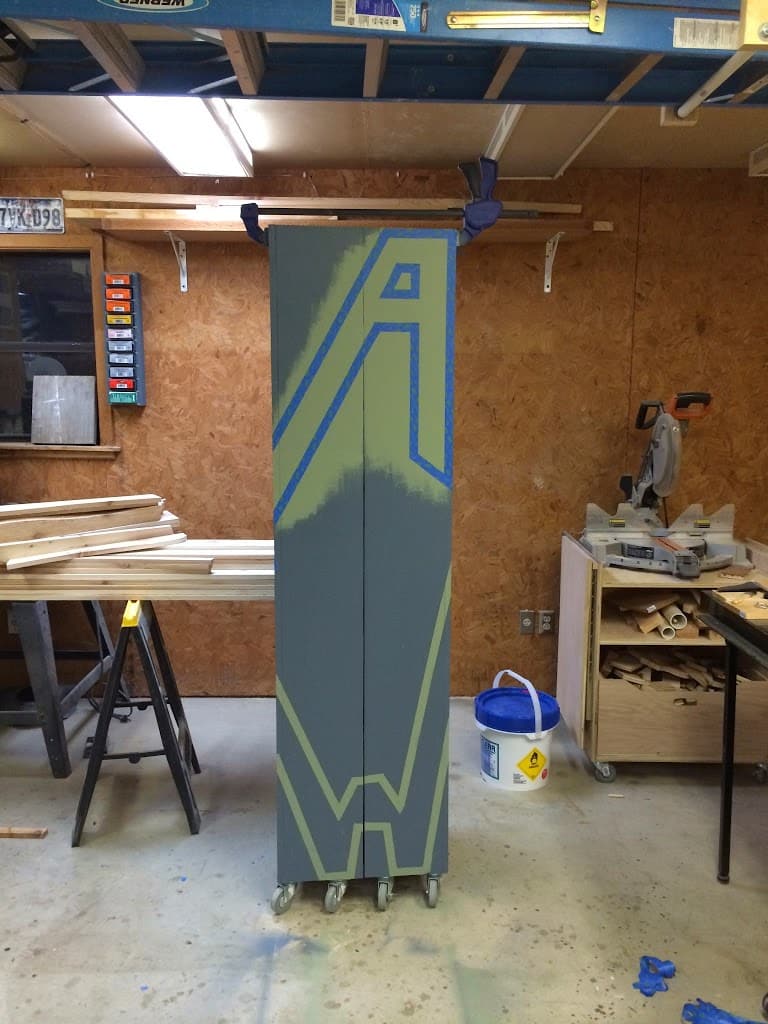
1) Sticking with my shop colors, I painted the entire front in green as well as a boarder on both sides.
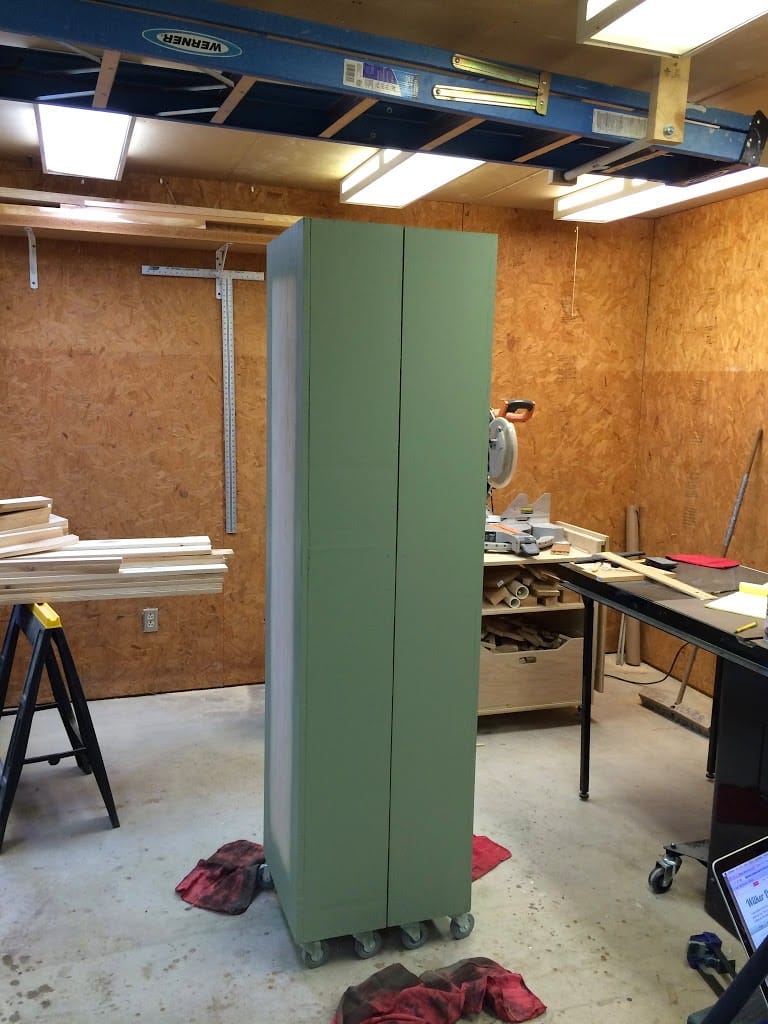
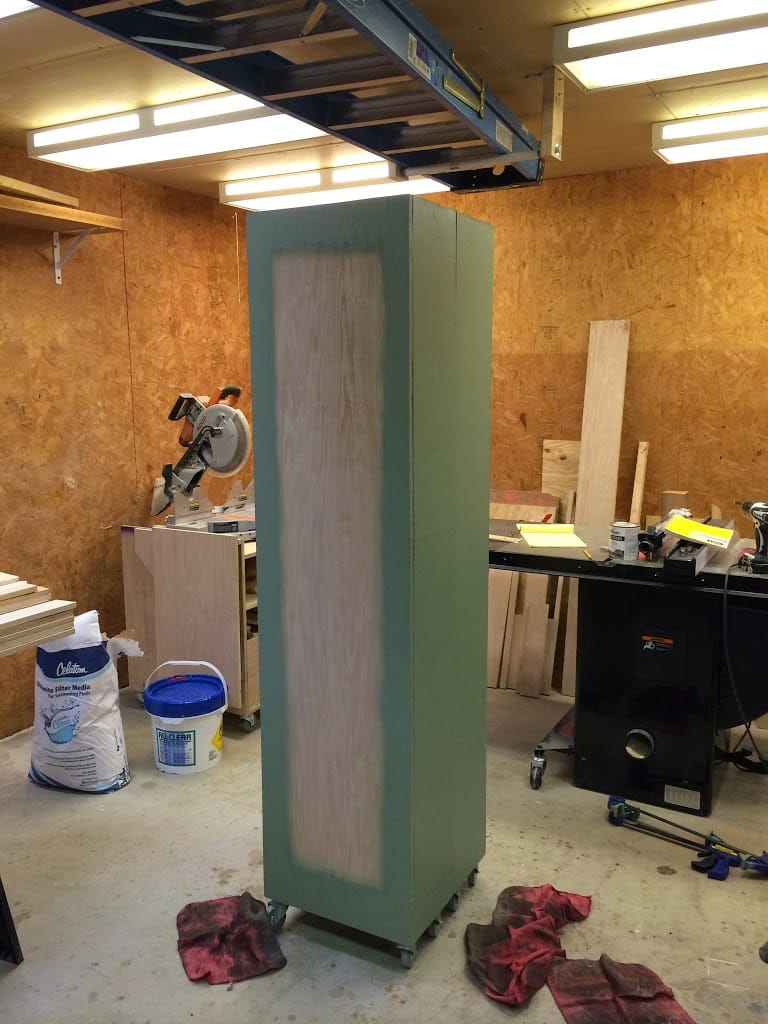
2) Next I grabbed some painters tape and lined out a W.
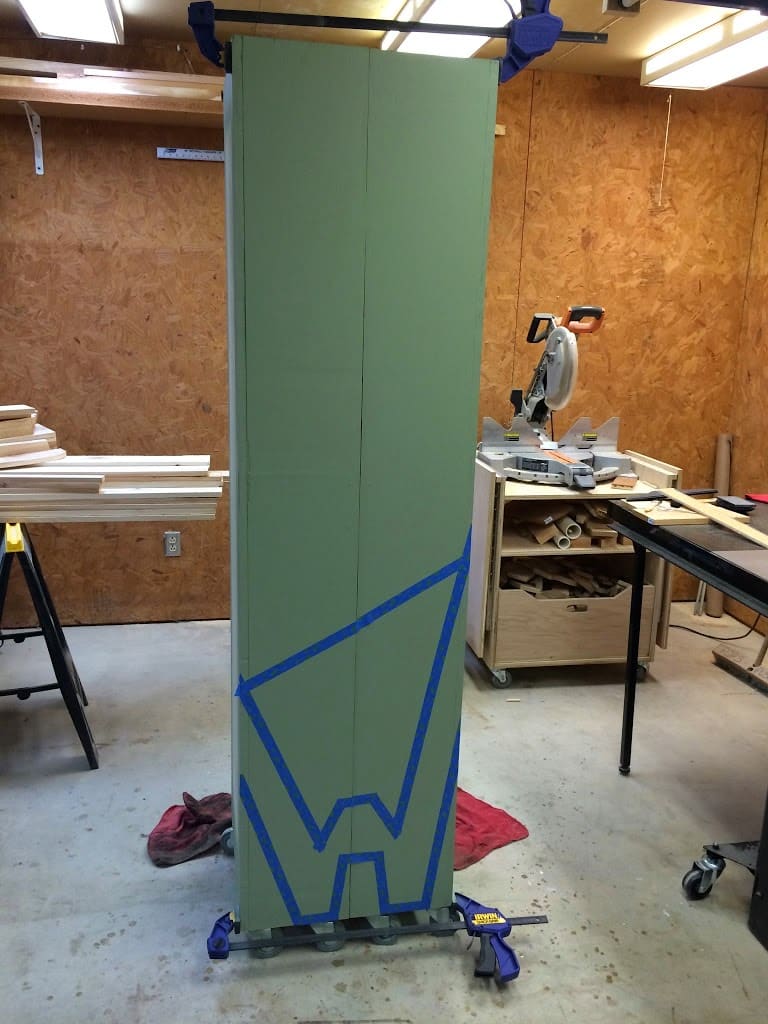
3) I wanted a stain glass effect with the W kinda hidden, so I just started taping off lines and creating shapes. Once I finished the front design, I used wider tape to tape off the boarder on the sides.
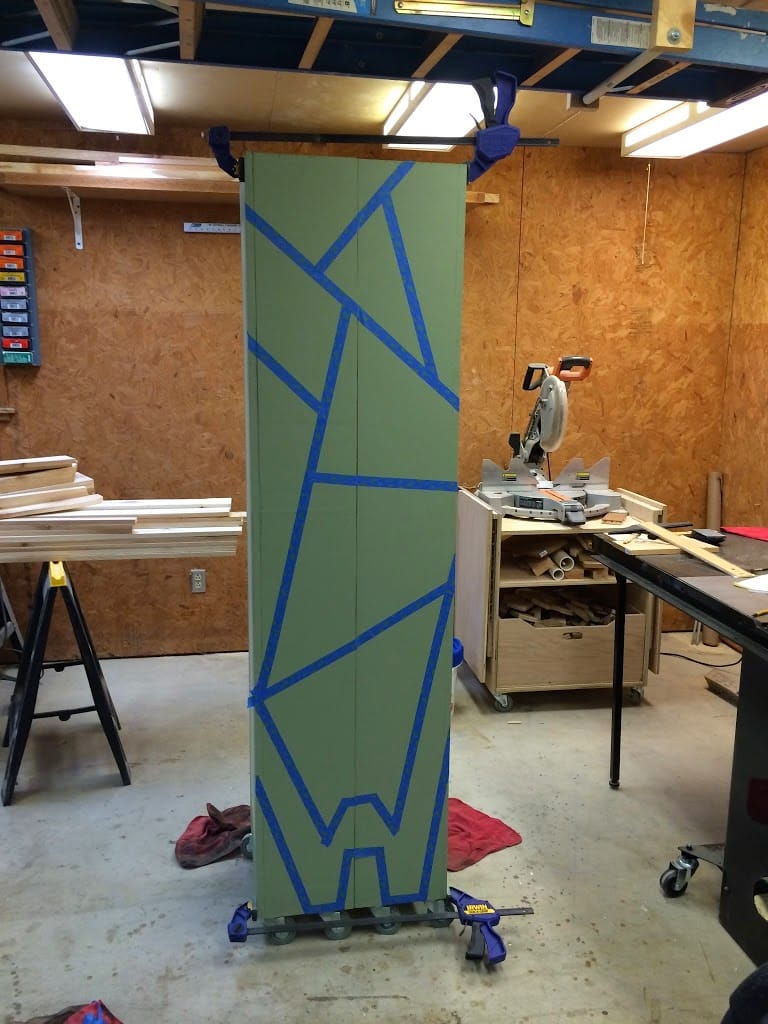
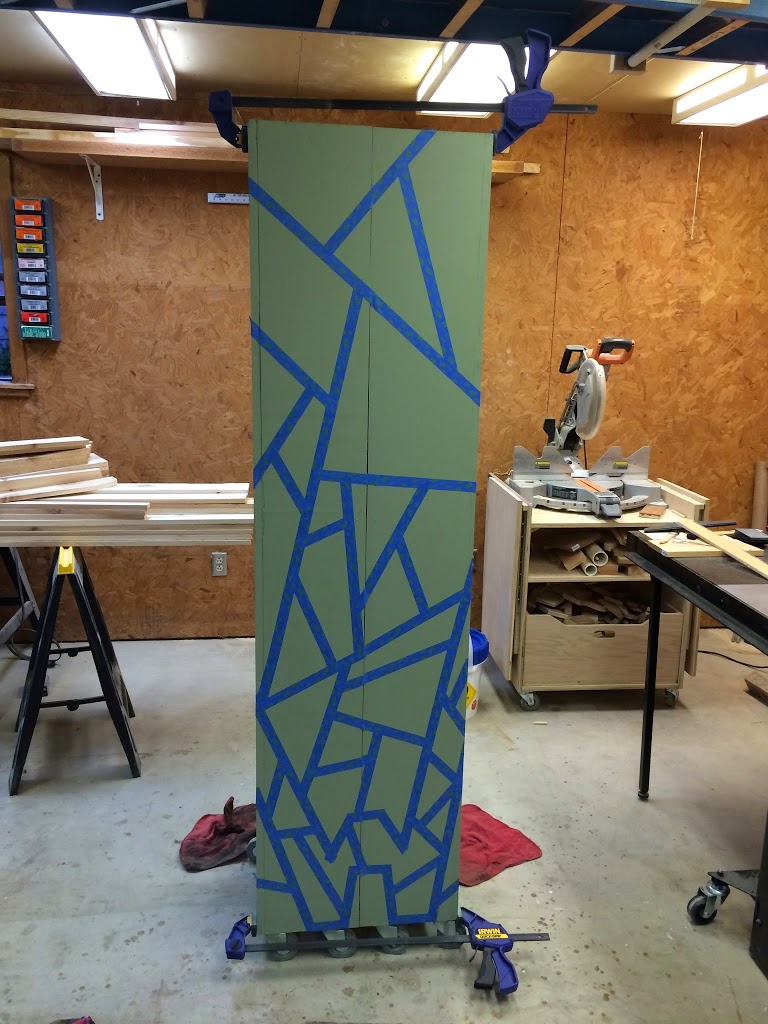
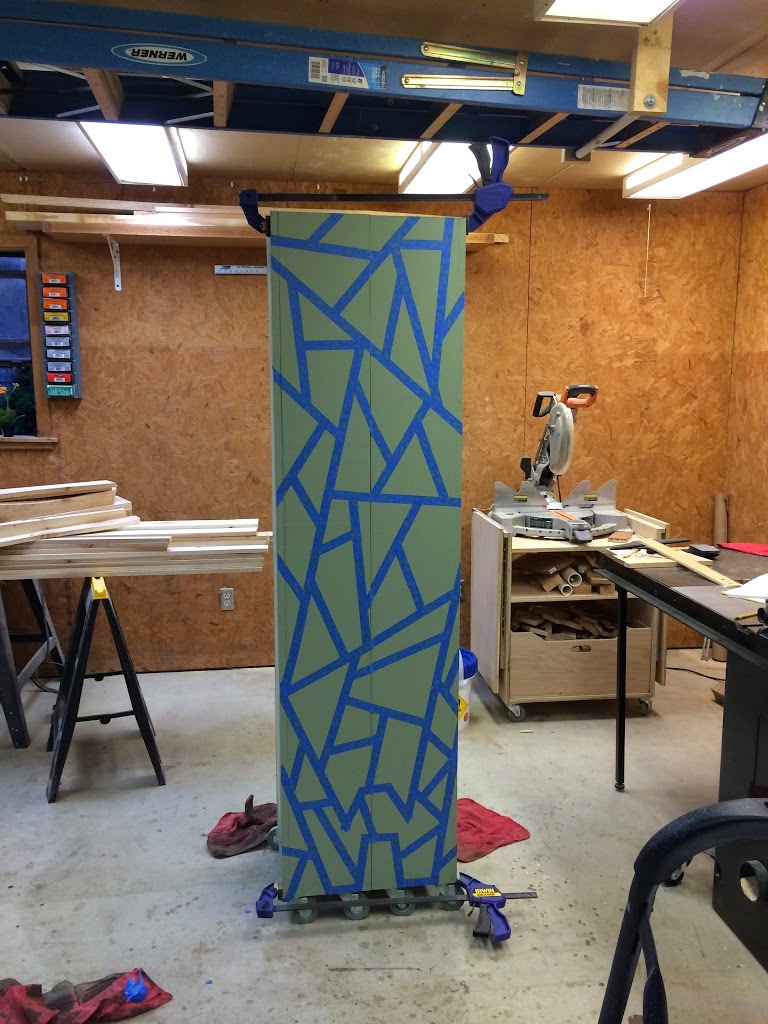
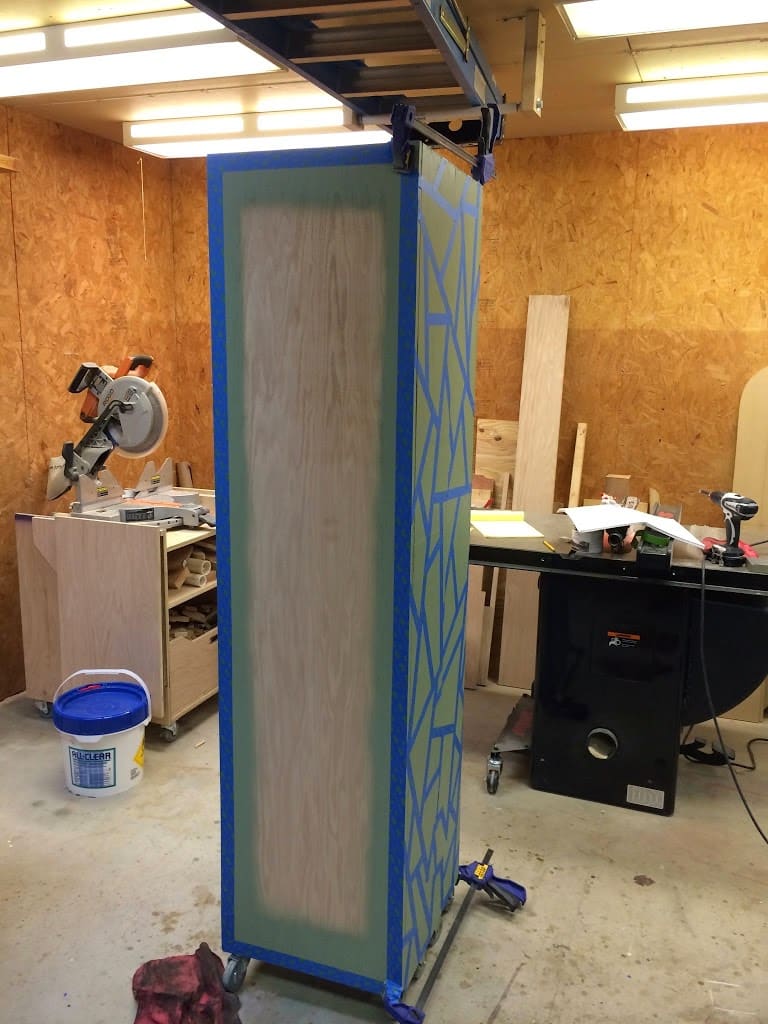
4) Then I came back with my grey and went over the entire thing.
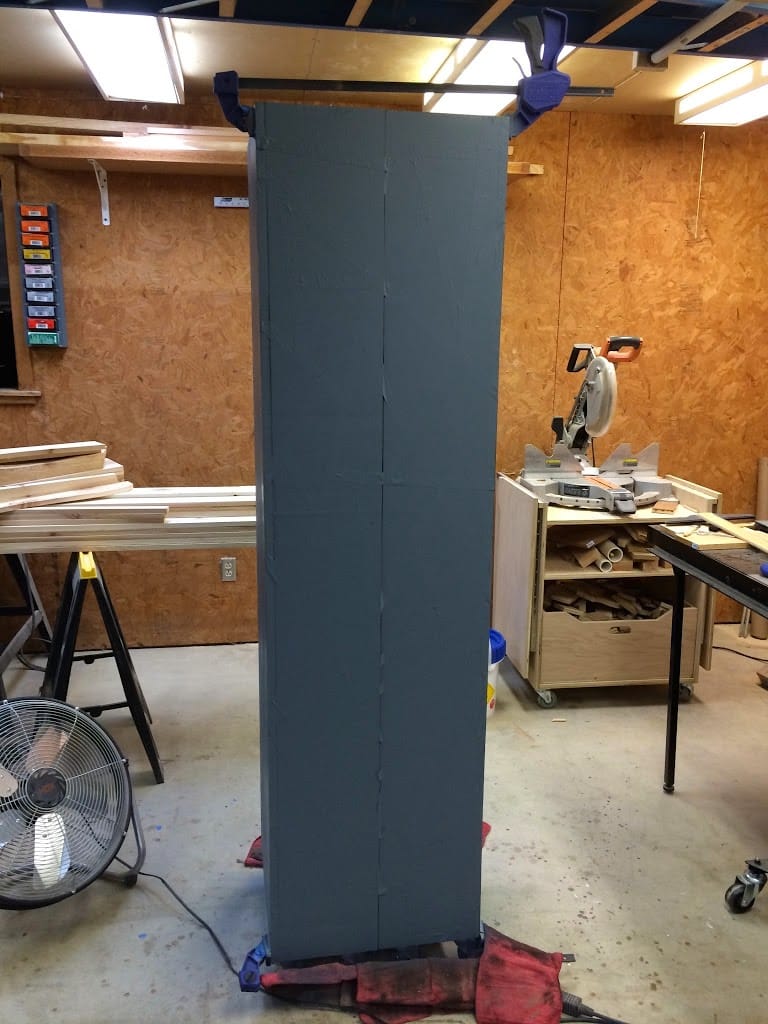
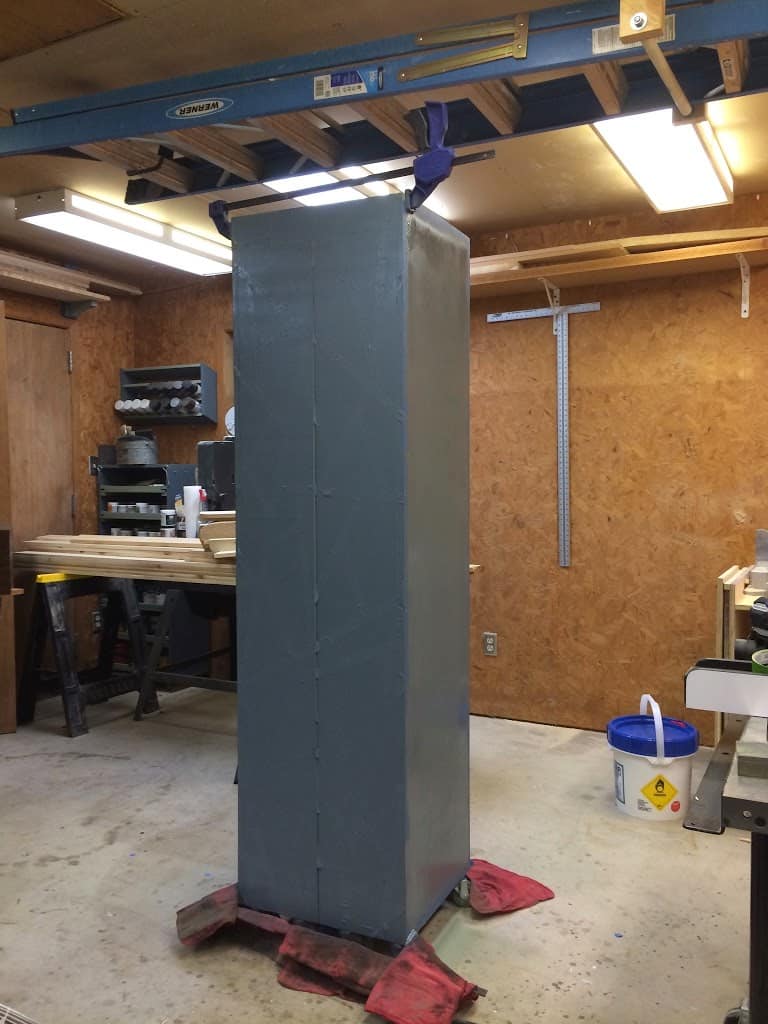
5) Once it was dried, I ripped off all the tape…
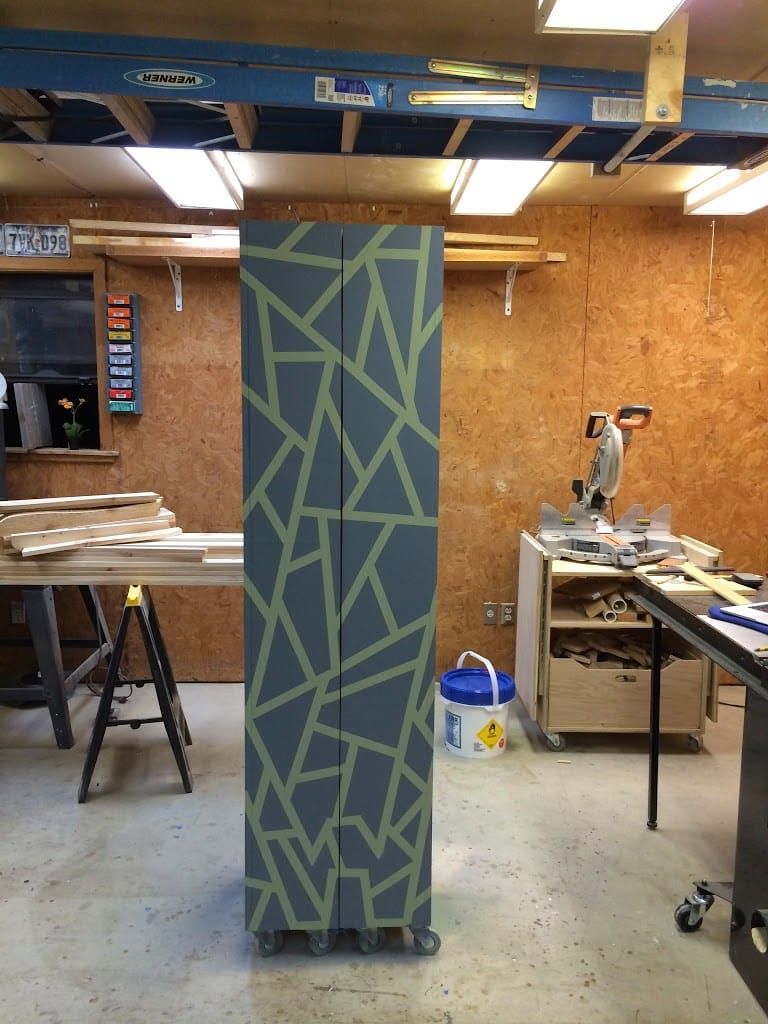
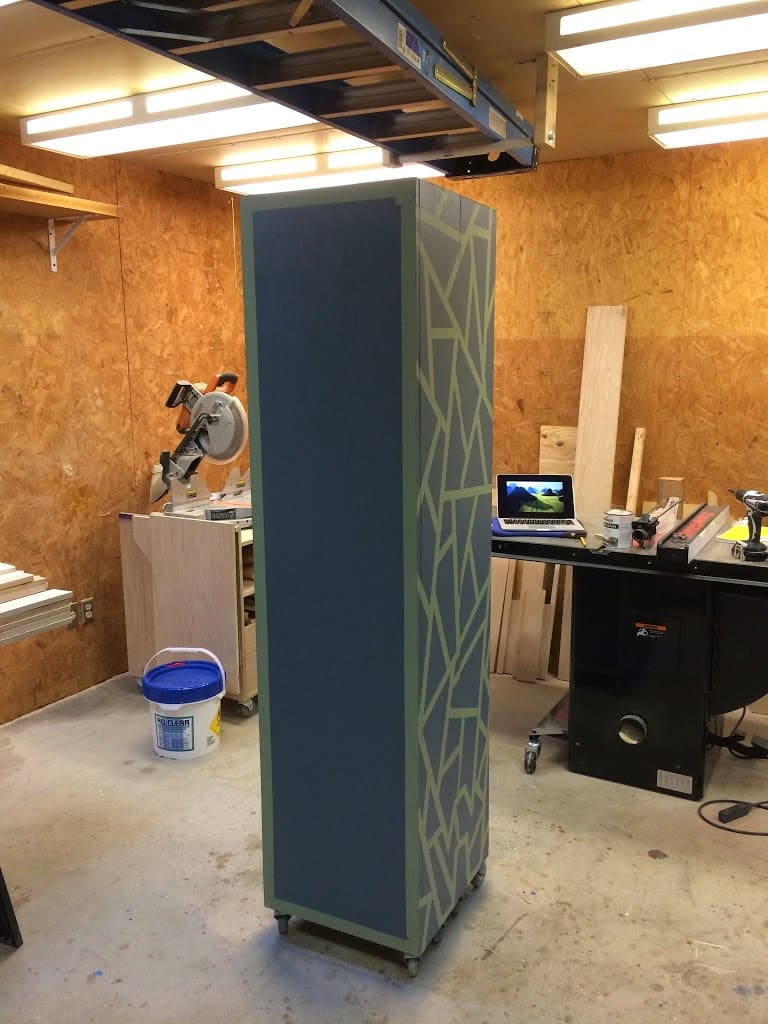
…and hated it. My space is just too small so it looks hectic.
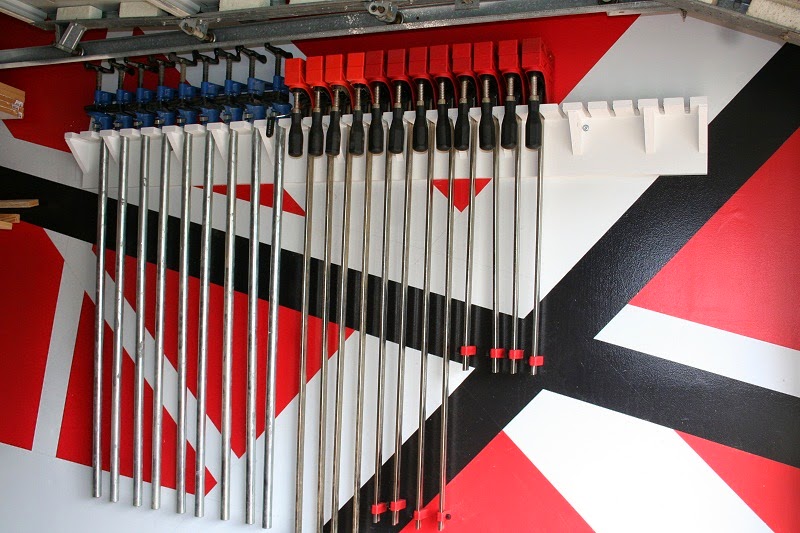
How this design originally came about was, a friend down in Houston (hey Jim!), decorated his wall with the Van Halen stripes, and I just fell in love with the look. I didn’t want mine to be exactly like the Van Halen design but I did like the idea of all the lines, so thats when I doodled up the stain glass affect. It probably would have looked better if I had a larger space to work with and some variation in line thickness. Oh well….
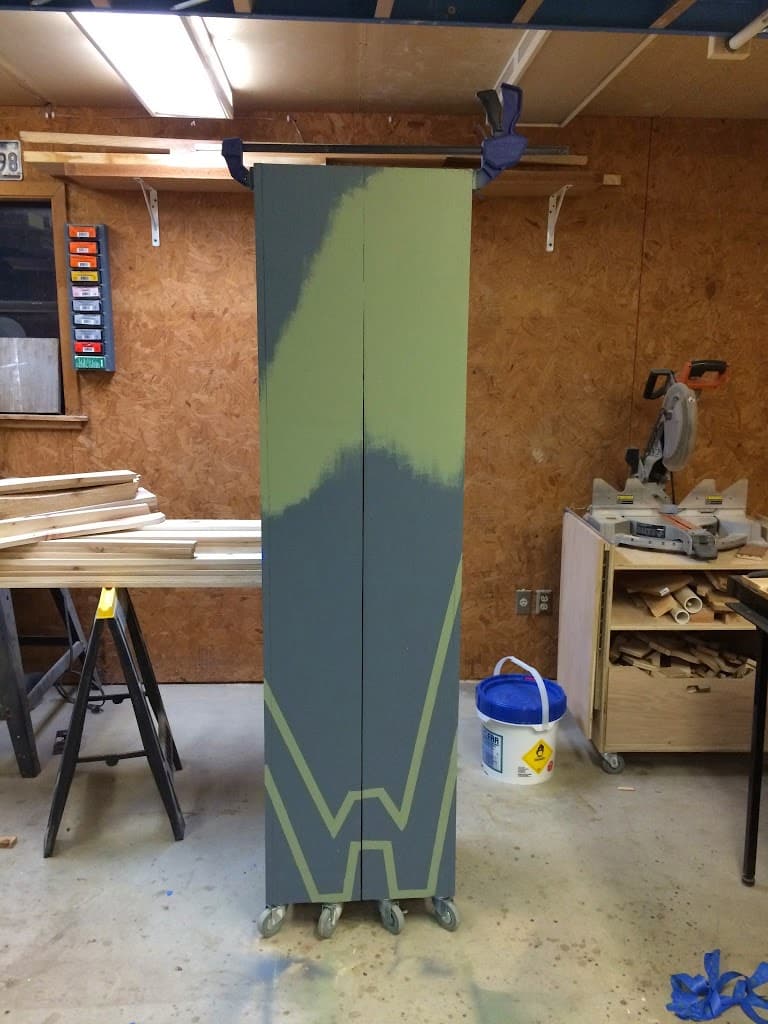
6) So I grabbed my brush and painted over all of it, but left the W.
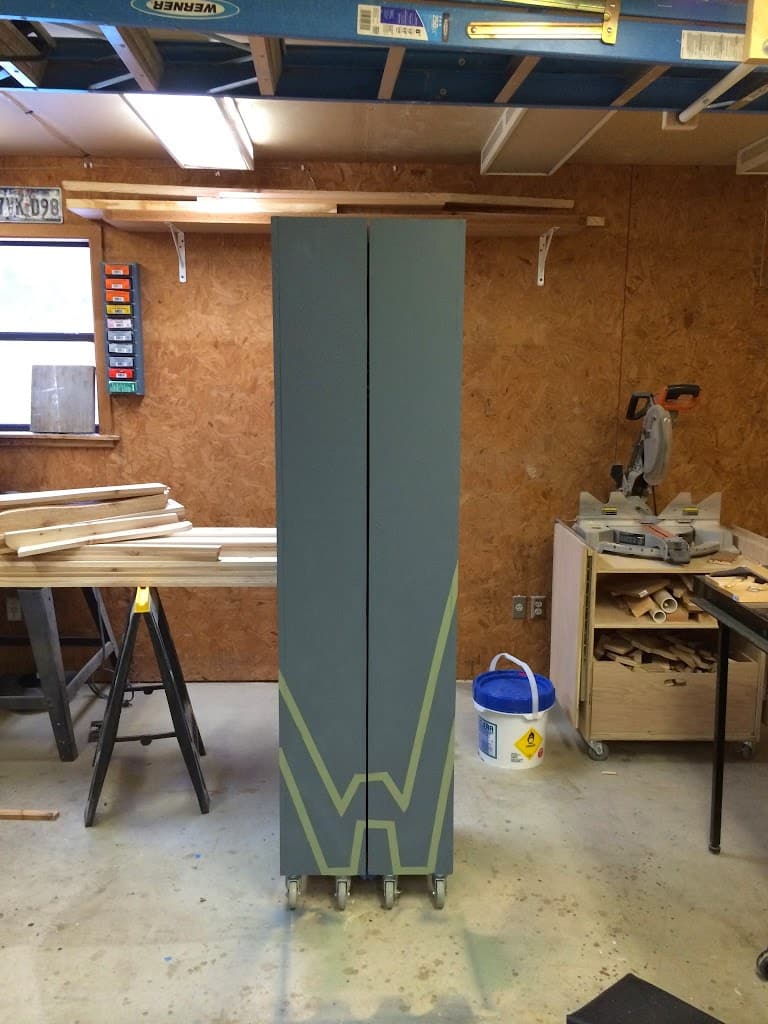
7) I thought that was too plain, so I added an A.

Total Cost: $0