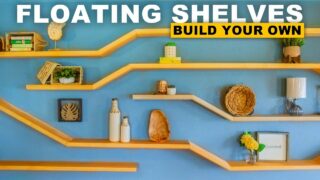
How To Build Floating Hexagon Shelves
- Home Decor DIY Projects
- April Wilkerson
- Updated: March 5, 2023
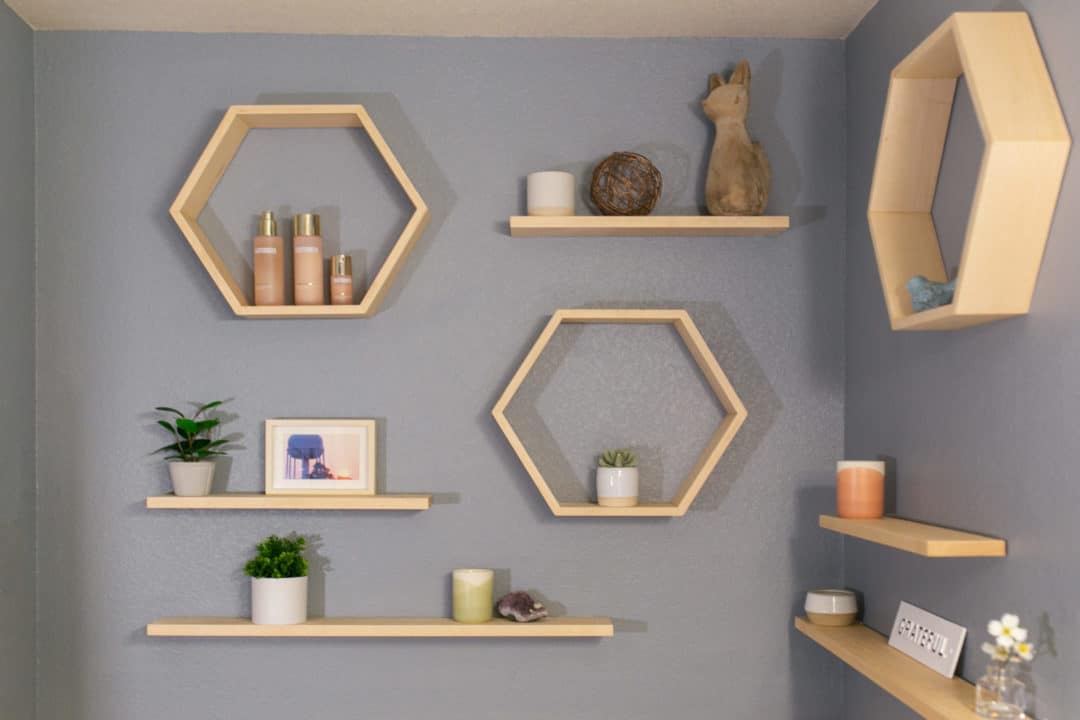
Thinking about building your own DIY floating hexagon shelves? Check out this project where I built my own floating shelving! Easy DIY project!
In this tutorial, I turned this bare and non functional space above my tub into something decorative and also functional. I now have a place to put candles, bath amenities, and also just decor to bring a little life to this area.
Let me show you the process.
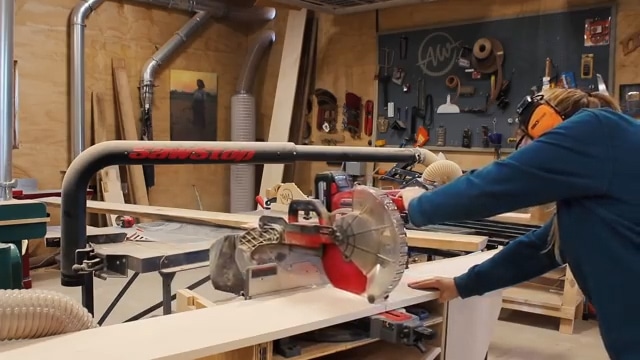
With my walls being a darker color, I planned on going for a raw wood look for my final project and chose maple as I think it will contrast nicely with the gray wall and I already had it on hand. My board is quite long and wide, so I first started off by cutting it to rough length at the DIY miter saw stand.
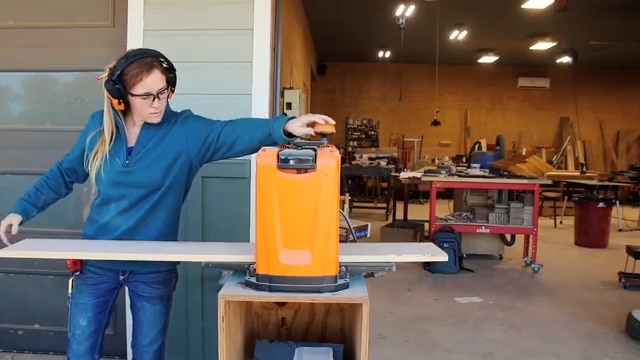
My boards were around 3/4” thick which would have been fine, but I wanted mine closer to 1/2” so next I wheeled my Triton planer to my shop’s porch and knocked my boards down to thickness. These boards will make up the three hexagon shelves I’m wanting for the space.
Know that everything about these shelves is flexible and up to personal preference.
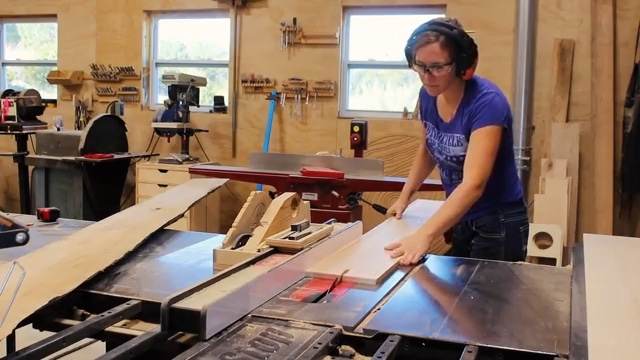
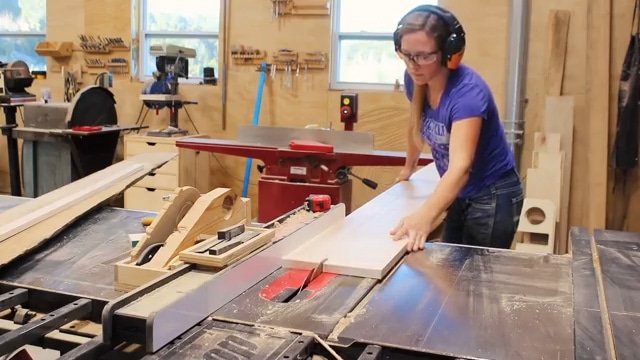
Next I set up my table saw to rip my board into 4” strips. I measured the items I have around my tub and 4” deep comfortably housed everything of mine. However, if you wanted to store, lets say towels, then you could also make this cut wider, which would make the finished shelf, deeper.
If you’d like a cut list for the ones I made, I have a Free Hexagonal Shelves Plans Download available here.
After cutting the strips to width, next was to cut them into pieces. The key to making the hexagon work is to get 6 identical pieces and the best way to do that is to set up a stop block. When using the miter gauge, you never want to butt your piece directly up against the fence. That leaves the cut off held tight between the fence and blade, which is what causes kickback.
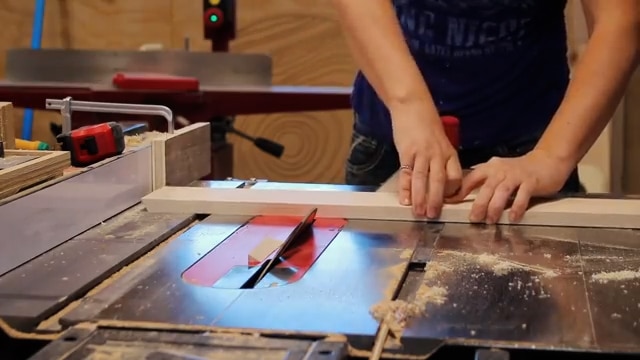
Instead, I place a scrap board and clamp at the front of my fence so that I can start my piece off resting on the stop block. But then, as I push the miter gauge forward and the piece contacts the blade, there is a gap between the end and the fence which will get rid of the possibility of it binding and kicking back.
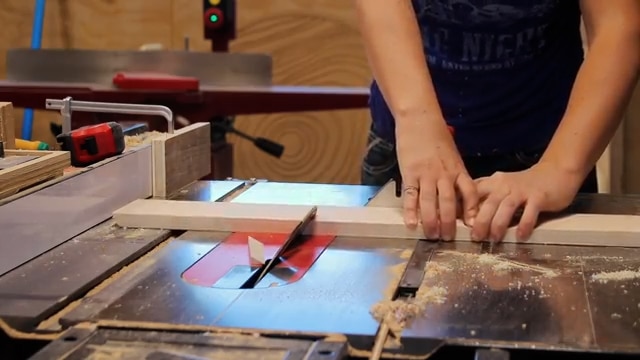
I first start by beveling one end of my board, then flipping it over and resting it up against my stop block before pushing it forward to bevel the second end. I repeated flipping and cutting the board until I had all six pieces to make up a hexagon.
When I got to my last cut, I didn’t have enough cut off to hold it onto the miter gauge. To make an extension I simply grabbed a scrap of wood and used two screws to secure it to my miter gauge. This gave me plenty of length to safety keep my fingers out of the way but still get my straight reference from the miter gauge.
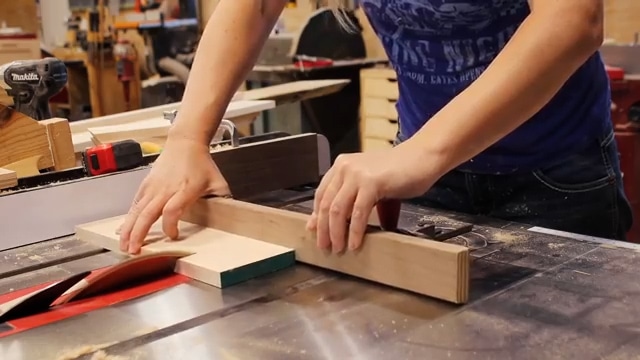
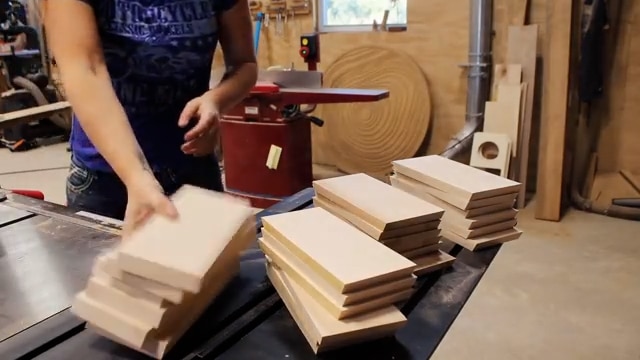
If you don’t have a table saw, another method for cutting these pieces is to use a miter saw with a stop block.
Ok, now for glueing them together. I don’t know why I chose to work on this make shift workbench instead of my Ultimate DIY Workbench (with PDF Plans) right behind me, but lets just go with it. I placed all my pieces upside down and butted them up to each other.
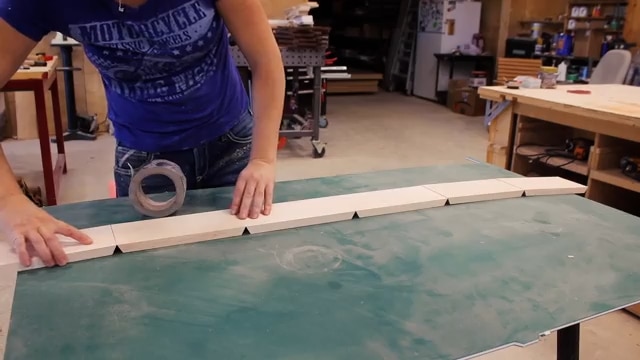
I used two strips of tape to connect them together. I typically use painters tape for this but couldn’t find any so duct tape it is.
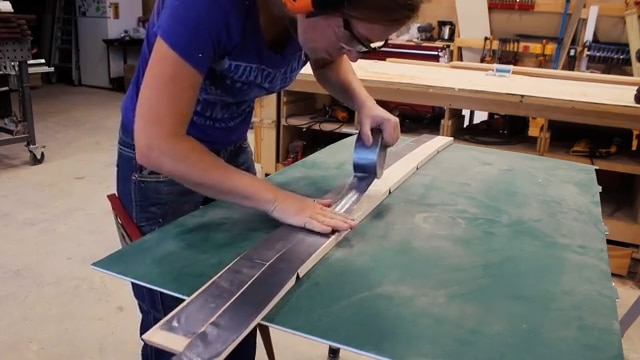
After getting the pieces joined, I flipped it all over so that I could apply some DAP Weldwood glue in each one of the joints. This is a yellow wood glue that is for interior projects and I really like that it’s both sandable and also paintable. I applied a liberal amount in each joint so that when I rolled it up, I could see squeeze out along the entire area.
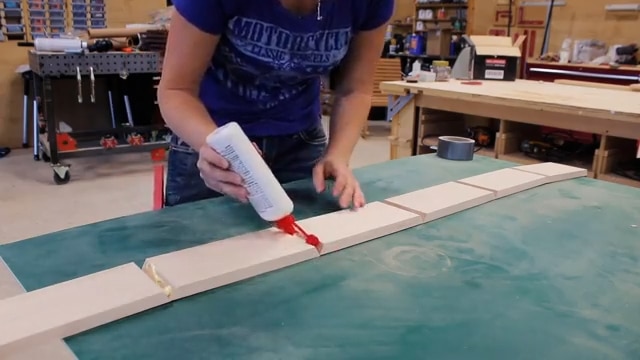
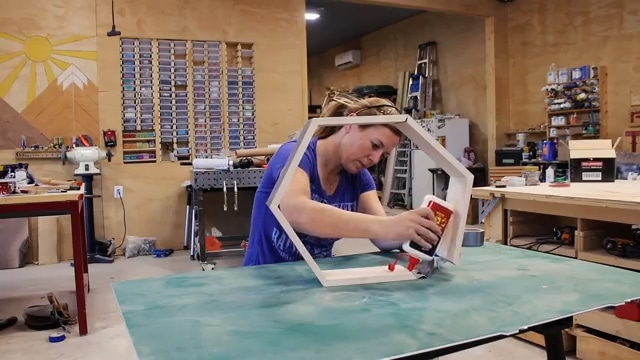
Woodworkers have been replying on Weldwood for several decades but they also make contact cement and spray adhesive so look for Weldwood the next time you’re needing adhesive.
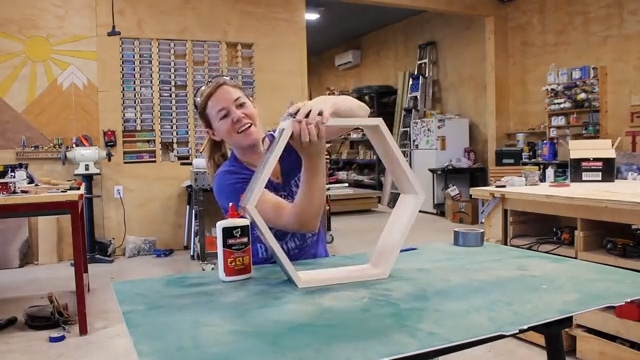
With these being simple shelves that won’t see a lot of movement or loads, I don’t plan on reinforcing any of the joints. Instead I made sure I had good coverage of WeldWood and I’ll go ahead and tell you that I tried breaking one and it took throwing it on the ground a few times before it busted, so I think it’s good for the goal here.
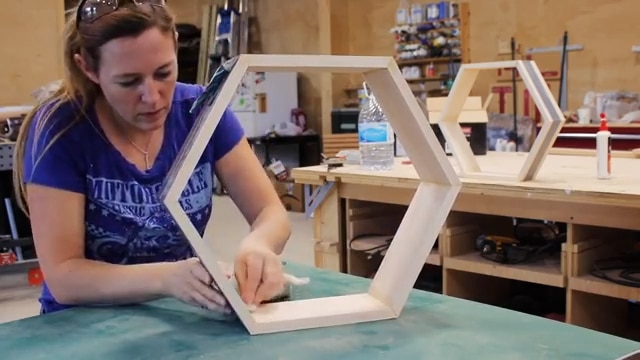
After taping the rest of the sets up, I used a little bit of water on a rag to clean up each joint of most of the squeeze out. Weldwood is an easy clean up with water.
While those were setting up, I started making the straight floating shelves that will accompany them. These are very simple as it just required ripping them to width at the table saw then cutting them to length at the miter.
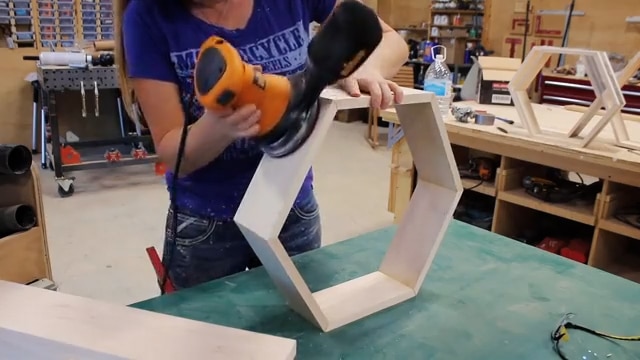
By the time I wad done, I was ready to take the tape off the hex shelves and start the sanding process with my Palm ROS. My boards were already pretty smooth from processing them so here I just had to clean up any of my glue squeeze out. Which was mostly the outside areas as the tape prevented me from getting after it with a rag and water.
Now on to finishing them. I chose maple for this project so that I could apply a clear coat finish and leave it looking almost like raw wood. I suppose I probably could have left it raw, but applying a finish is simple and will protect it should I get any water or wax on it.
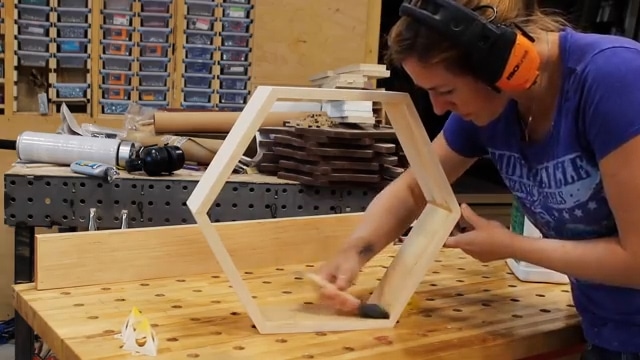
I let that sit over night then started the hanging process the next day.
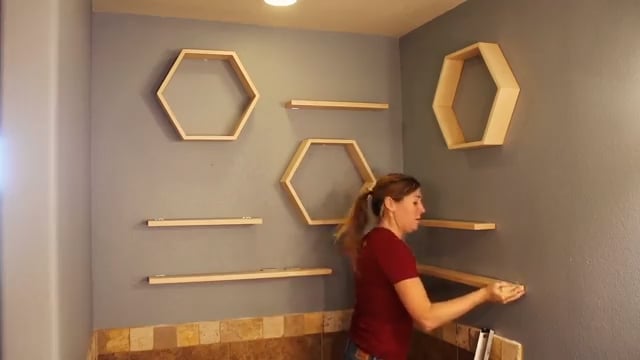
For the hexagons I hammered in a saw tooth hanger on the top back of each unit, then used a sheet rock anchor to get it exactly on my desired location. If you are going to be housing something heavy on these, then there are plenty of other hanging options.
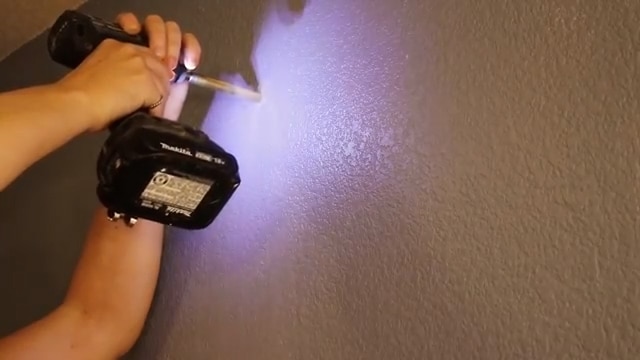
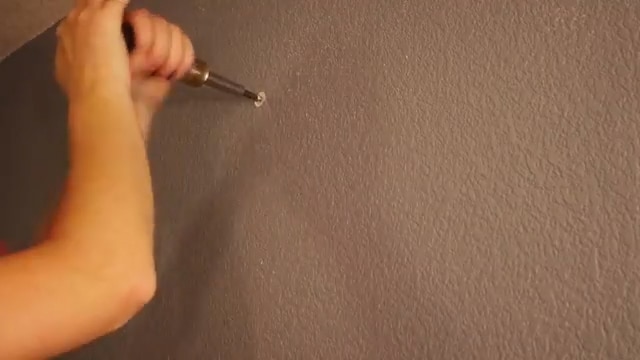
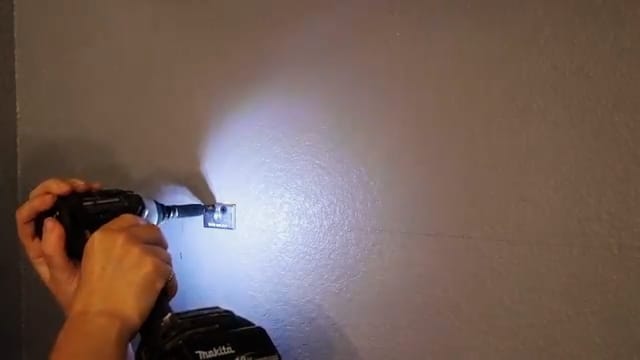
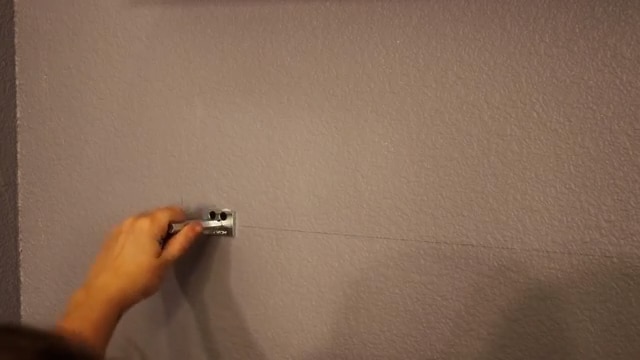
On the straight shelves, I went with the easy but strong Rockler floating shelf hardware. On these, a base plate is screwed into the wall first, then a metal rod can be screwed into the last hole then the shelf can be slipped on.
Last thing to do is to decorate. I looked up candle flame safety and it looks like 12” above a flame is considered safe. So make sure the area you place a candle has the needed room to not be a hazard.
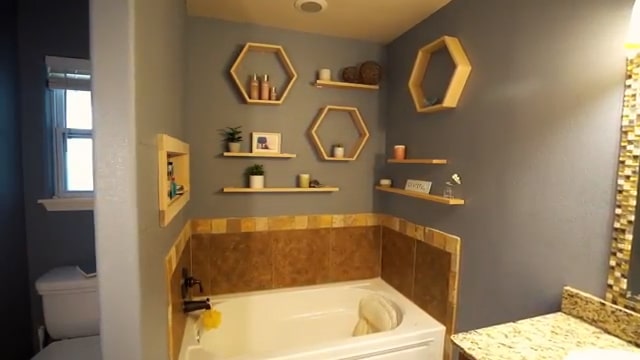
I know I’m bias, but I think this looks drastically better than it did before. Now I can put a few candles around, a few bath bombs, and even a few plants.
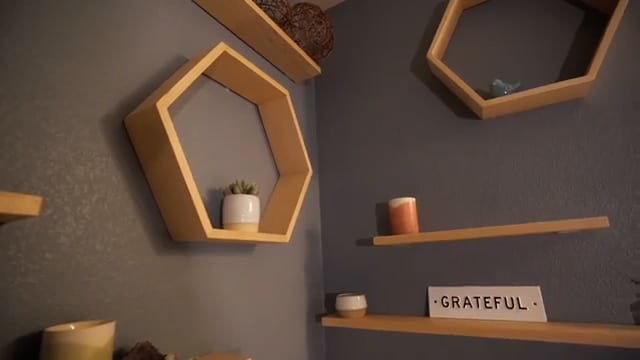
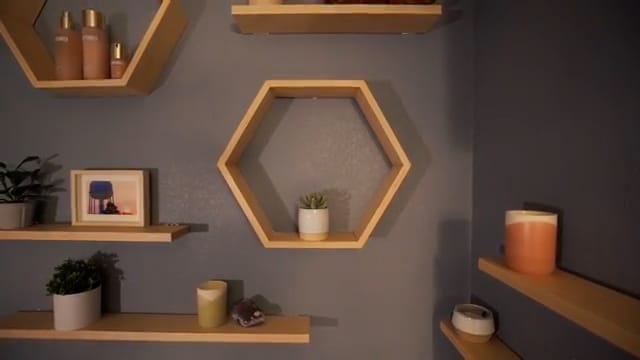
Be sure and watch the video above for an even better tutorial.
For the third wall, I plan to utilize it as storage for all the containers of things I need but don’t want all around my tubs perimeter. However, instead of building a cabinet on the wall, I plan to build a cabinet IN the wall. Stay tuned for my next video where I show how to go into the walls and magically open up more storage for any room.
If you haven’t already, don’t forget to sign up at the top of this page for my newsletter so you don’t miss new projects!
(Most of the links listed above are affiliate links. As an Amazon Associate I earn from qualifying purchases. Thank you for supporting me in this way.)