Easy DIY Window Pane Mirror
- Home Decor DIY Projects
- April Wilkerson
- Updated: March 8, 2023
Wondering how to make your own DIY window pane mirror at home? Check out this cool DIY project where I show you how I made a window mirror!
Still working on decorating my entry way, I remembered that I had two giant mirrors that I purchased at a garage sale about three years ago for $5. I figured it was about time to put one of them to use, so I turned it into this!

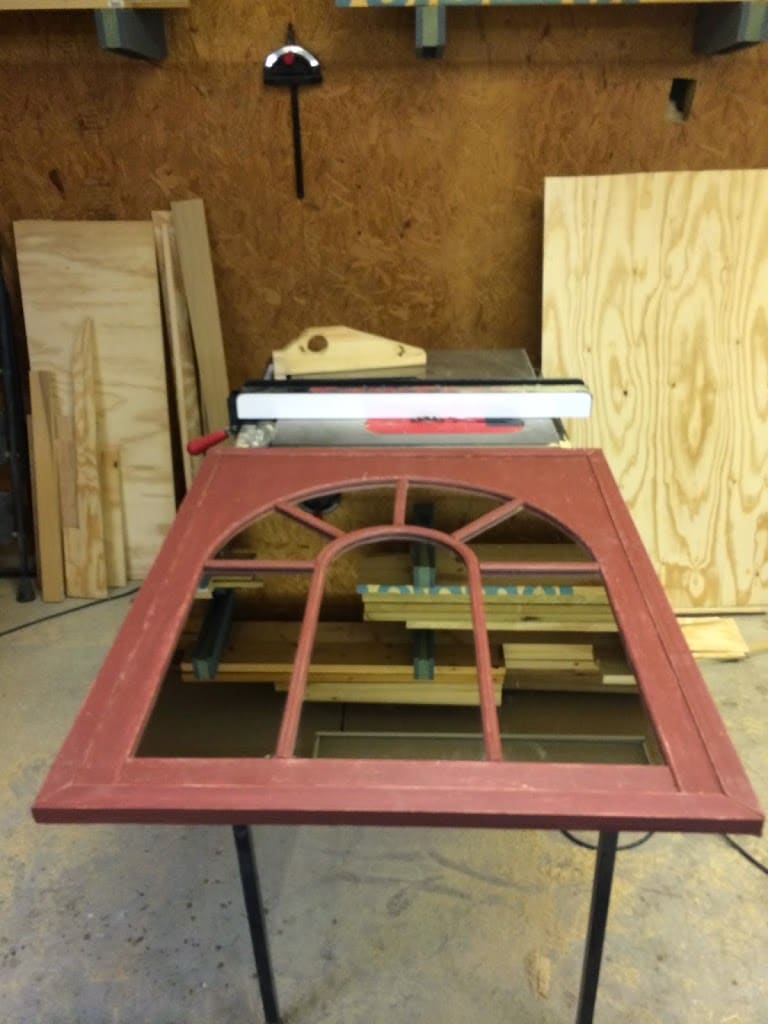
Oh my goodness….I really really love this. If you want to turn a mirror into a window look-a-like then I suggest looking around on Google to see different design ideas. The ones that really caught my eye were the arched mirrors, but since I had a square one laying around I made my arch fake. Last week was faux drawers, this week it’s a faux arch….I don’t want to hear it. : )
Here is a video showing the build process:
The mirrors I had were 55″x 38″ and 1/4″ thick. That was too large for my space, I wanted my mirror to be around 32″ (wide) x 38″ (tall). So I looked up how to cut glass and gave it a try. However, I didn’t get a straight break and instead of trying again and possibly ruining my piece I just called a local glass company and asked how much they charged to cut it for me. It turns out, they would make the cuts for free!
Note: I learned that 1/8″ glass is a lot easier to cut with the type of cheap tools that are sold at hardware stores. So I really suggest if you have 1/4″ glass to just take it to the pros right off the bat.
Tip: Also, if you don’t have a mirror hanging out, go to a Goodwill or Habitat for Humanity store before purchasing one for brand new. Mirrors are expensive new!
Ok ok steps…
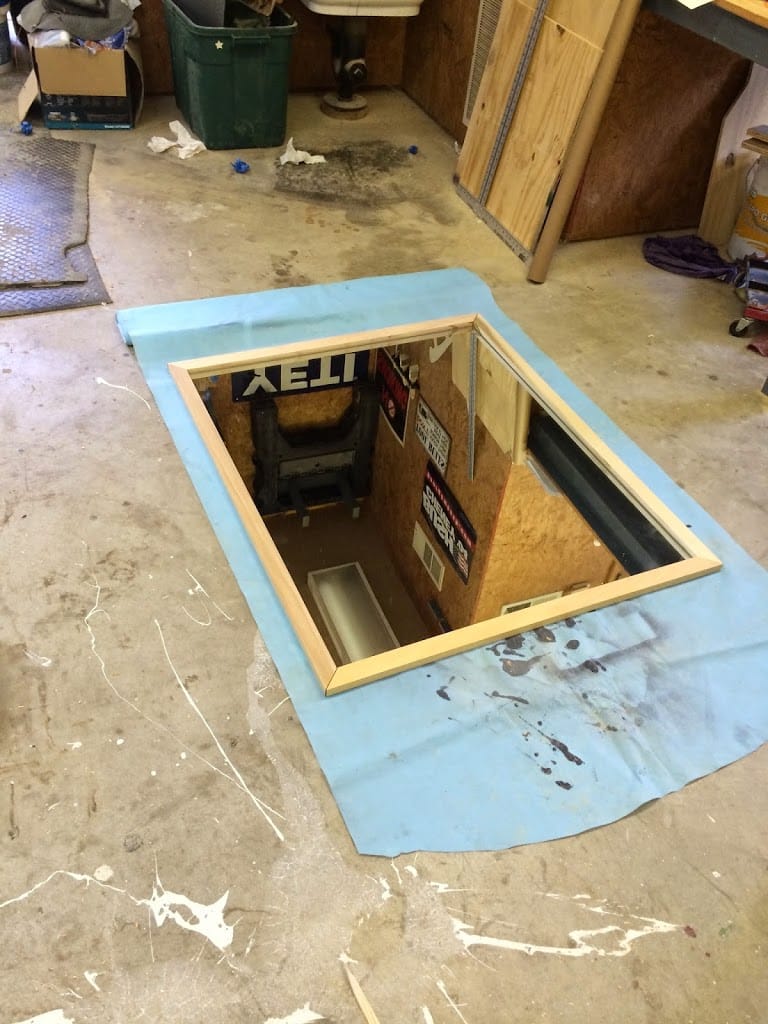
1) I got my cut-to-size mirror back and first made a frame. I used some 1x select pine boards and first cut four 1 3/8″ strips, then cut the miters. If you don’t know how to cut miters, then leave them off and use the butt joint.
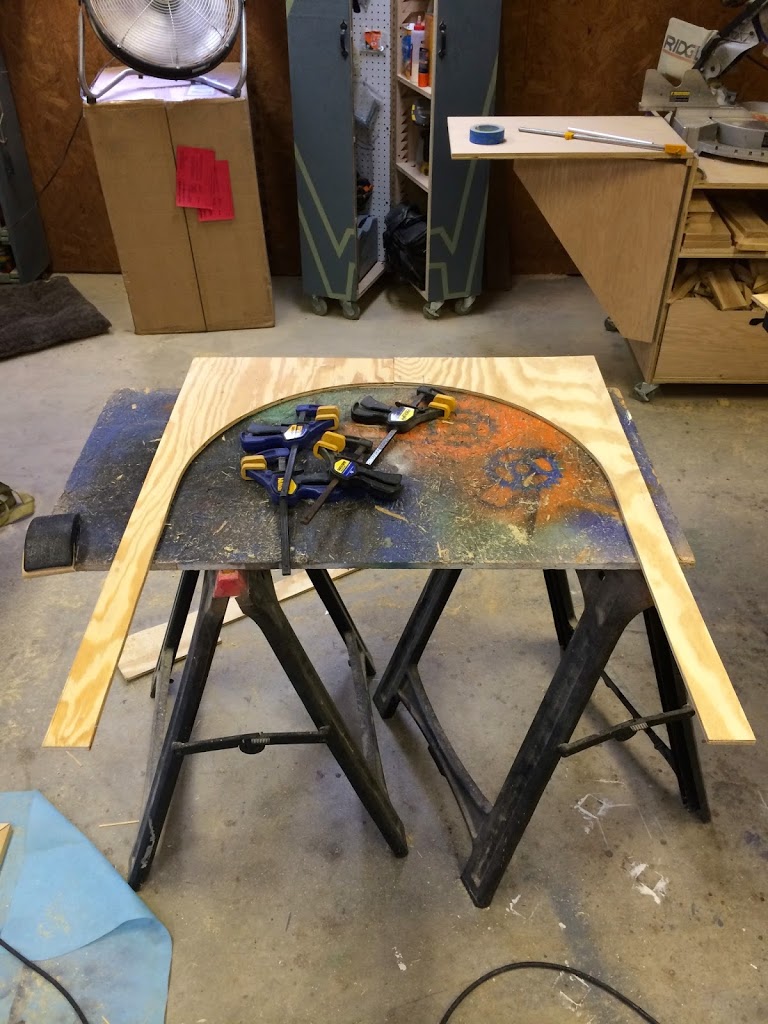
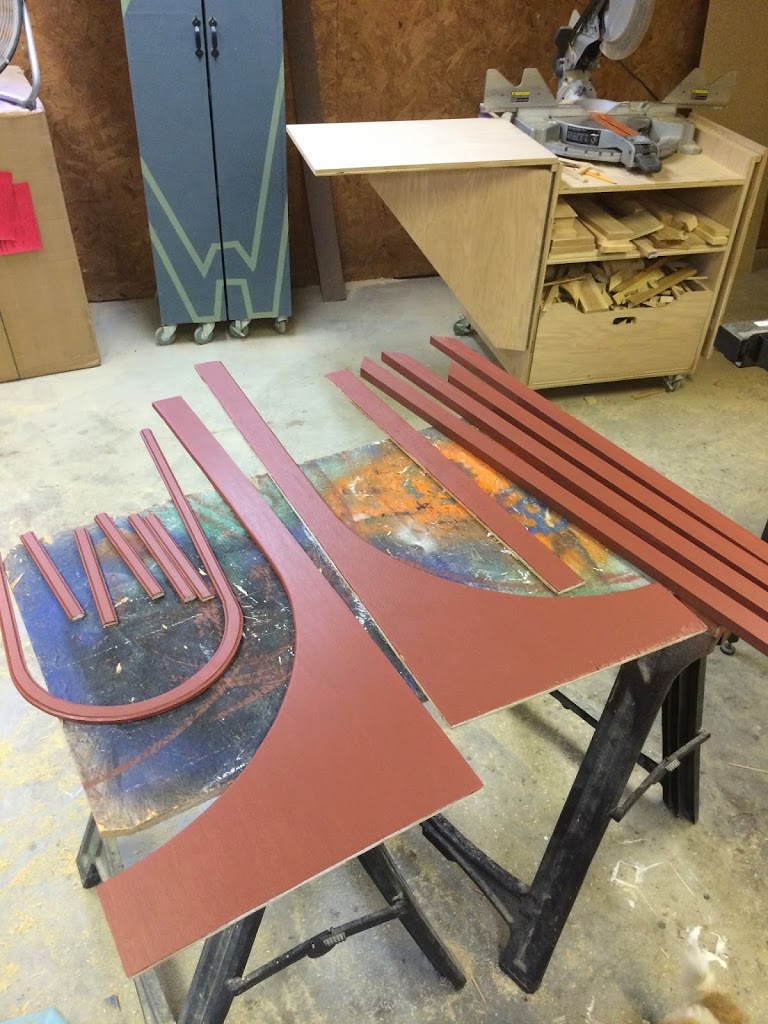
2) Next, I grabbed some 3/8″ plywood and started with drawing an arch that I thought would look nice. I made the sides 2″ and the top 4″, then used a compass to make the arch.
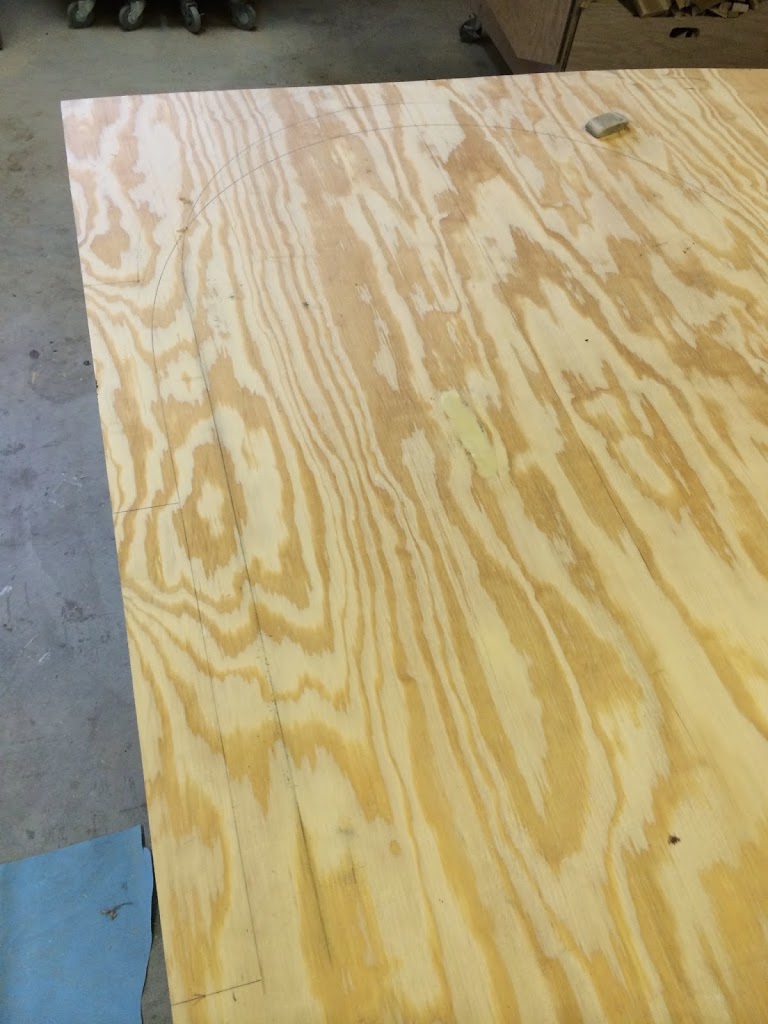
I drew the whole thing to get a visual but only cut out half, so that I could get it to be perfect symmetrical.
3) I drew the whole thing to get a visual but only cut out half, so that I could get it to be perfect symmetrical. I used my jigsaw to cut it out.
4) Once it was cut, I traced another one and rough cut it out. Then I clamped the two together and used my flush trim bit to make the second one an exact copy of the first. Note: If you do not have a router or a flush trim bit then just take your time and cut the entire arch, you can always go back with a sanding block and shape the arch until you like it.
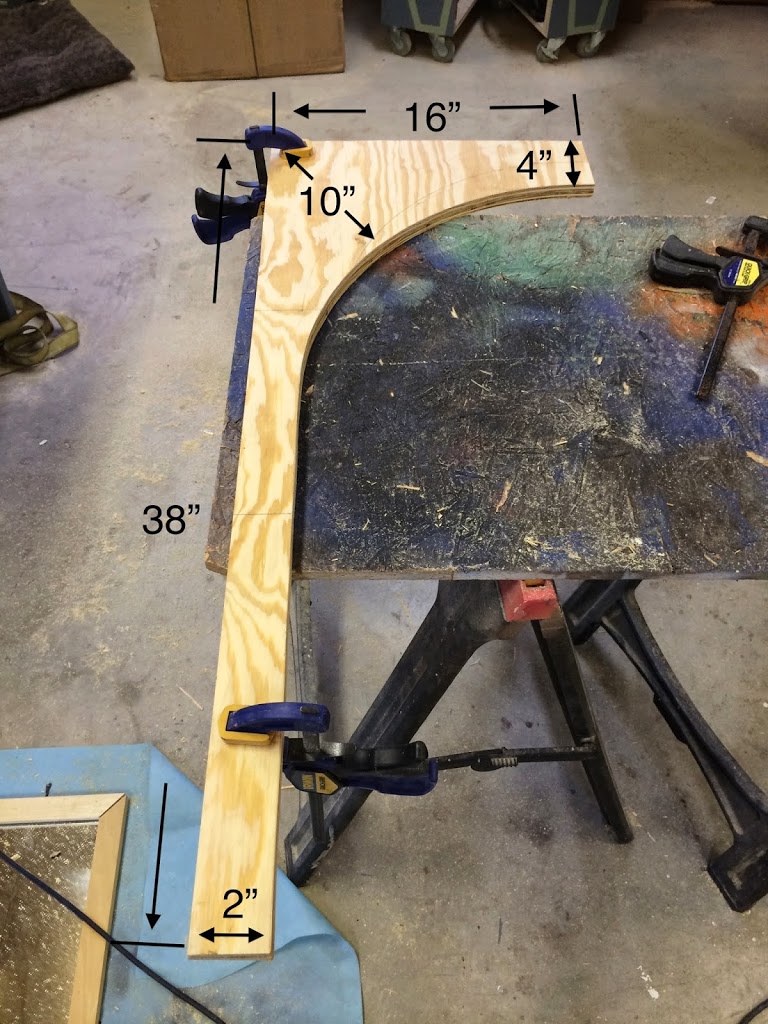
5) Next I cut a bottom trim piece that was 27 11/16″ long x 2″.
6) Then I started making the inside arch. I again used 3/8″ plywood and drew out the arch with a straight edge and compass. I made the sides 3/4″, spaced the sides apart 10″, and started off with making it 26″ tall. However, once I cut it out I thought it was too tall so I knocked it down to 23″ tall. This makes the top of the small arch, as well as the sides of it, around 8″ from the outside arch.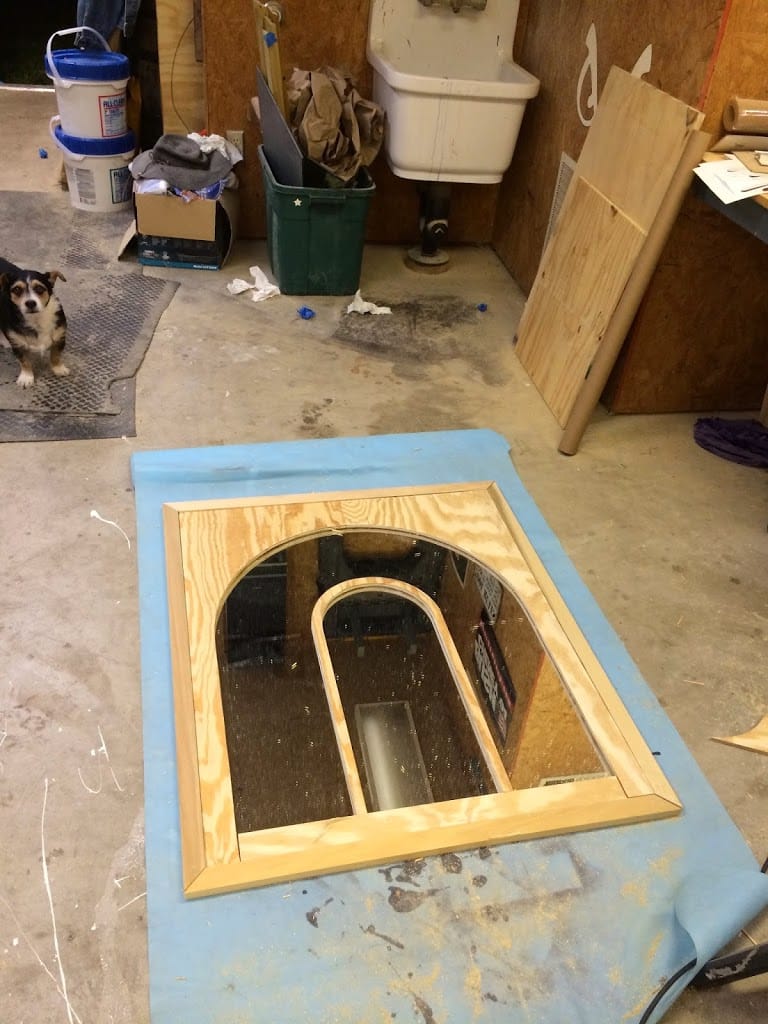
8) Once I was done with the router, I took my 3/4″ strips and cut them into 8 1/4″ pieces. Even though the space between the inside arch and the outside measures 8″ right now, nothing is glued down so the exact dimension might change.
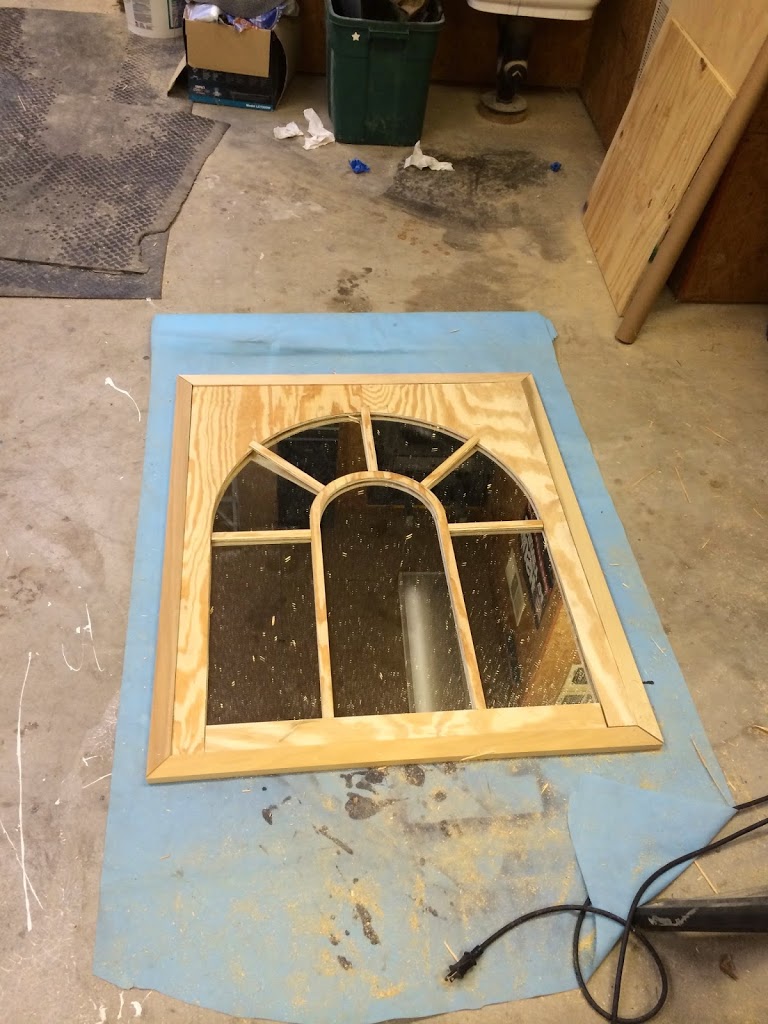
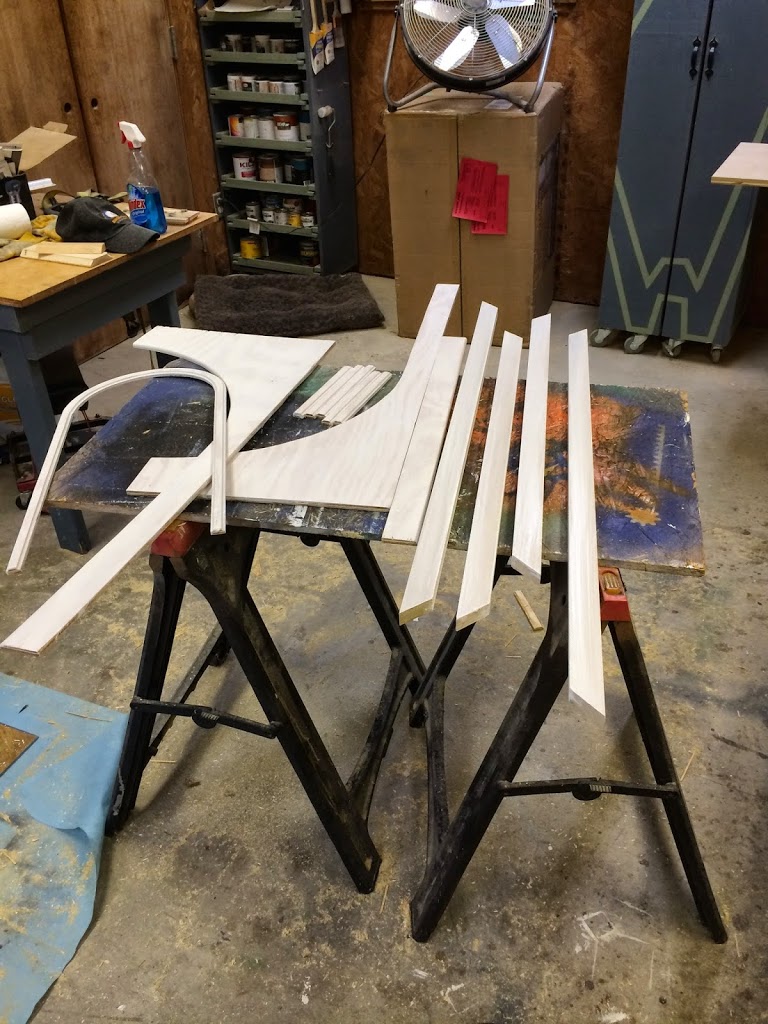
10) While that was drying I grabbed some 1/4″ plywood and cut a back. I made the back slightly bigger than I needed just to make sure it wouldn’t be under flush.
11) Then I bought some Loctite mirror adhesive and glued the mirror to the 1/4″ back.
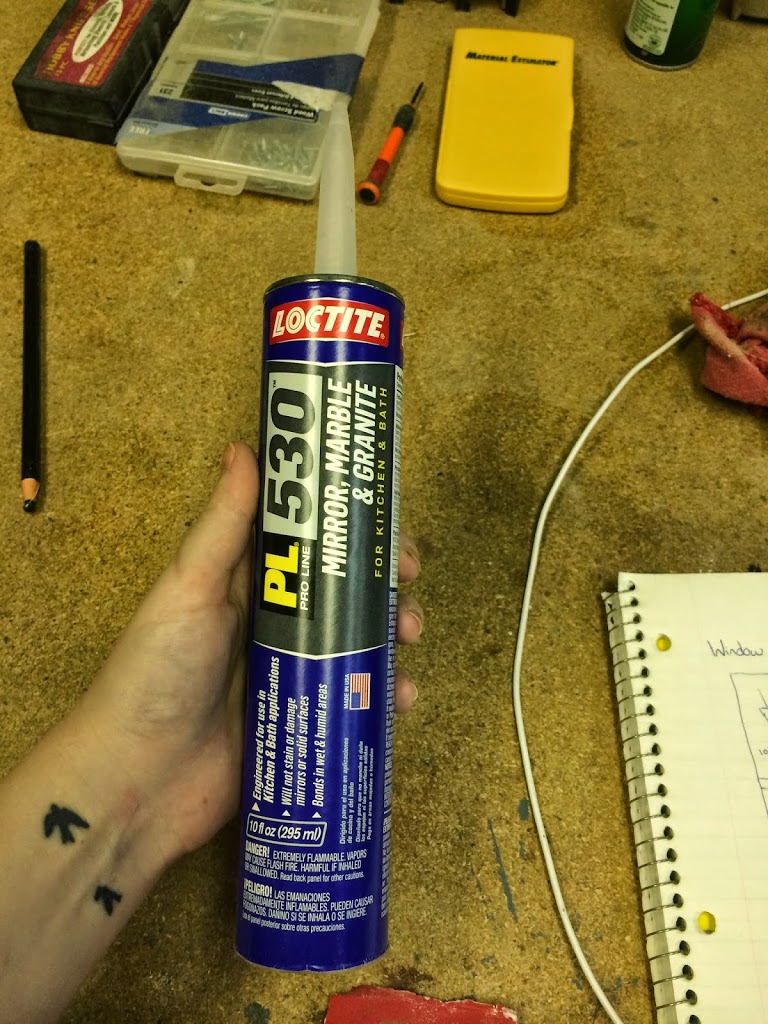
Note: You need to be sure to get an adhesive that specifically says “mirror” on it. Liquid Nails also makes a product for mirrors. This type of adhesive is made special so it doesn’t eat the silvering off the back and destroy it.
Tip: To make sure I was smearing the glue where it needed to go, I first lined up the mirror and frame on the back, got everything where it fit the way I wanted, then removed the frame and traced around the mirror. Then I was able to set the mirror aside and start laying down the glue.
12) With the back attached, now I was able to start glueing down everything else. I started with using wood glue to attach the frame.
13) When I went to test fit all the inside pieces, I noticed that in the reflection, I could actually see that the backs were not painted. Drat. So I quickly put on a coat of paint on all the backs.

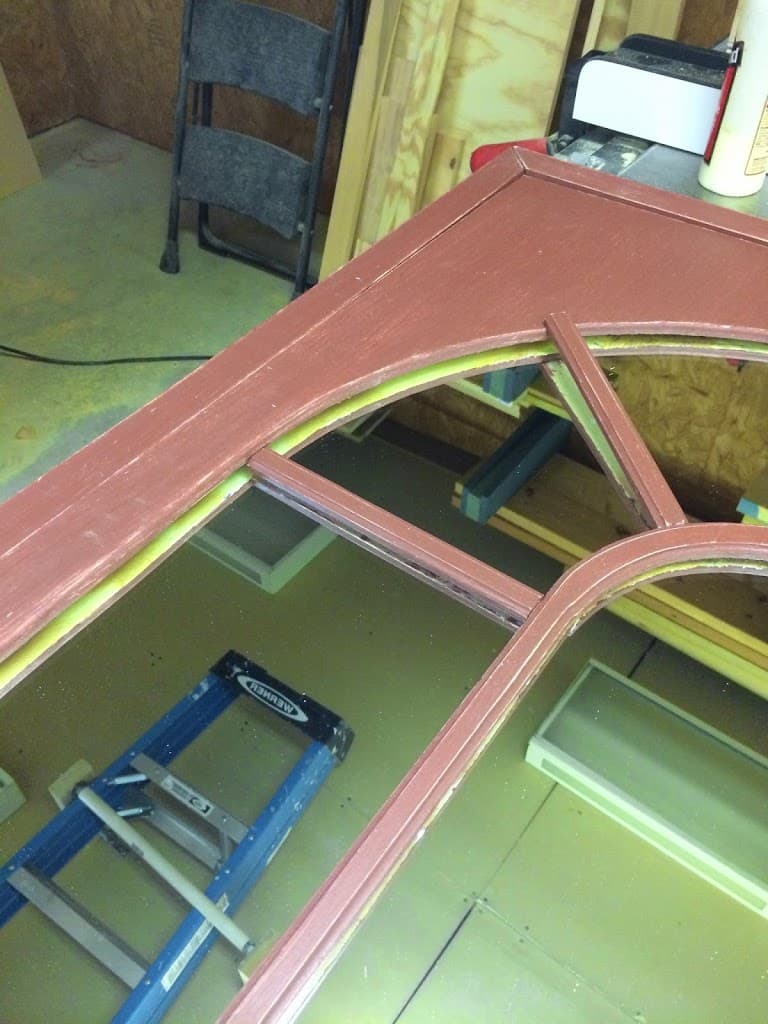
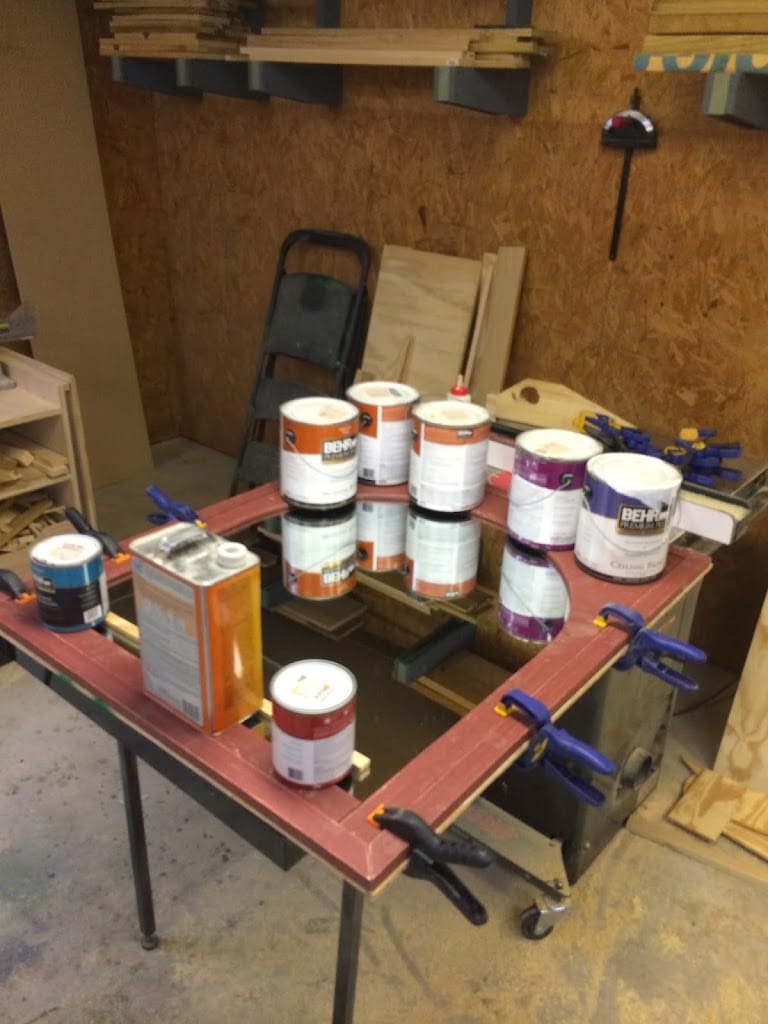
15) I glued the two outside arches and bottom first, then the inside arch, then the small pieces. Once you have the center glued down, then you can measure and cut those small pieces to the exact length they need to be. Mine ended up being 8 1/8″.
Yay!! I do love this. It is so hard to get a good picture of it. One, I stick at taking photos, but also the lighting in my entryway is pretty awful. Typically I get great natural light, but it’s been overcast and rainy all week! Just my luck. : /
I’ll add an update with a better photo once the sun decides to come out. : )
Let me know what you think? Since I used wood I had, and bought the mirror for $5, the only other cost was the special adhesive…..not bad!!