Easy DIY Rolling Storage Cabinet
- Workshop DIY Projects
- April Wilkerson
- Updated: March 8, 2023
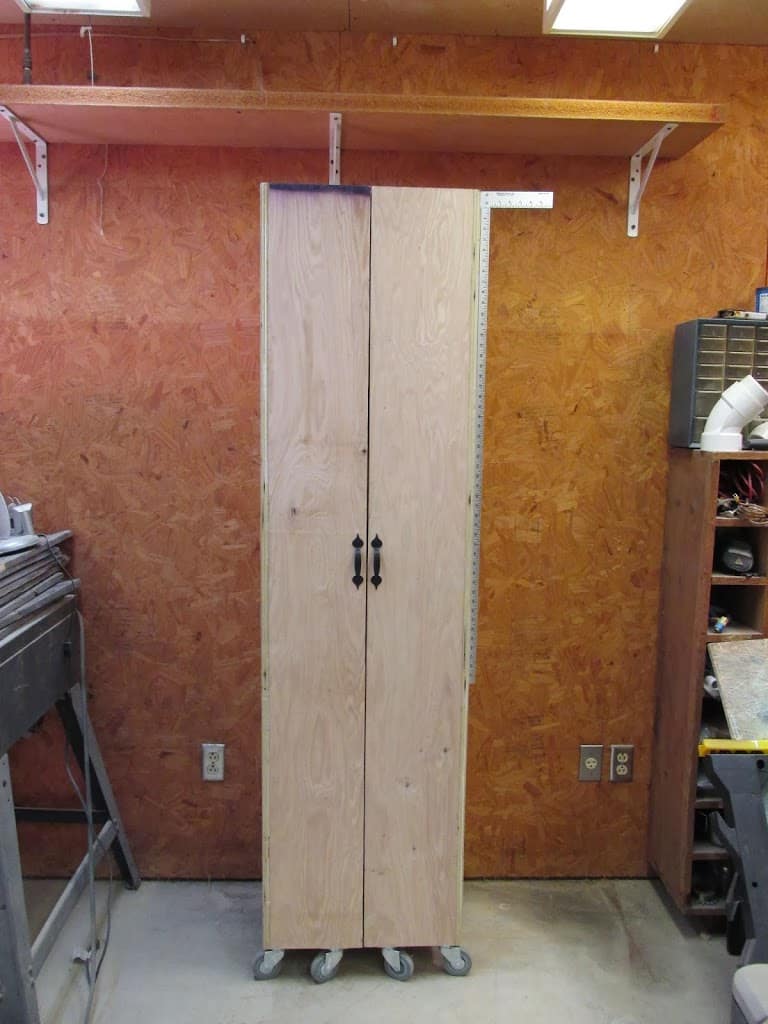
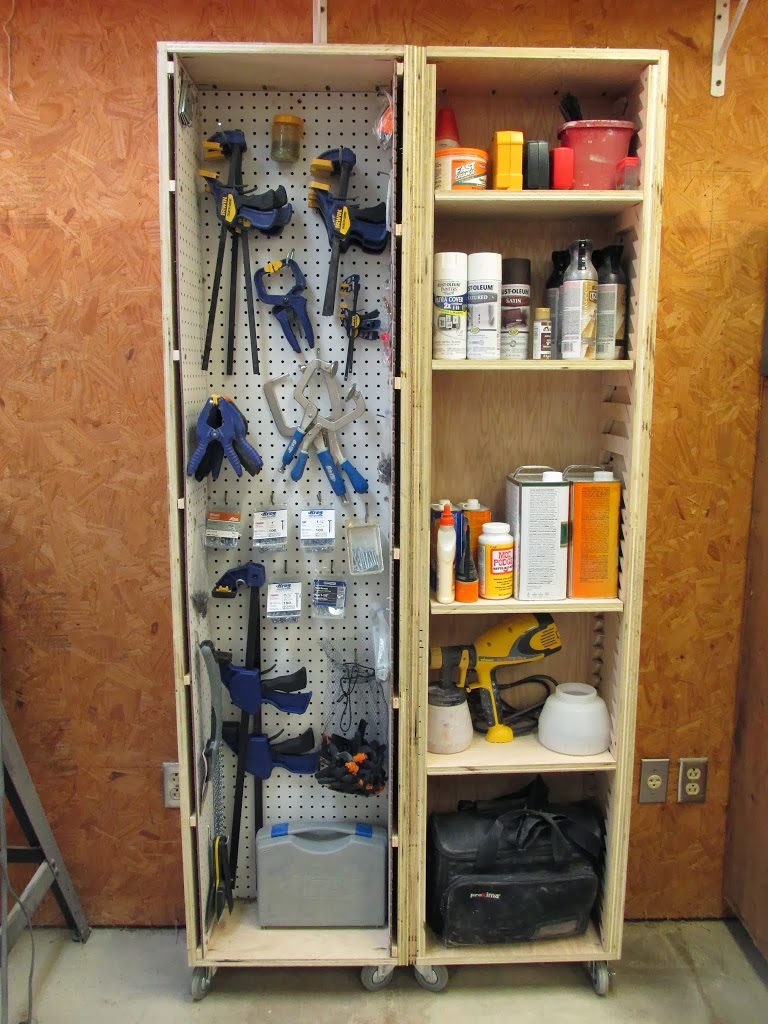
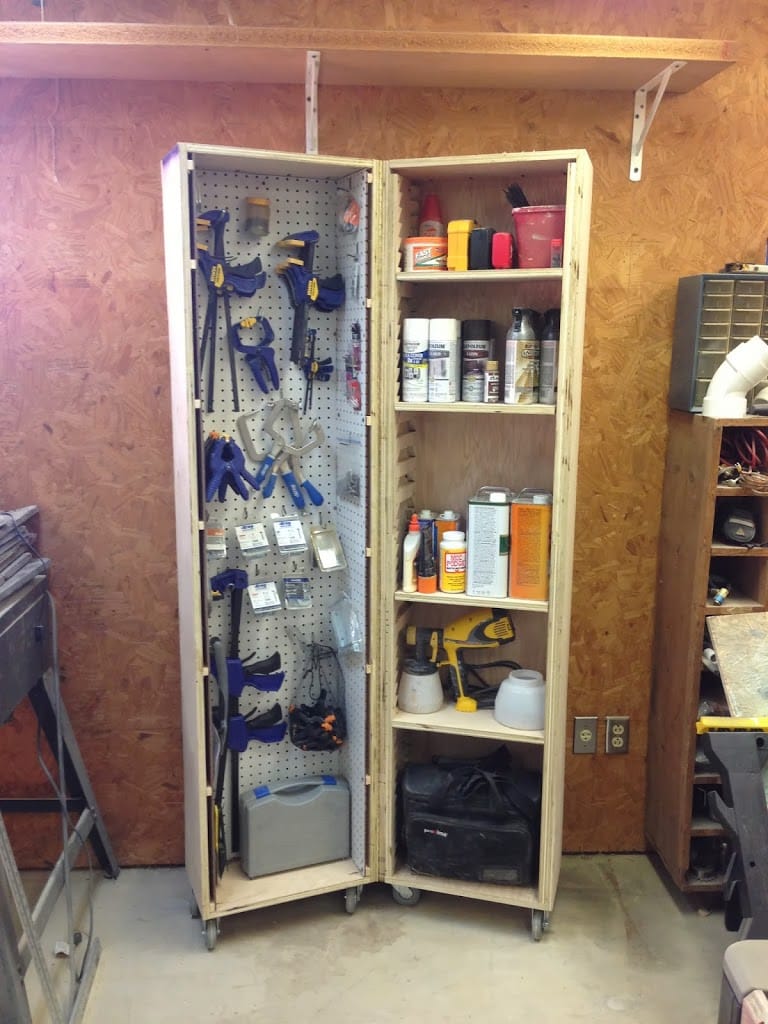
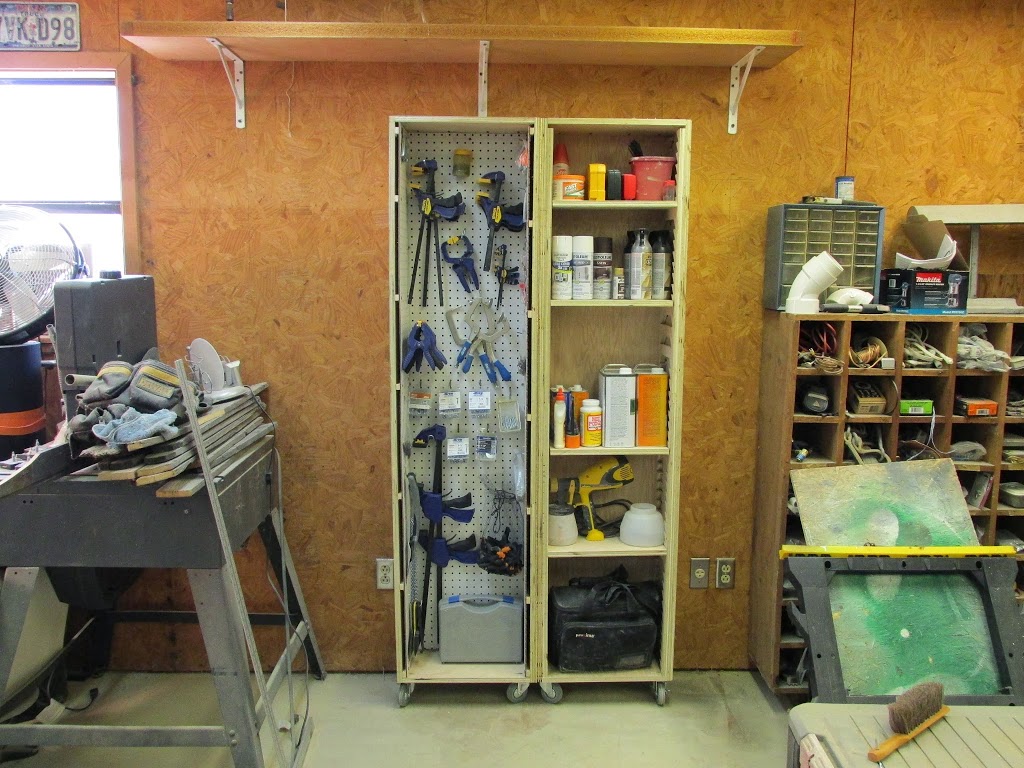
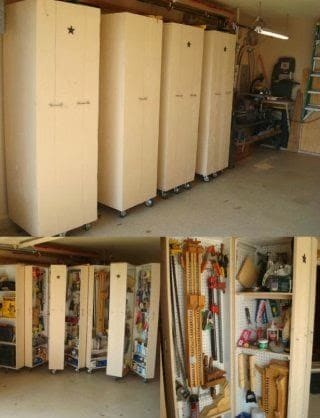
I originally saw the above photo probably about 6 months ago and just fell in love with the idea. See the metal cabinet in my shop right now is actually Cody’s. I have been waiting for him to organize his space enough to make room for it and that cubby hole thing you see. So last weekend I got the cabinet moved and instantly started building it’s replacement.
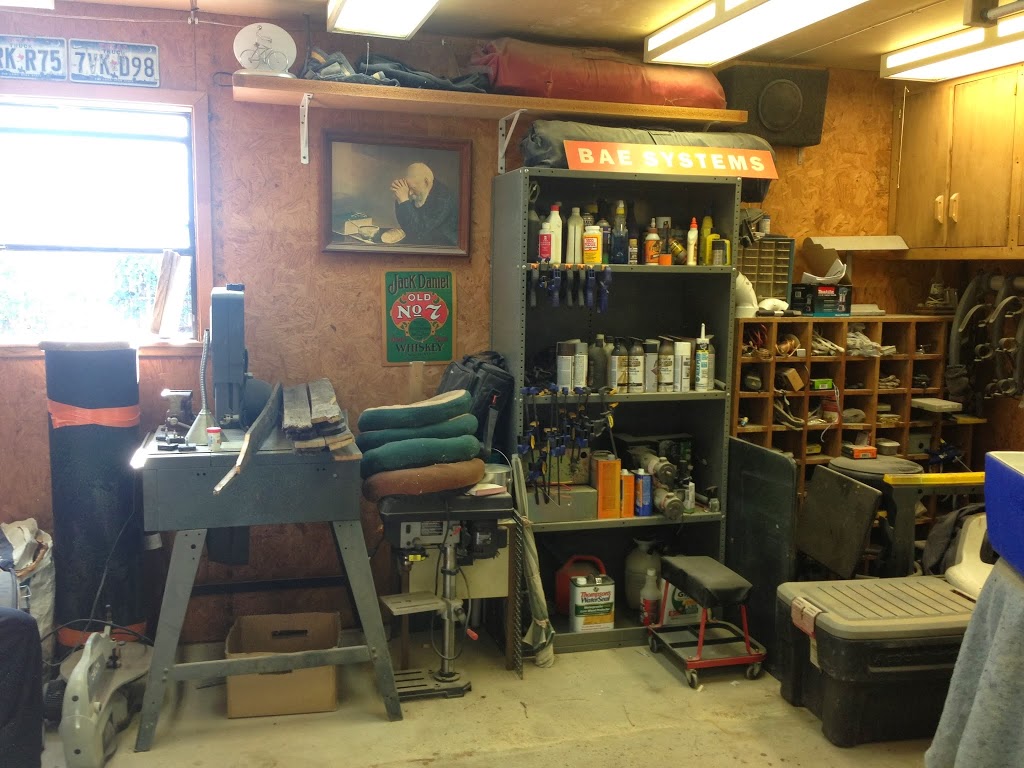
This is what my space looked like before this weekend….
I didn’t want to build one as large or as deep because I don’t have many things I need to stowaway so I designed one that would be only two cabinets at 9″ deep, 3′ wide when it’s opened (18″ closed), then 6′ tall. I wanted pegboard on one side, and adjustable shelves on the other and of course casters on the bottom.
This thing is totally customizable so if you want your own storage cabinet but want different dimensions then just use the same steps but adjust the sizes. Also, if you want shelves on both sides or pegboard on both, just make it anyway that will fit your storage needs!
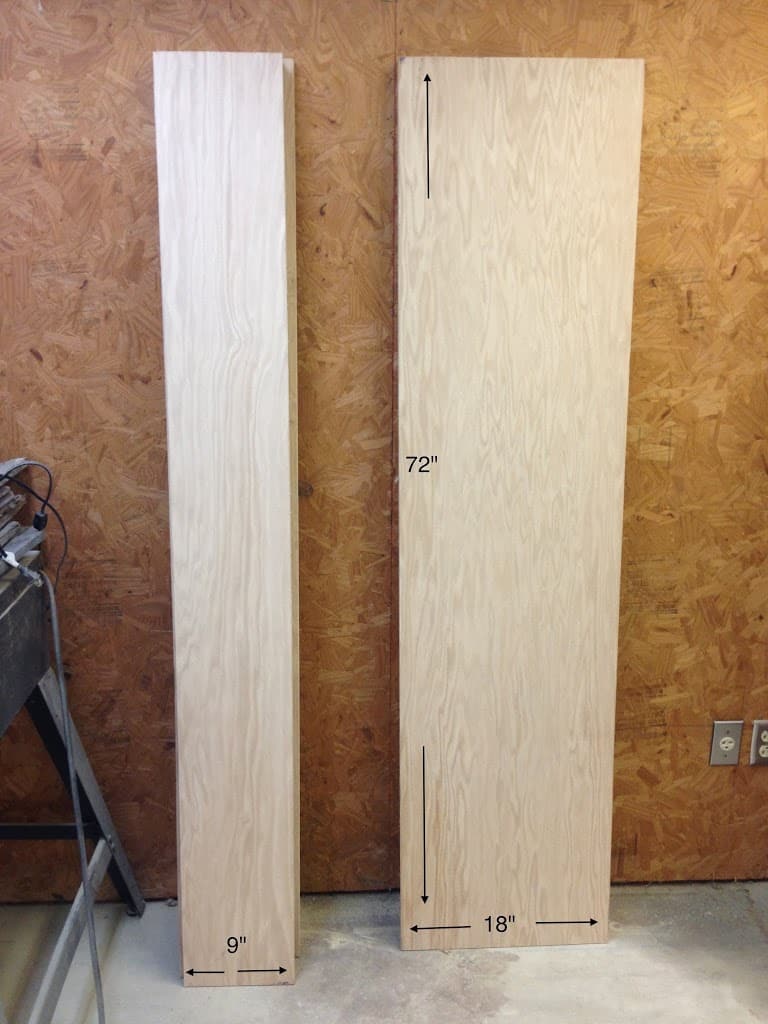

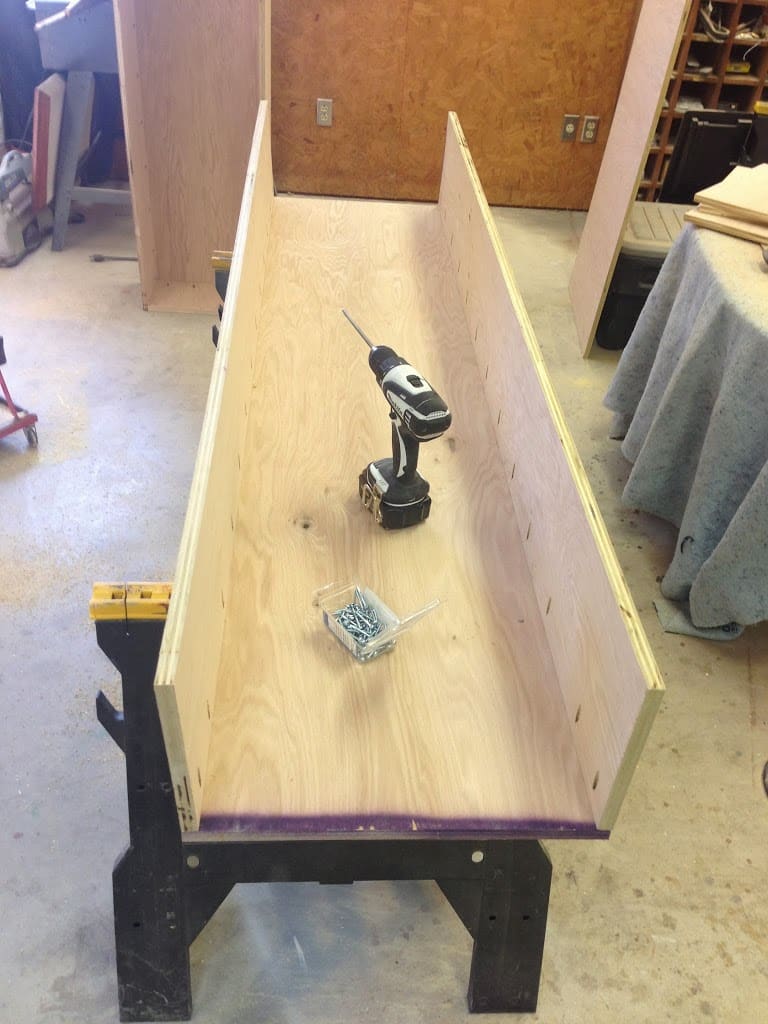
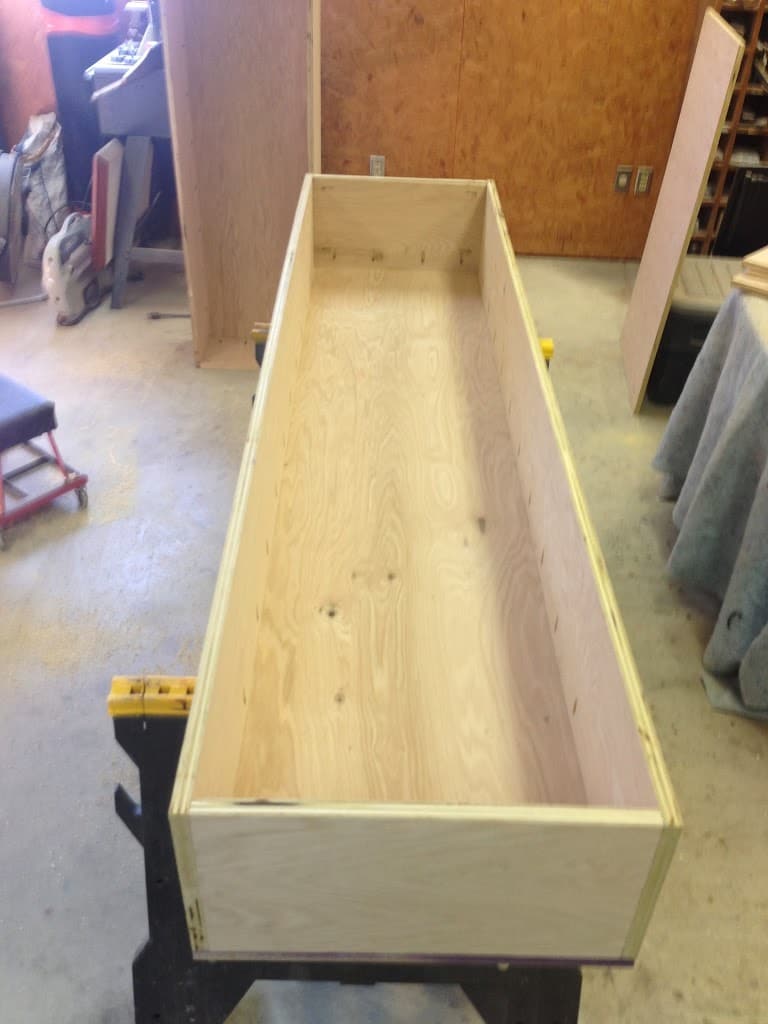

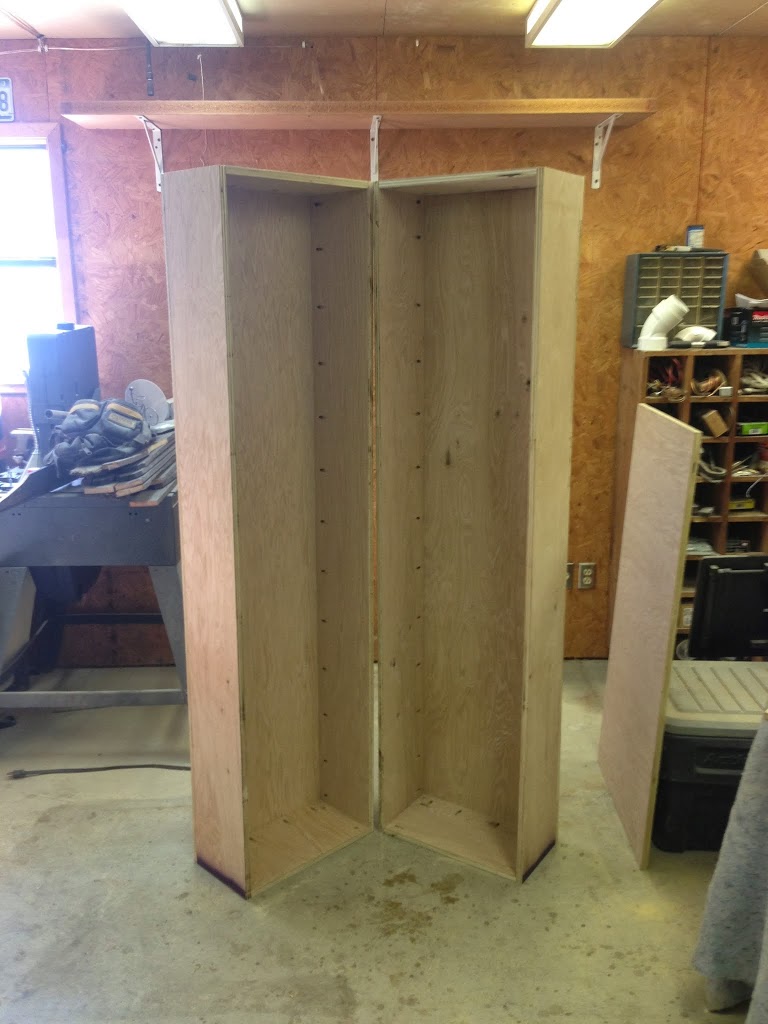
So far so good. : )
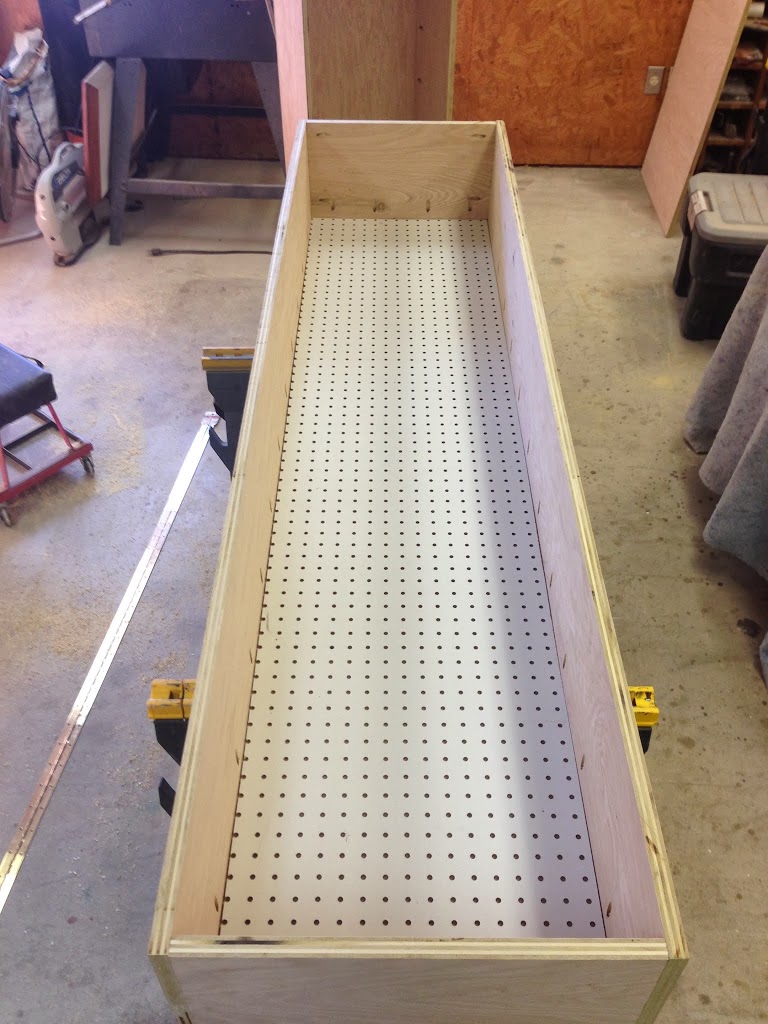
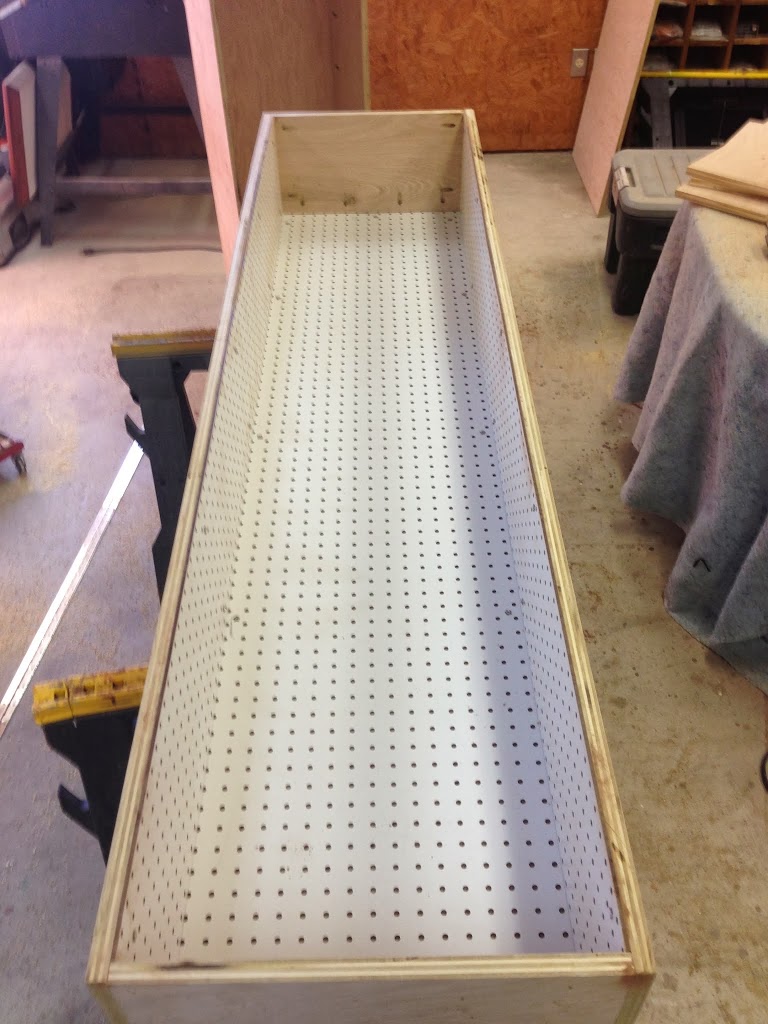
WilkerDon’t: I’m sure anybody who has ever worked with pegboard already caught my mistake….Since I attached the pegboard directly to the back and sides, there is no clearance to allow for the peg to be inserted into the material. : / Drat. So learn from my mistake and don’t attach it directly to the cabinet.
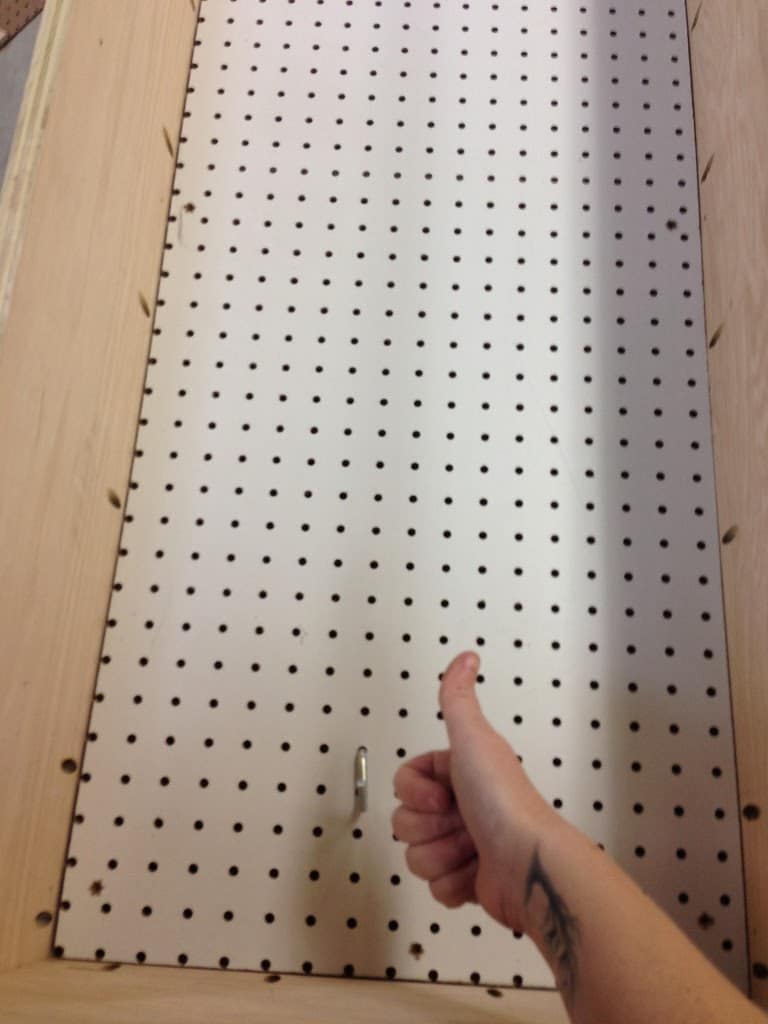
6) I wanted enough clearance to use 1/2″ pegboard hooks so I grabbed some scrap 1/2″ wood and cut seven stripes for each side.
7) Next I laid one on each end then set the rest at every foot and glued/clamped them in place.
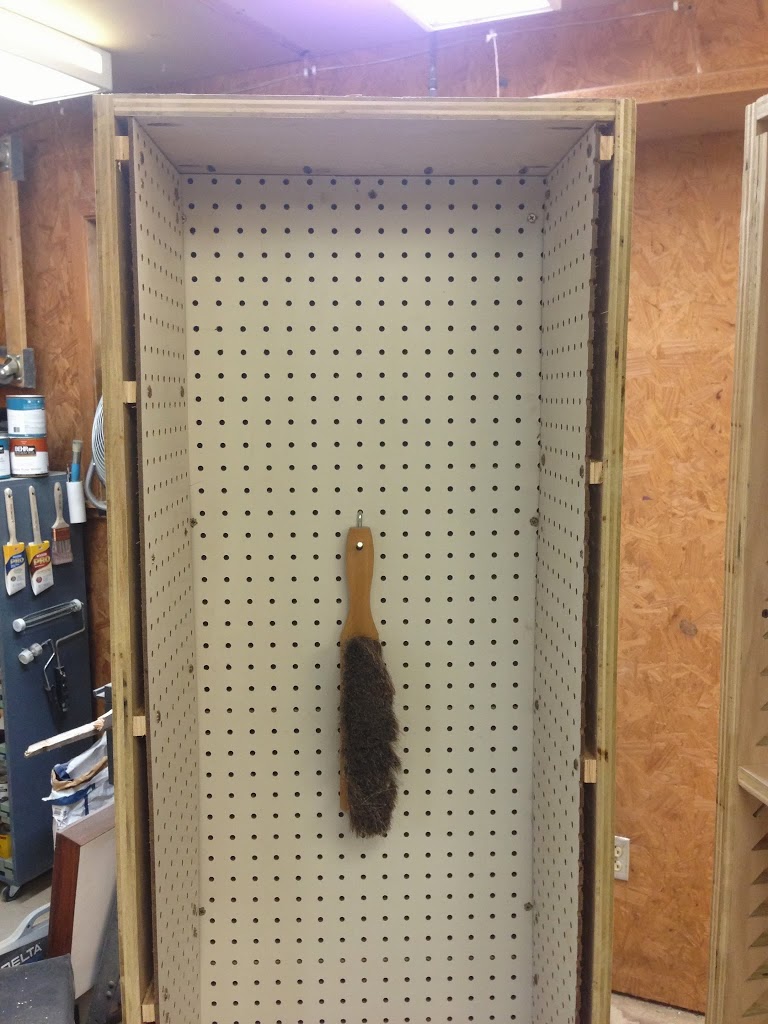
I know what you’re thinking….I’m not a fan of those gaps either but I can’t add on a faceplate to make it prettier because then the hinge would be screwing into that material and I don’t want that. Rather, I want the hinge screwing into the beefier material of the frame itself. If it really bothers you, you could cut skinny vertical strips and screw them in place. I’ve decided that I’m not going to sweat it. ; )
Adjustable Shelves:
If you want shelves then you can go about it several different ways: You could just drill partial holes and use pegs, you could purchase metal stripes from the hardware store, or you don’t even have to have them adjustable! You can just screw them permanently in place wherever you want them. Options options….I wanted mine to be adjustable and I also wanted to make them.
I saw the below photo and loved it. I like the option of being able to move my shelves and like the support this gives the shelf instead of just two pegs on either end.
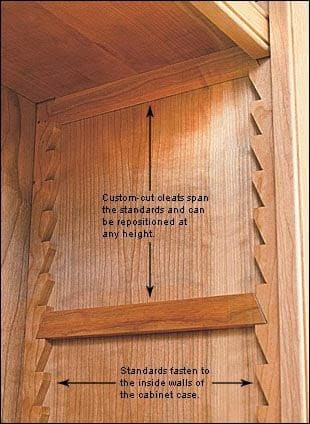
9) Since I’m only putting shelves in one of my cabinets I will need four stripes of those jagged teeth looking things. So I grabbed one of the 6′ stripes left over from making all my cuts in the beginning and used my speed square to start making my marks. I came in 1/2″, so I lined up the 5 to the top every time, then made a 45 degree angled line 1 1/4″ long.
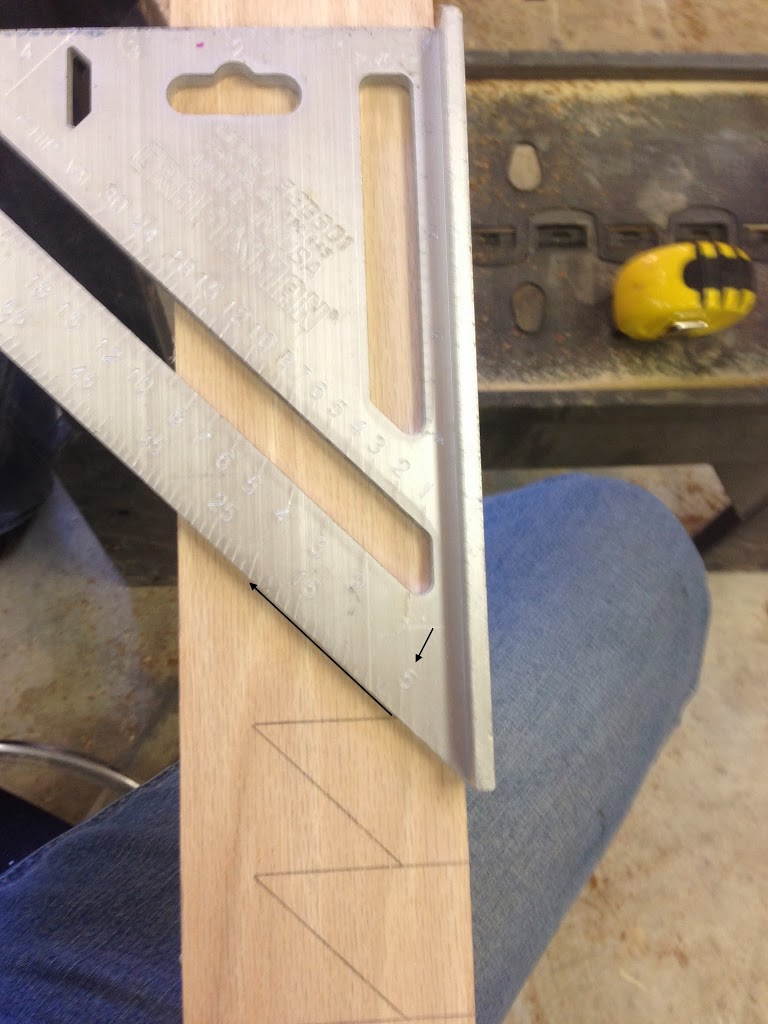
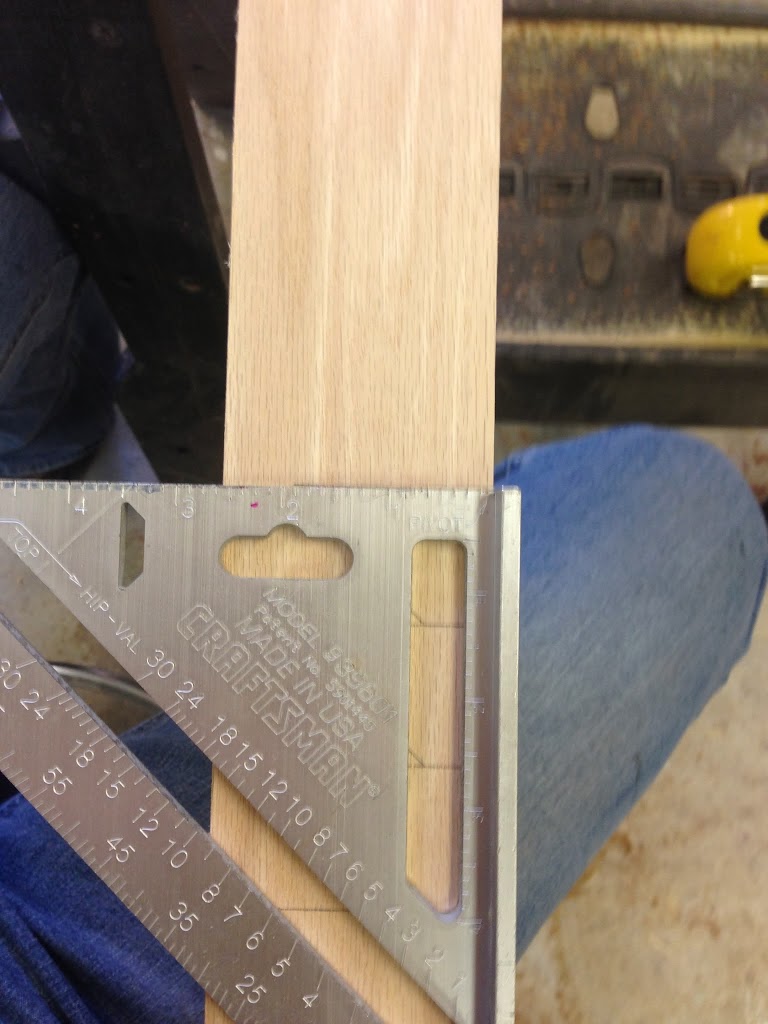
It ends up looking like this. ? Hm….I have no idea why I’m holding it upside down. : ) Sorry.
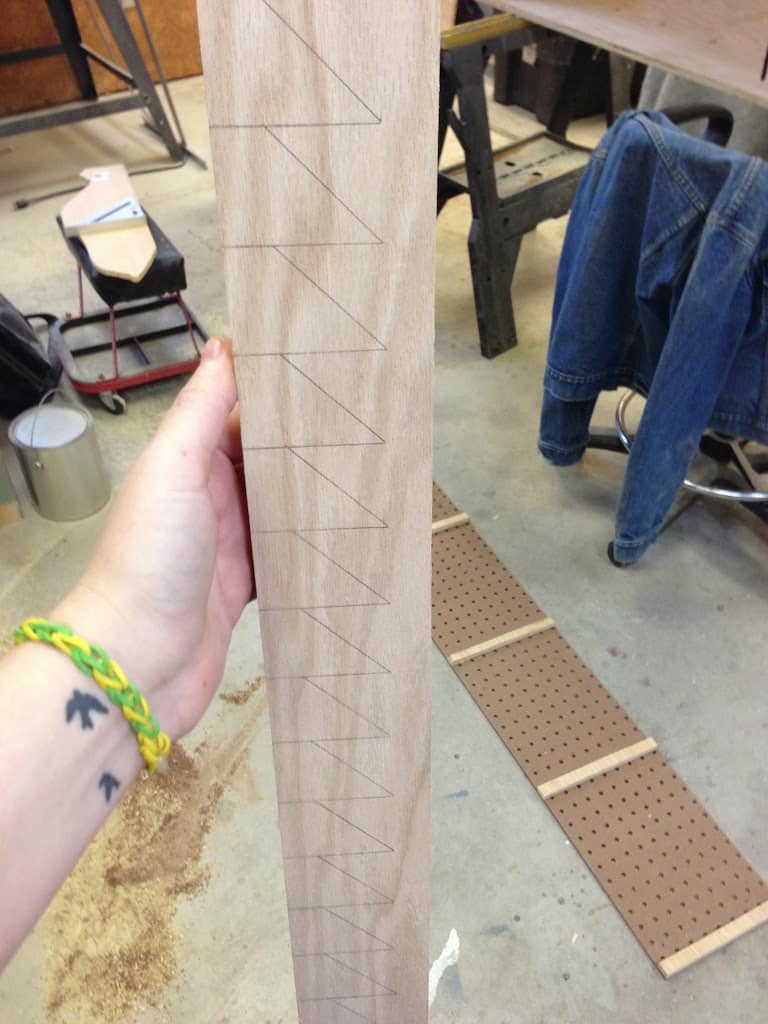
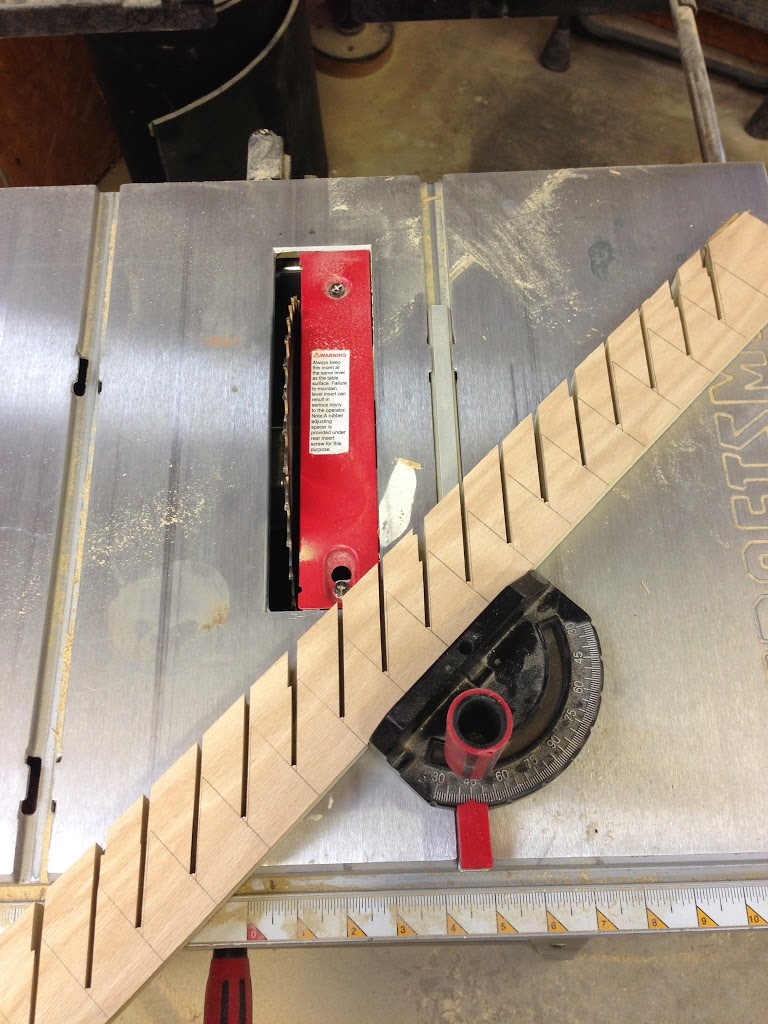
Then set it back to 90 degrees and finished them off.
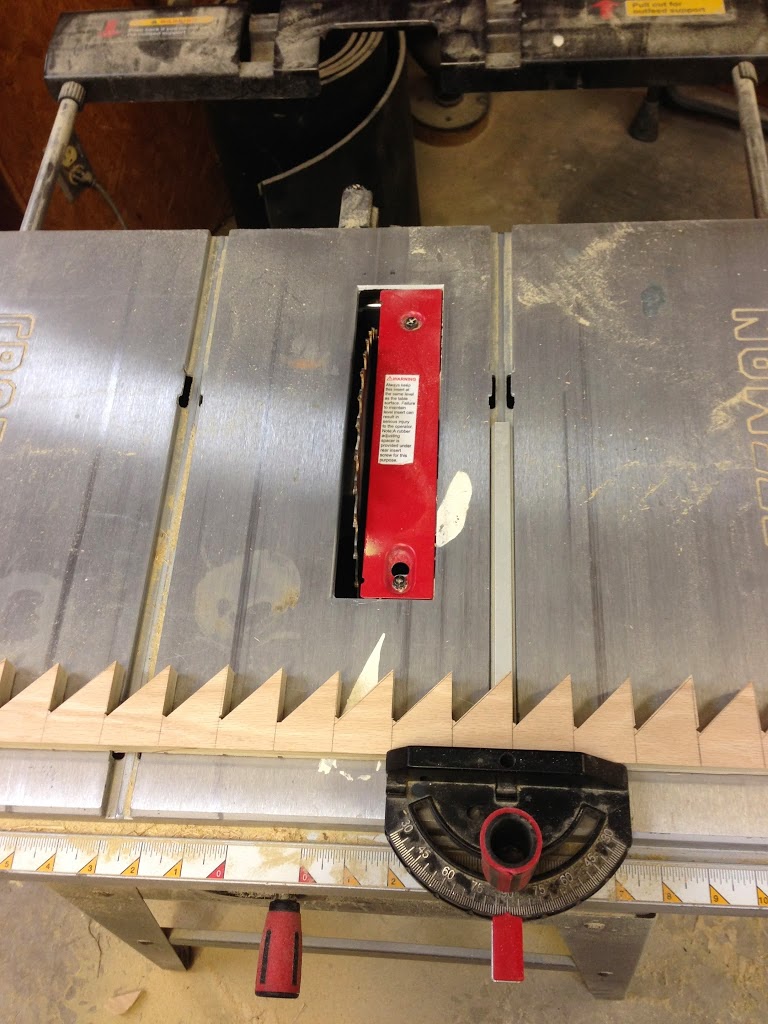
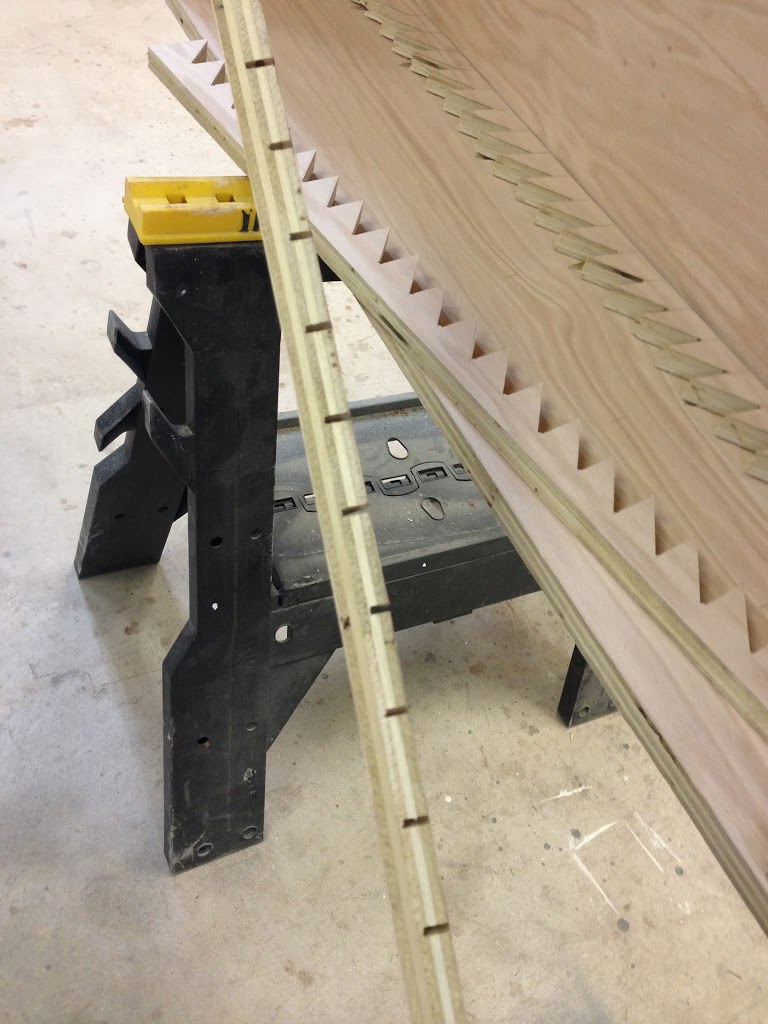
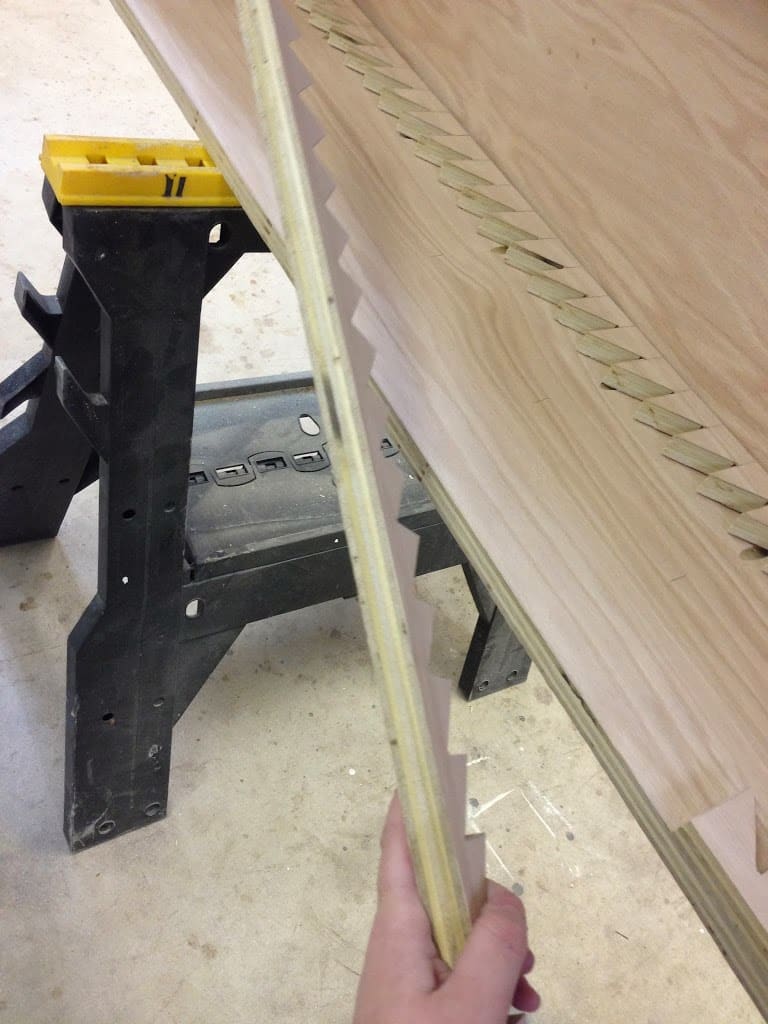
Some of you might think it’s a lot of work to go through but this is the way I think about it: It took me about three hours to make these alone, but if I have this cabinet around for 10 years or even 5, then three hours is nothing and it’s adding a really flexible feature to my cabinet. So if you really want them then turn on some music, take your time, and enjoy yourself; you’re building something awesome.
12) After the first one was cut out, I was able to take it and just trace out my other three. Remember you need to flip it over in order to make a left and a right side! If you forget to flip it then you will end up with four of the same side.
Long Information Rant: So like I said, instead of working with a 6′ strip, I cut mine in half so each side had two sections that were around 3’long that I joined together to make one strip. After I finished the first one I actually made the second one from using the speed square again but before I cut it out, I noticed that the points didn’t 100% match up to their counterpart (the first strip). They weren’t off by much, but it still bothered me because these teeth lining up to one another will determine how level/straight your shelf will sit. So I erased those marks and ended up using that first strip as a template, where I flipped it over (because it needs to be a mirror image not a copy) and traced around it to make the second strip. These lined up 100% so I got to cuttin. Lesson? After you make your first strip, use it as a template to make it’s counterpart. Then use those two as templates to make the third and fourth. …oh gosh I hope that makes sense. You should use the speed square to line out your first strip. Then use the first strip as a template twice, and the second strip you cut as a template once.
13) Next I cut the remaining three strips then screwed them into place with 1″ screws. Use clamps to hold that outside strip flush with the frame while you attach it. Then flip your unit over and screw in the other two.
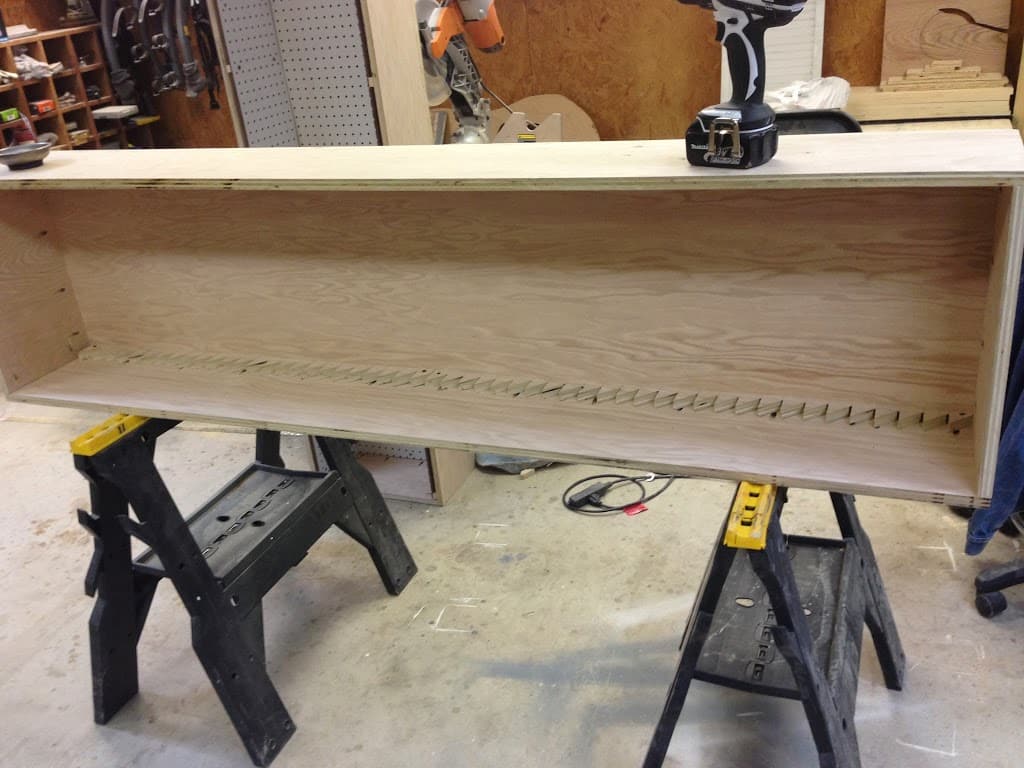

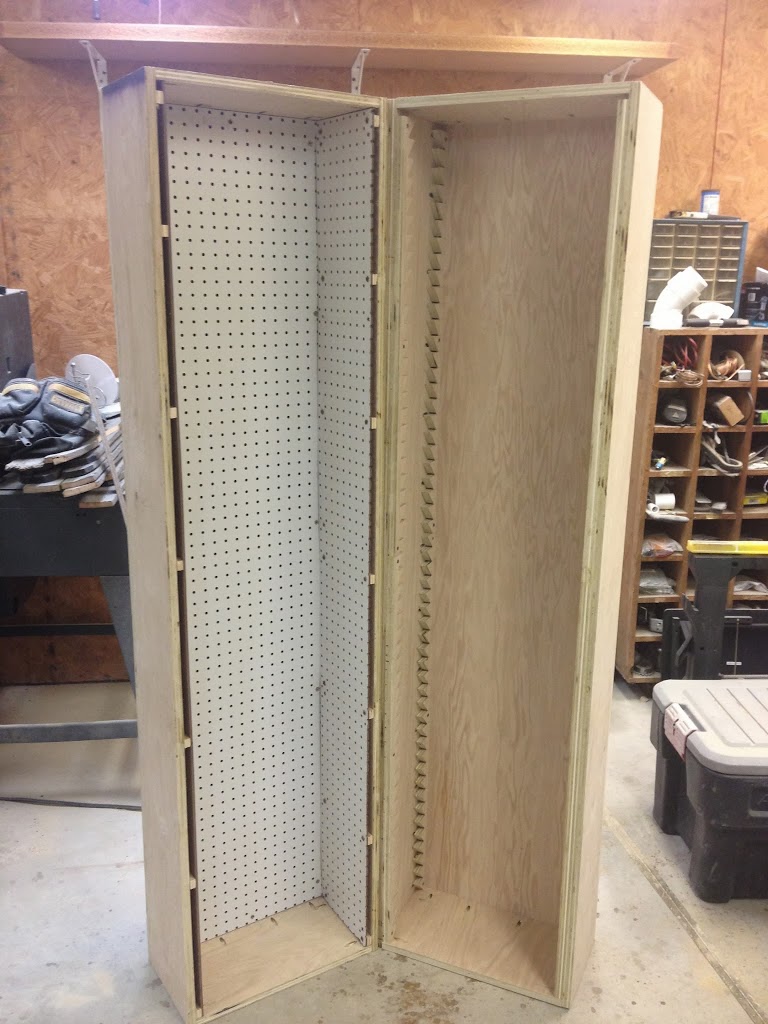
Updated visual….still looking good I think.
Cleats & Shelves:
14) These guys were easy peasy. I grab some left over scrap and cut 1 3/8″ strips then made it 7 1/4″ long with two 45s. I used a table saw to make the strips then my miter to make the 45s.
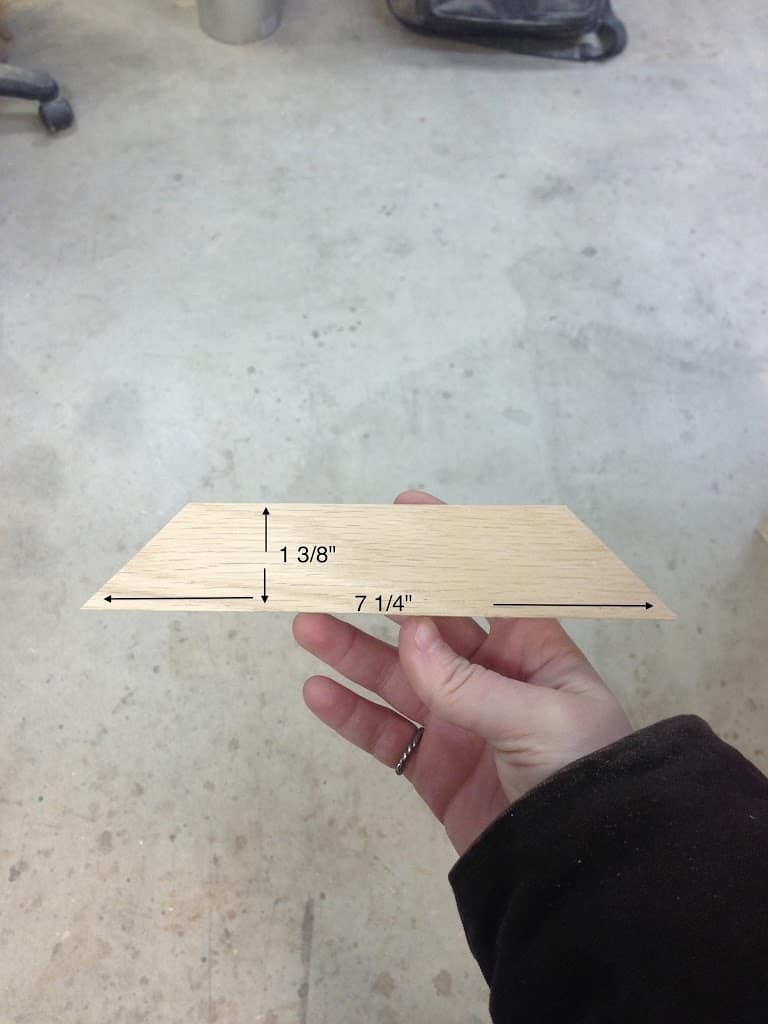
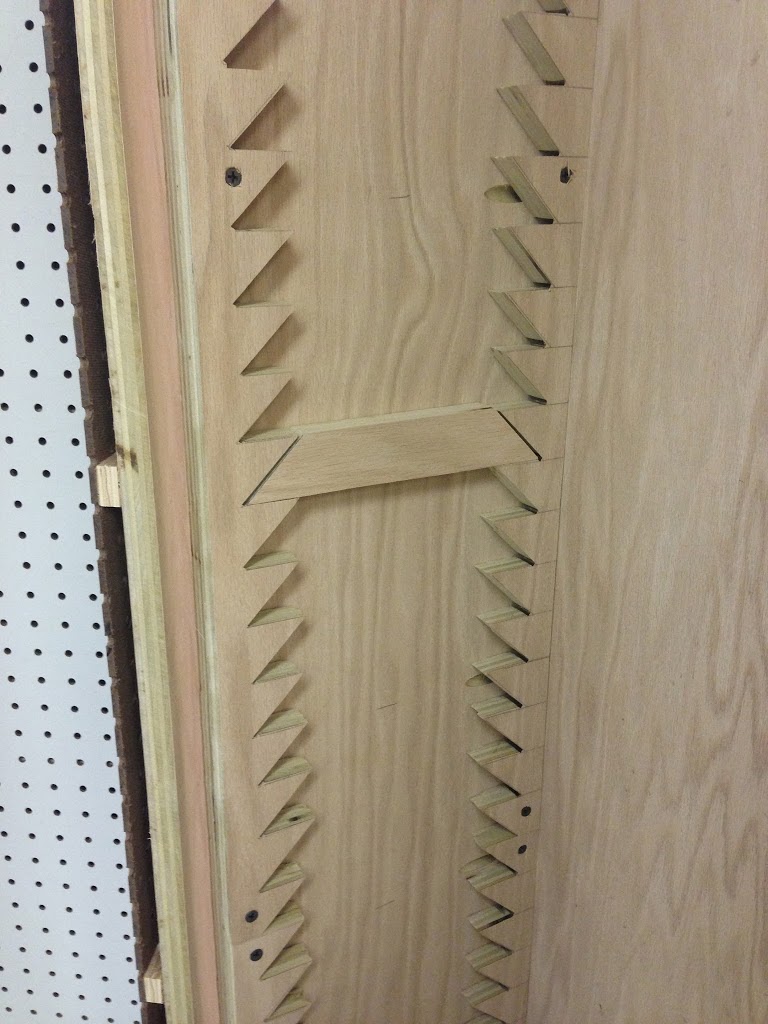
Since I’m not a programed machine that makes 100% uniformed cuts there is some slight variation from one step to the next. So some steps measure 7 1/2″ while others are 7 3/8″….so I just made all my cleats 7 1/4″. ; )
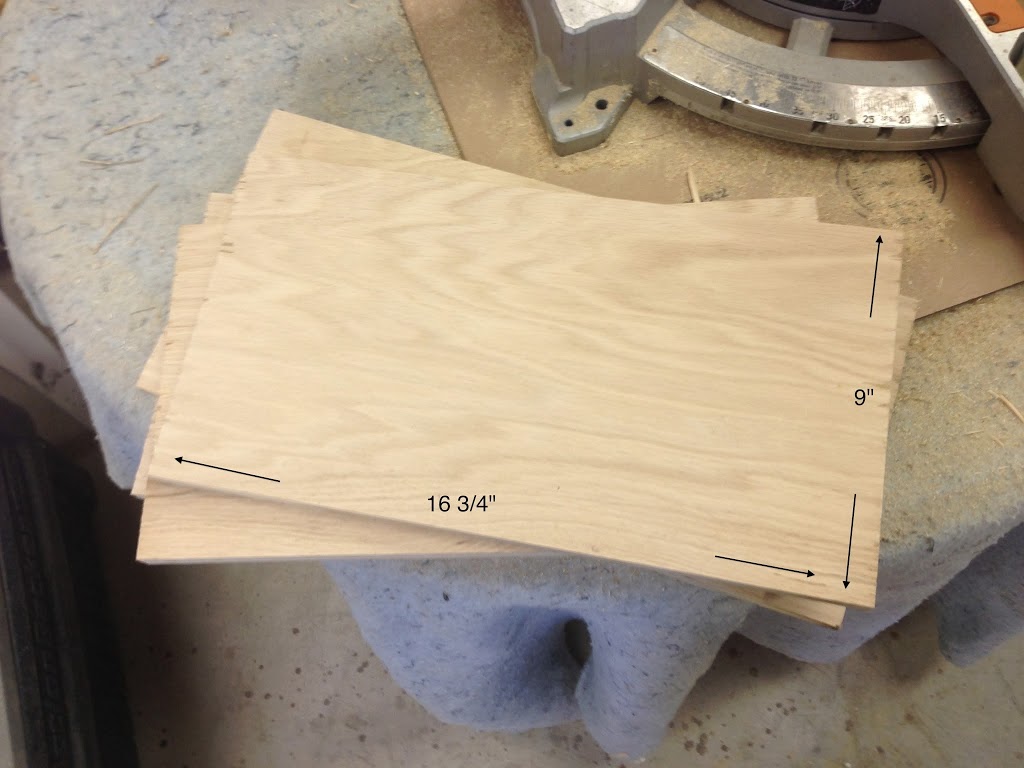
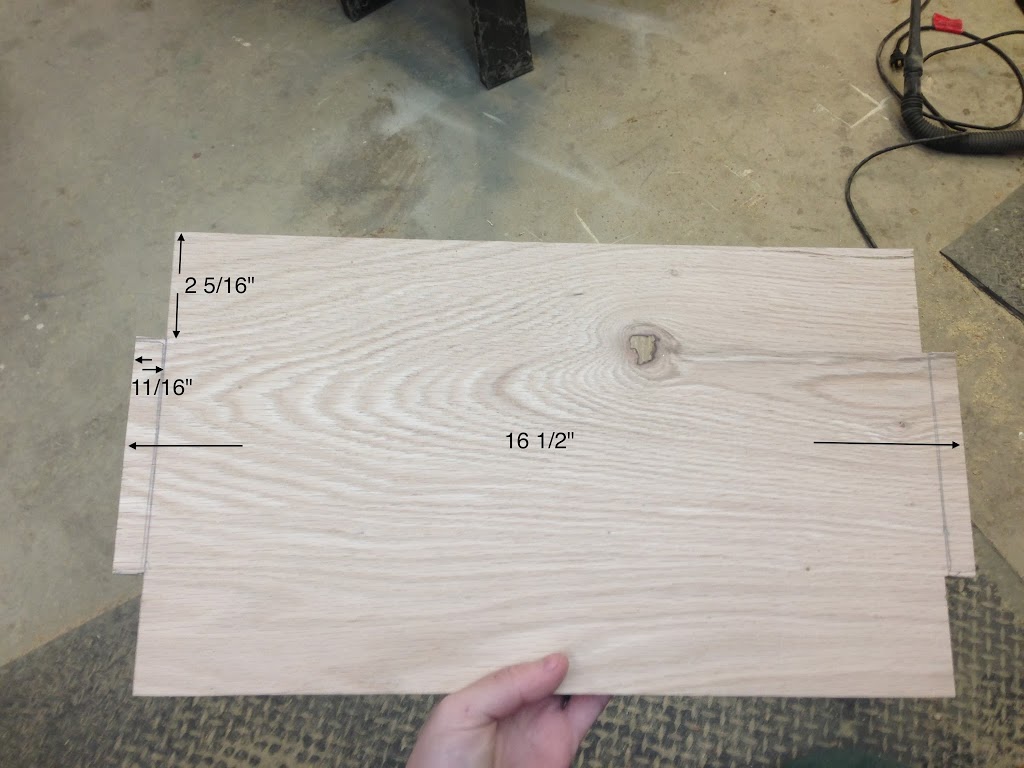
15) I made each shelf 16 1/2″ x 9″ then used my table saw to notch out the ends to the dimensions shown in the below photo. Again, I raised the saw blade as high as it would go so it would reduce how much the blade cut into the back.
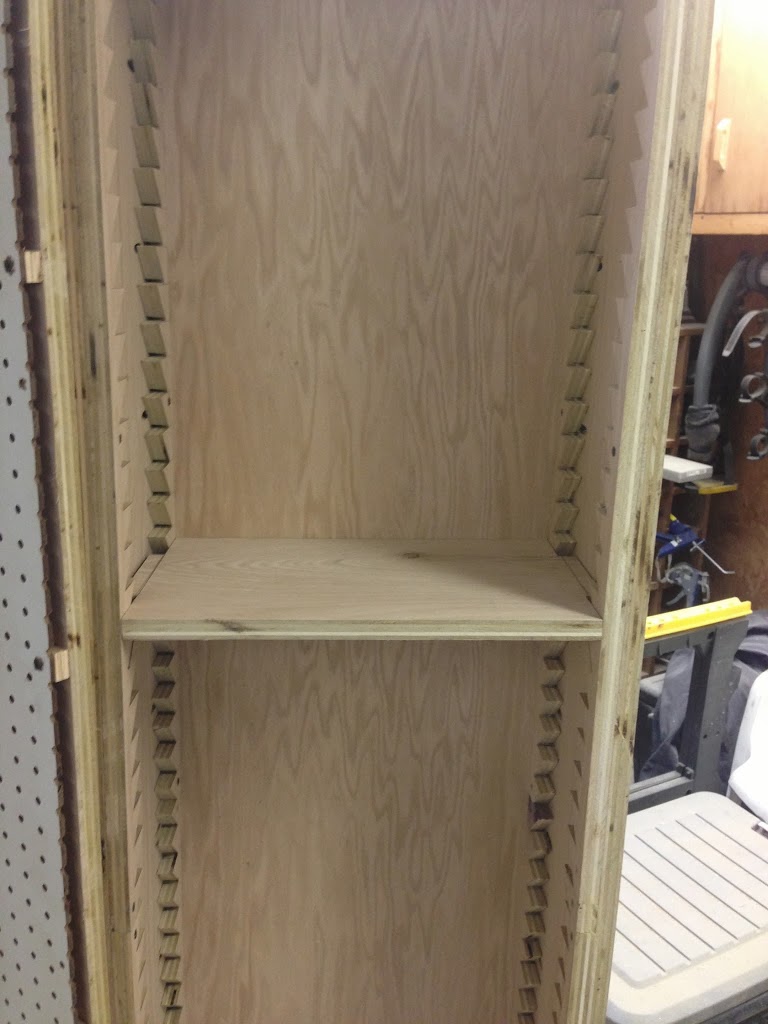
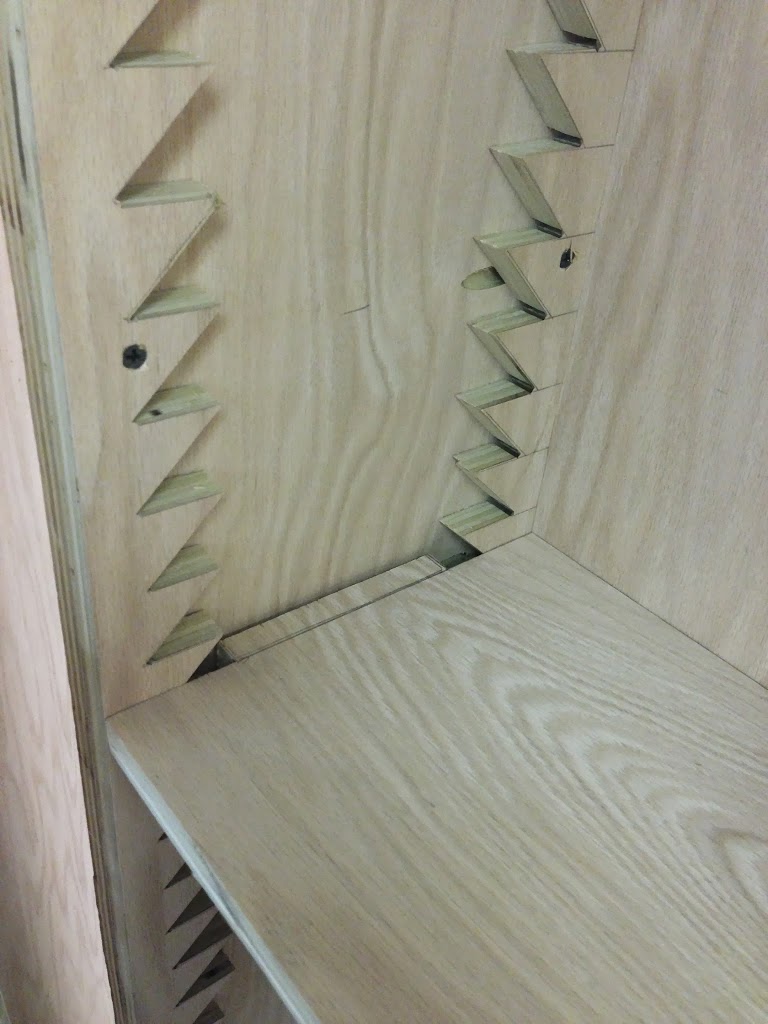
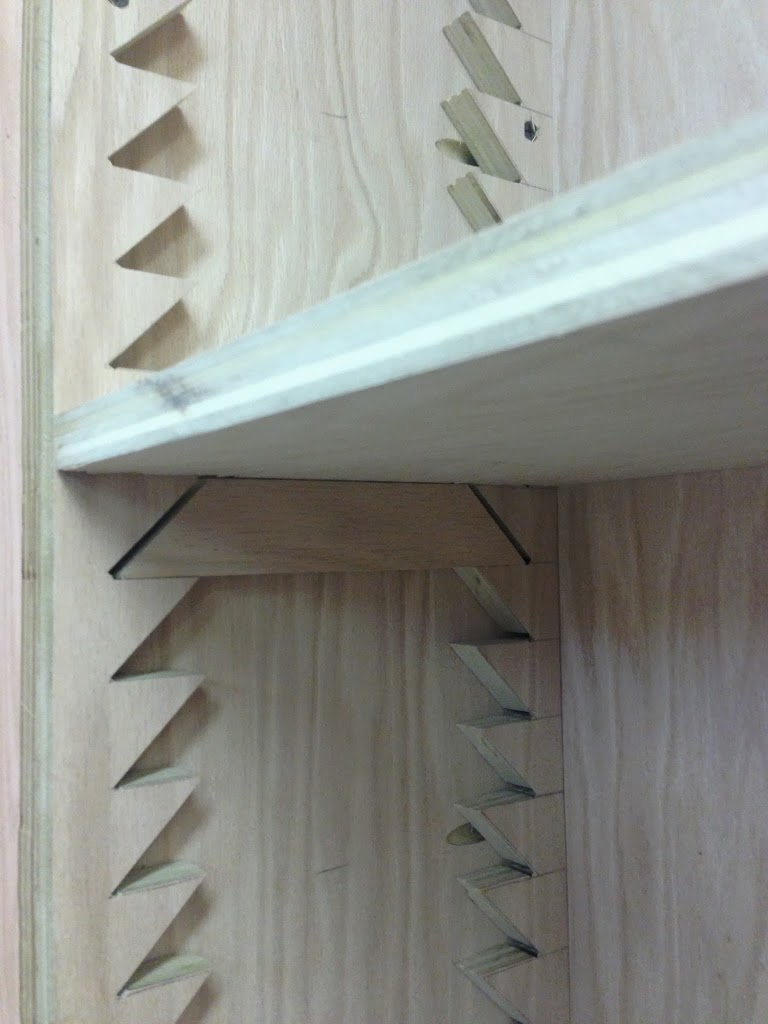
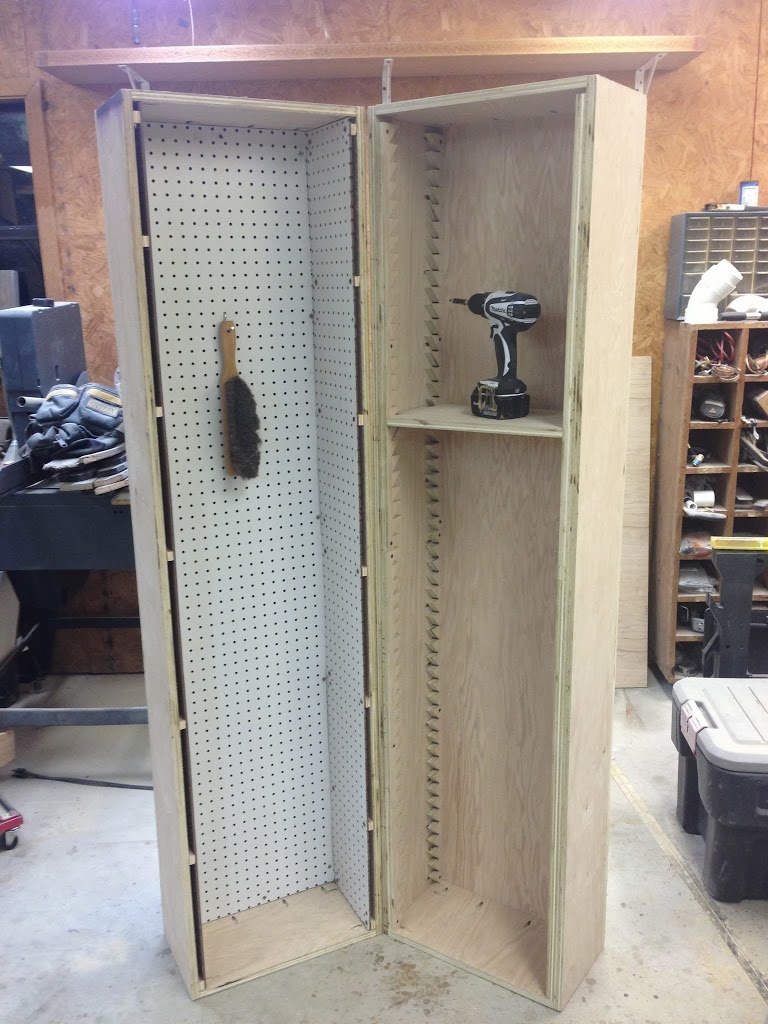
Now you can make however many cleats and shelves you would like and position them anywhere. : ) I don’t know about y’all but I think this is pretty cool. I went ahead and made a lot of cleats and just stuck them in a step for storage. That way they are already on hand if I want to add a shelf, which I will keep somewhere close by.
Casters and Hinge:
I originally only put on 6 casters but since the unit is so tall it needed more support so I ended up using 8 total.
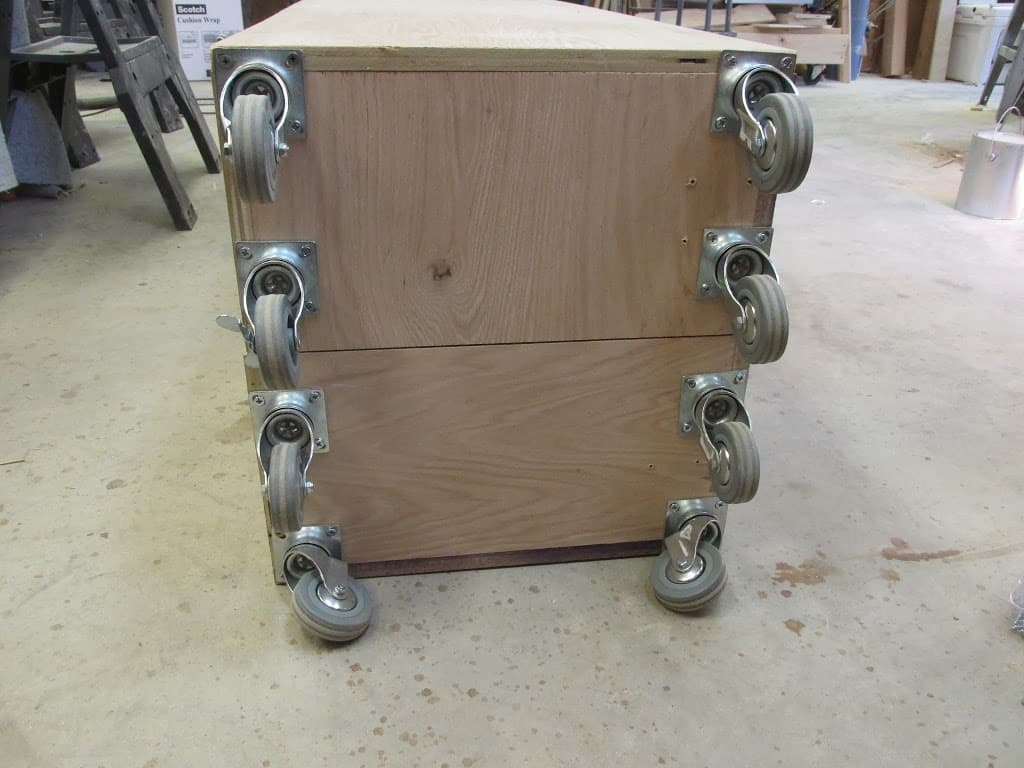
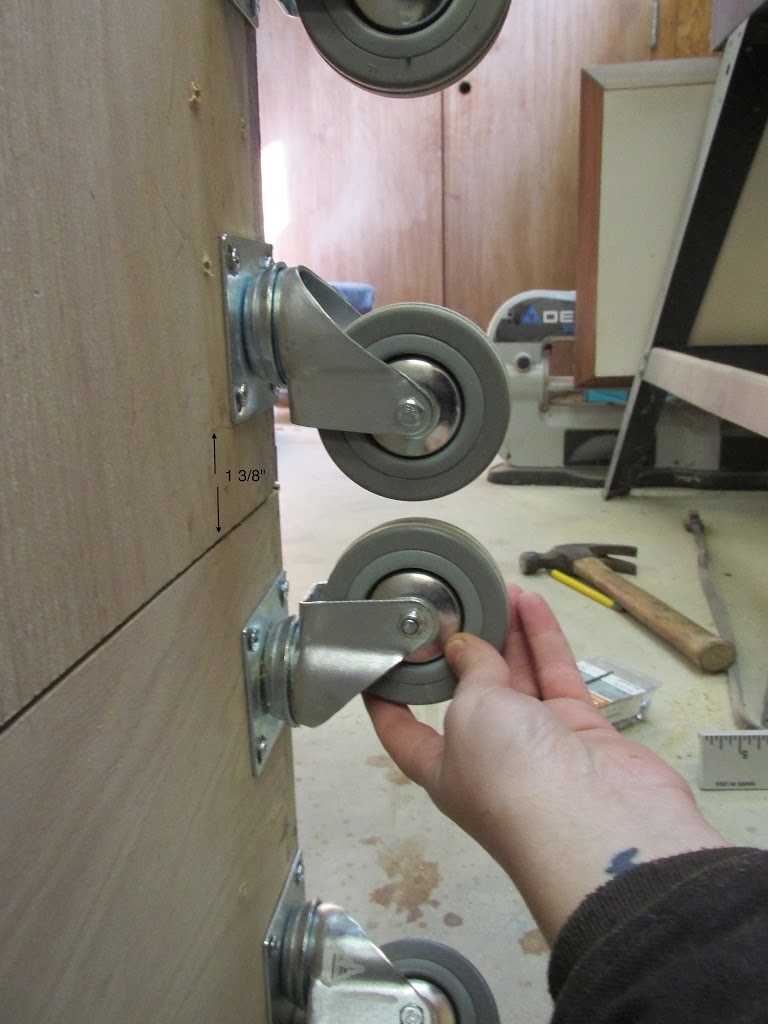
17) Then I flipped it over on it’s face and attached a piano hinge.
Note: To attach the hinge I first positioned the hinge on one cabinet at a 45 and clamped it in place. I went through and marked, with a pencil, each hole then took the hinge off and put it on the other cabinet, again at a 45, and clamped it in place then screwed it down. Then I pushed the two cabinets together and flattened out the hinge then lined up the holes to my pencil marks and screwed that side in place. By doing it this way, you are lining up the hinge so it won’t have interference issues when you open/close the unit.
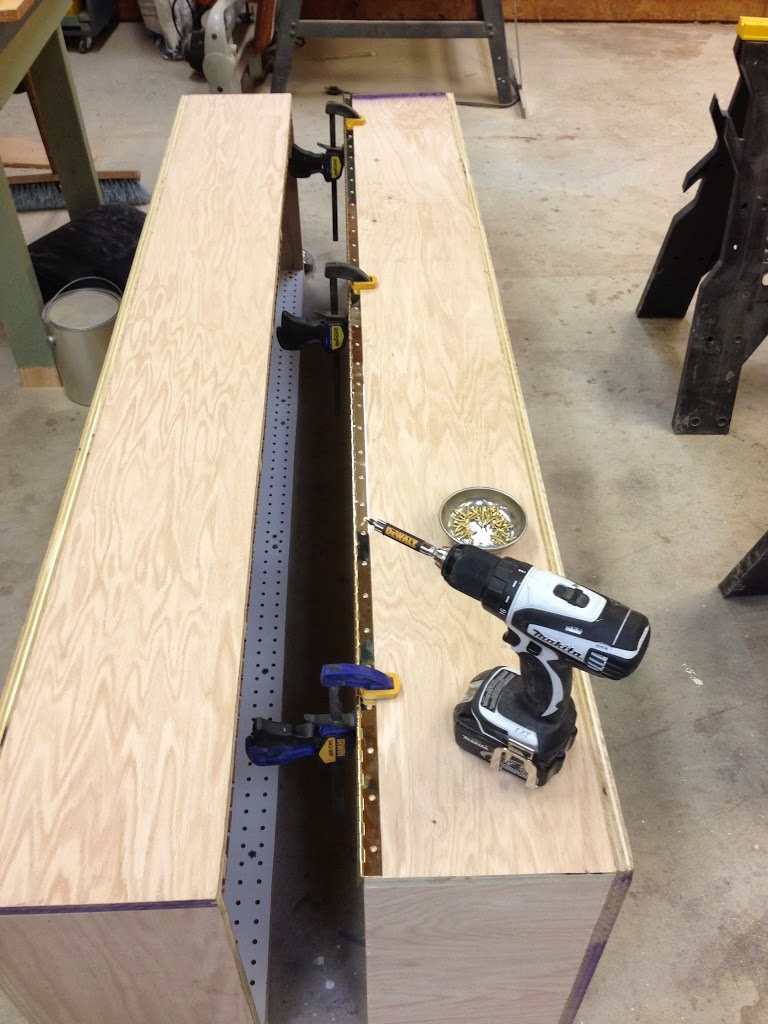
Note: Also, be careful using a drill on these tiny screws. It is very easy to over tighten the screw and turn the hole to mush. I would suggest setting the clutch (I used setting 3) or use the drill to screw them in most of the way then come back with a hand driver to finish them off.
Only thing left is to stand it up and get to filling her. Here is a short video so you can see it in action!