
Building A Custom Guitar Body with Bowties
- Home Decor DIY Projects
- April Wilkerson
- Updated: February 26, 2023
Thinking about building your own custom guitar body? Check out this DIY project where I built my own guitar with a cool bow tie customization!
If you missed the first video in this series where I went into detail on how I made the guitar neck, click HERE and get caught up.
In this video, I’ll be making the body and joining the two together.
Crimson makes tons of customs guitars and one of their body styles is called The Descendent, which is the shape I went with for mine.
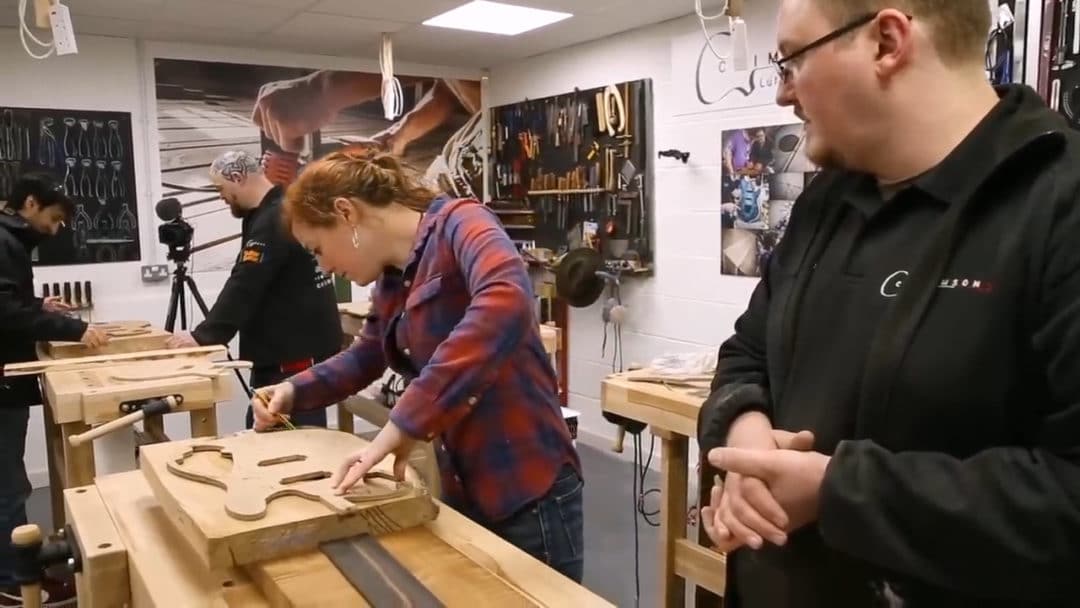
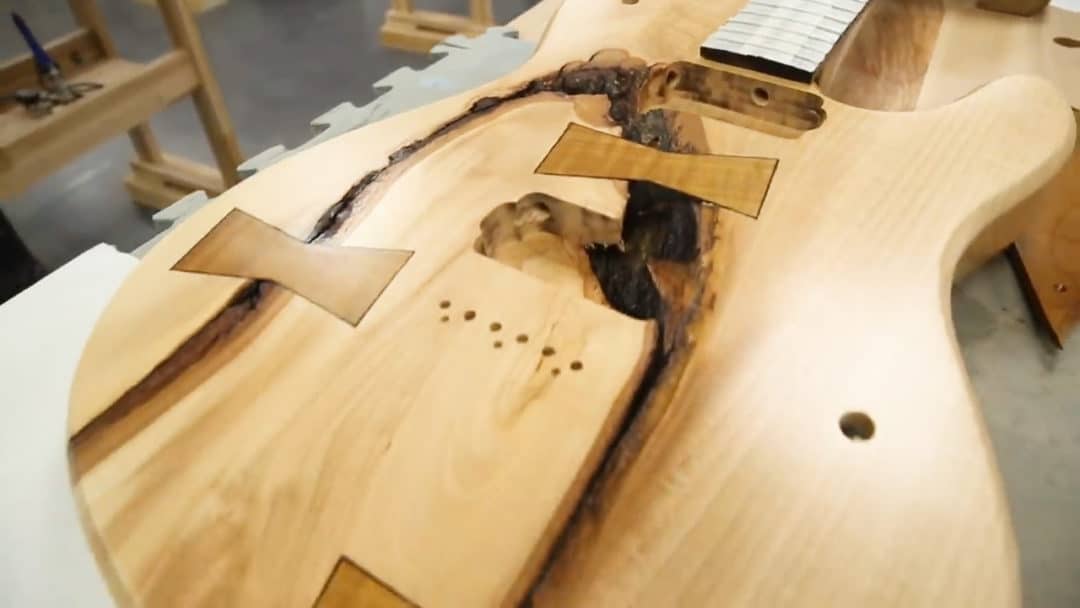
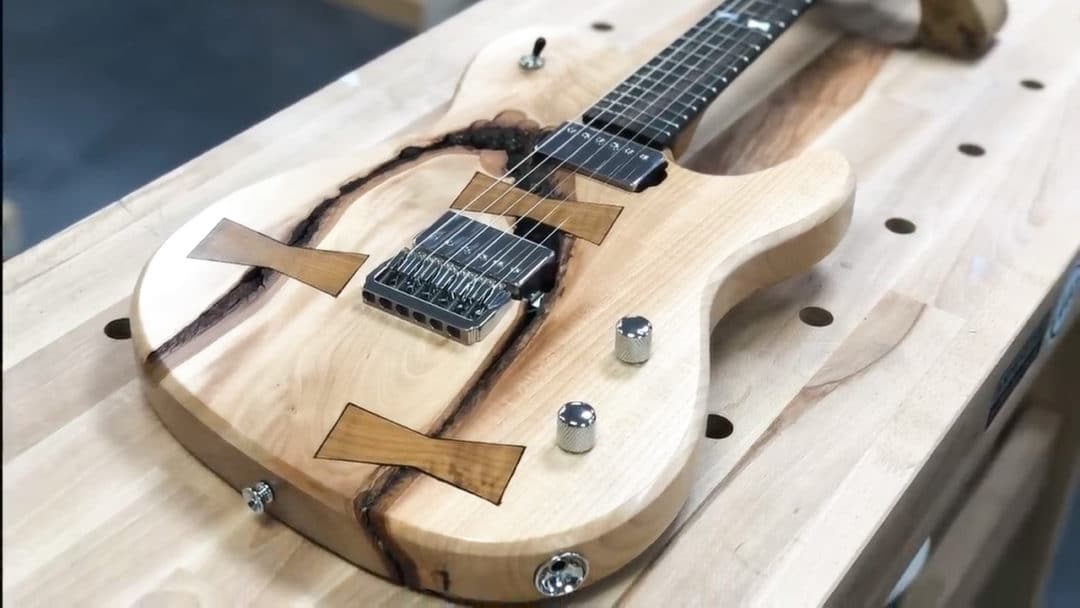
I intentionally picked out a piece of wood with a crack running through it so I could incorporate bowties in the design. This is a functional woodworking method that spans over a crack to stabilize it and prevent it from separating further.
After tracing on my body shape I roughly figured out where I could place the bowties and how large they could be, without interfering with any of the guitar components but still in positions to do their job of holding together the crack. I’m a visual person so I used a few pencils to get an idea on how it would look.
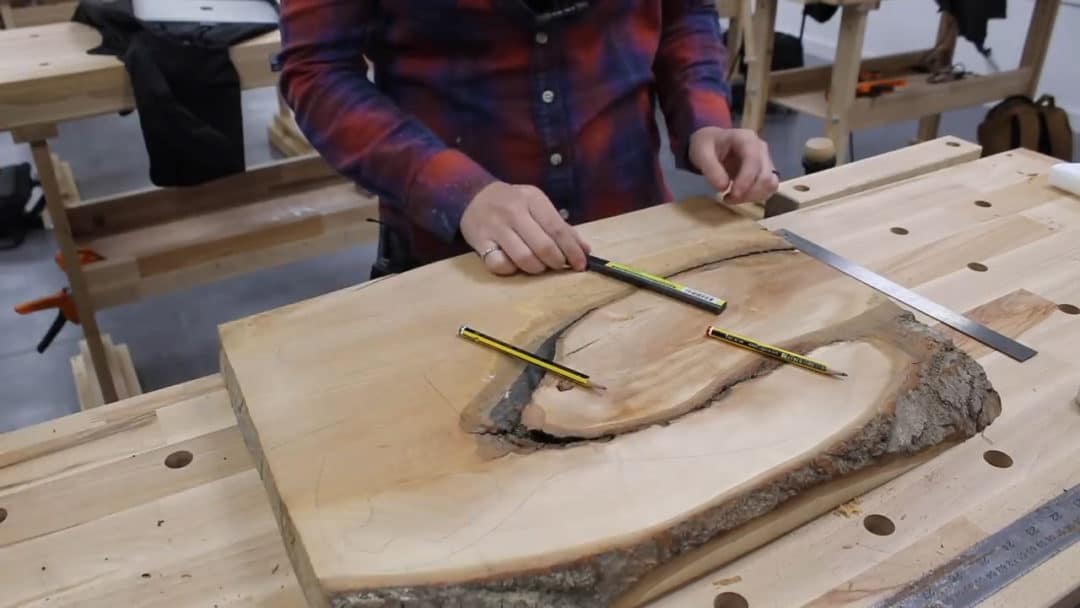
Once direction and general size was sorted, I drew the bowtie out on a piece of roasted sycamore, which is the same wood as the neck of my guitar, then cut it out at the bandsaw.
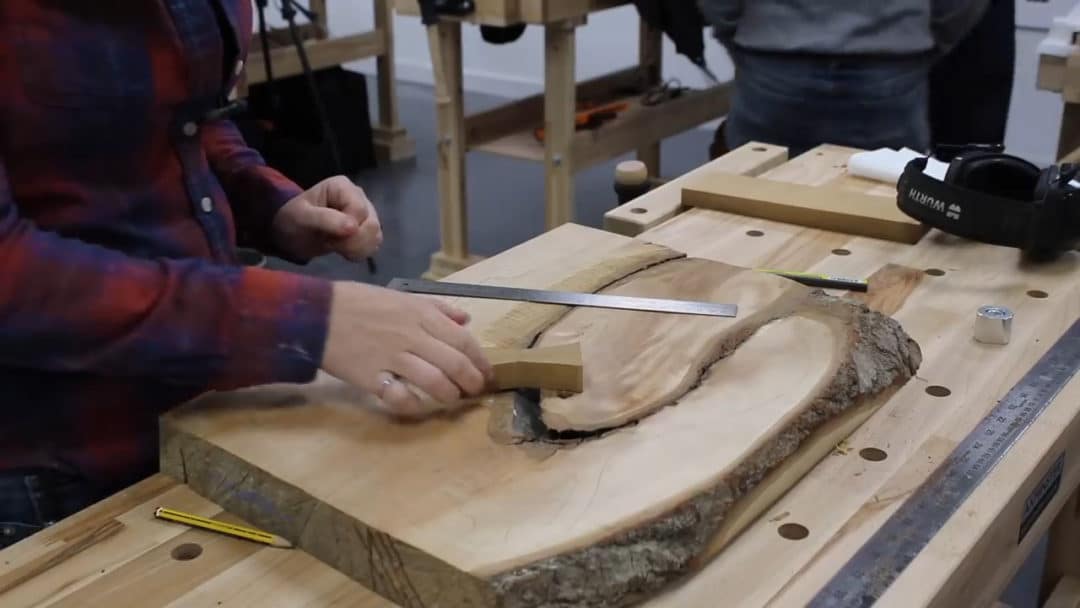
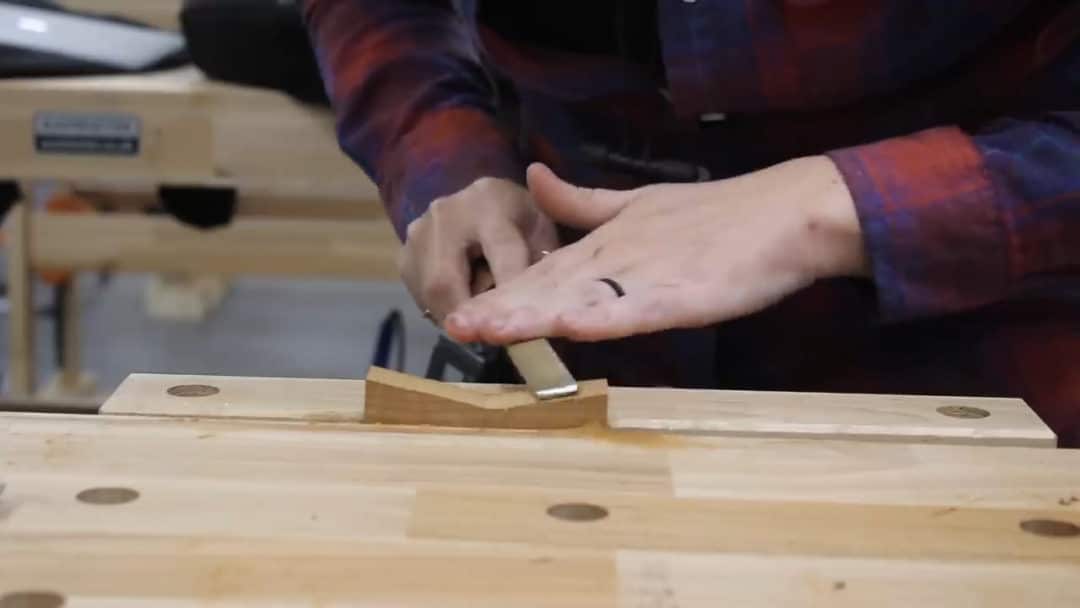
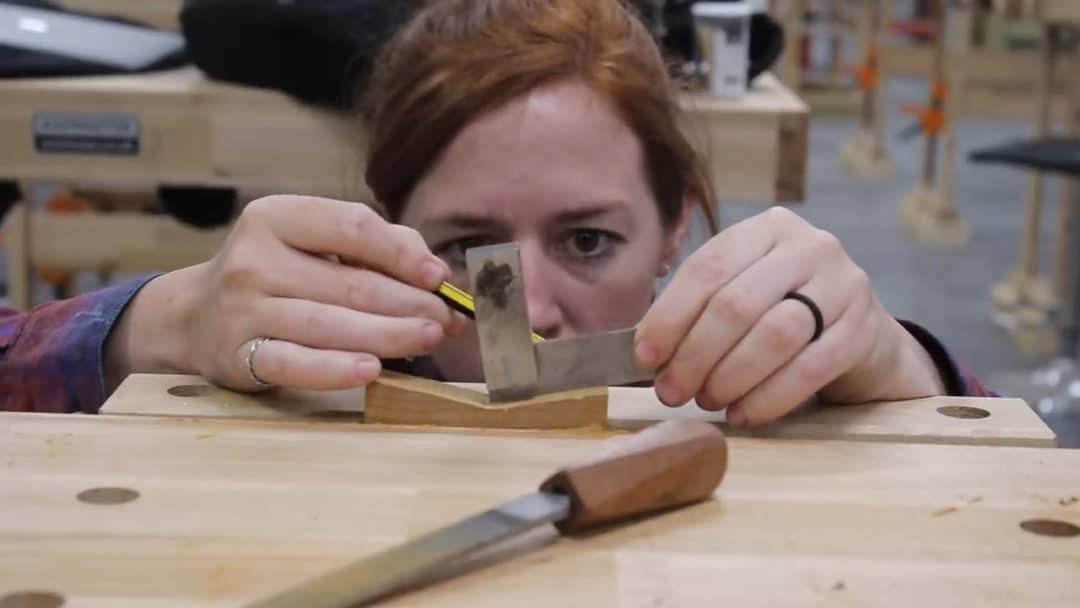
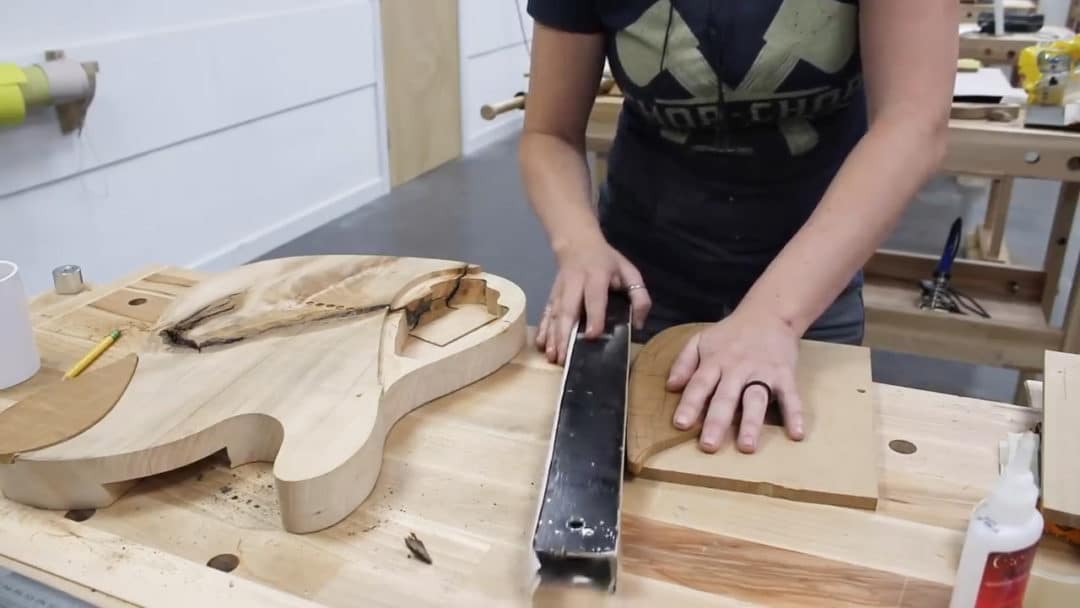
Next I spent a good bit of time using a file and getting this one bowtie as perfect as possible because the plan was to use it as a template for my other two bowties that would be needed. I stuck the bowtie in the bench vise then used a file to flatten each side straight and square. Using a small machinist square to check my progress. When held on the edge, I could easily see high spots that I could mark then remove.
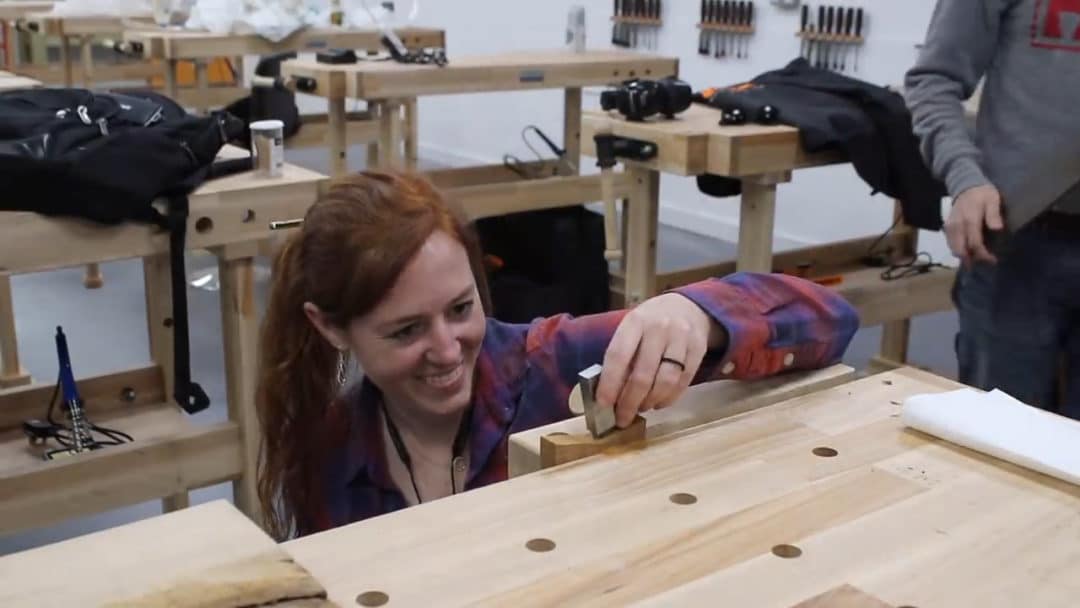
After getting it perfect, I temporarily attached it to a scrap piece of wood which will act as a handle to keep my hands safely out of the way when I take these small parts to the router table. Then I stuck on another bowtie that I cut out to be just slightly oversized on all sides. This will be my second bowtie that I’ll make identical to the first with a flush trim bit in the router table.
And you can see in this shot just how difficult and dangerous handling these parts would be at the table, without some sort of handle.
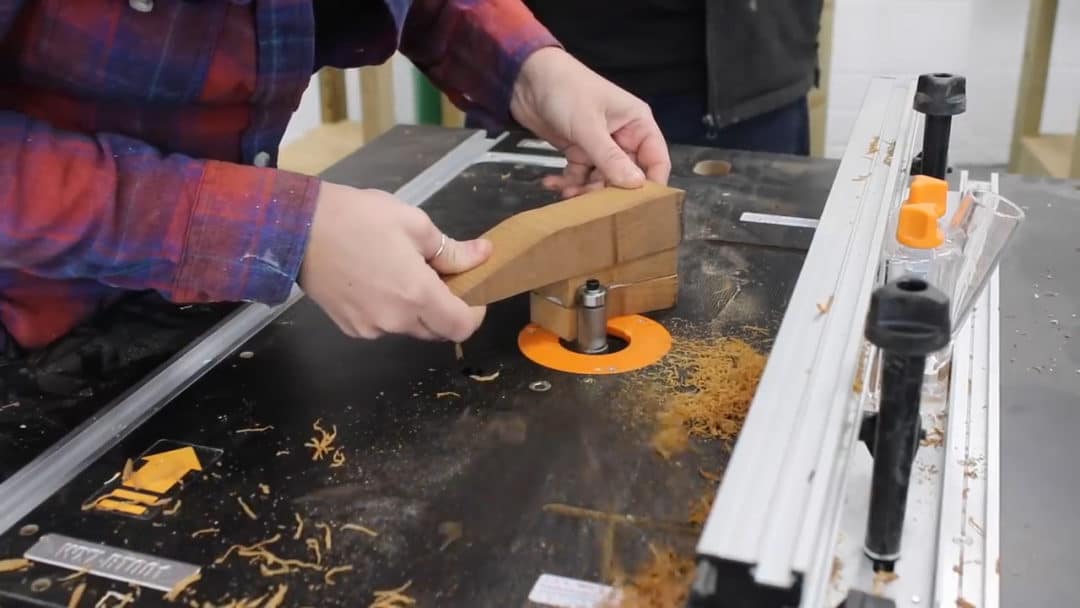
After making one copy, I pealed it off then used some more masking tape and CA glue to stick on another to make a third.
I was a little worried about the bowties blending in too much to my light alder body so Chris suggested outlining each one in black stained holly. Yes please.
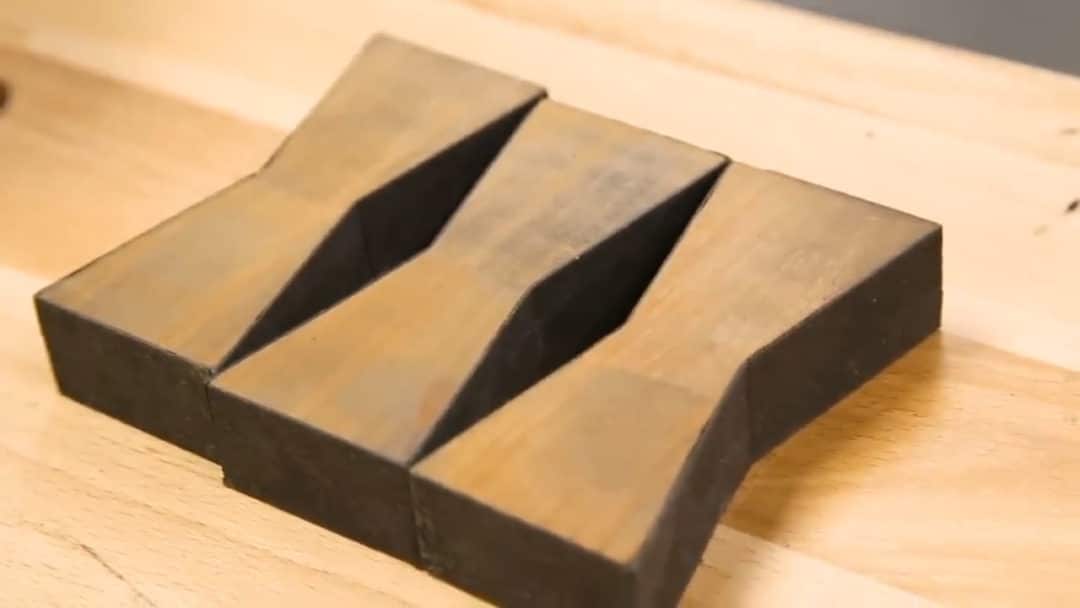
This was a time consuming step but definitely worth it in my opinion. I would use a scalpel to cut a length of holly just slightly oversized then attach it using some CA glue.
This is what I love about working with other people, these little nuggets of information or a different way of thinking… they are gold to me. I never would have thought about outlining them, or putting on a temporary handle, or even just realizing how versatile CA glue is.
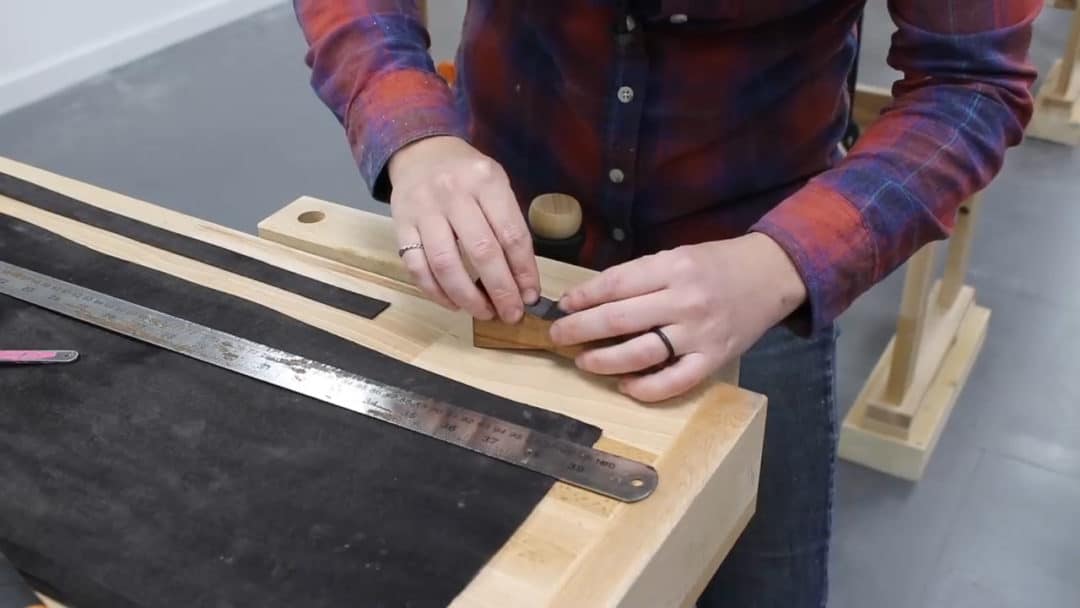
I used some snips to cut down the bulk of overhanging holly then a machinist block, which is perfectly flat, to sand flush. Of course repeating with all my bowties.
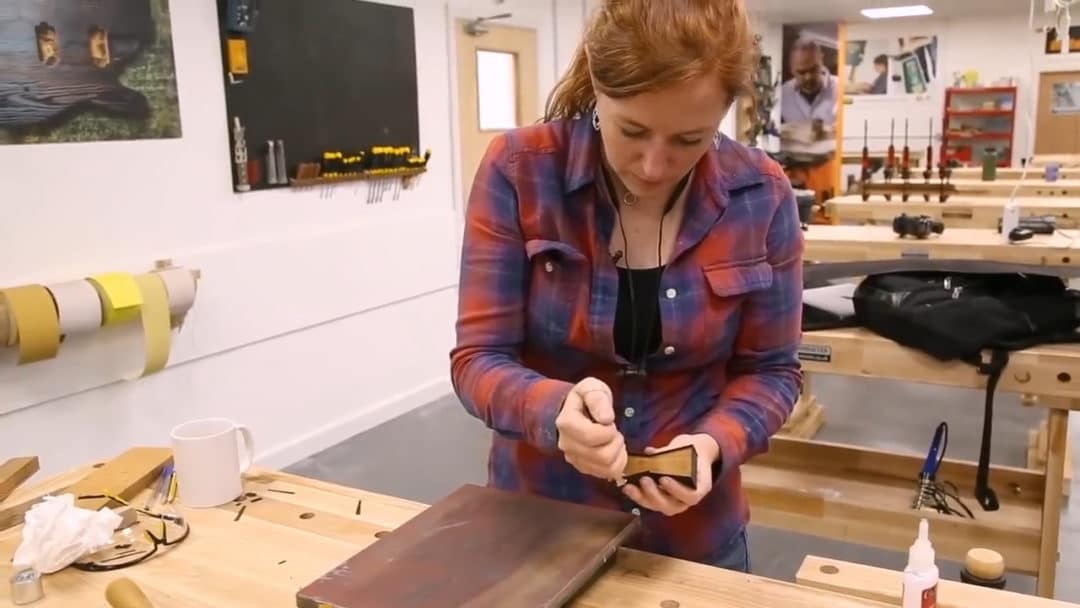
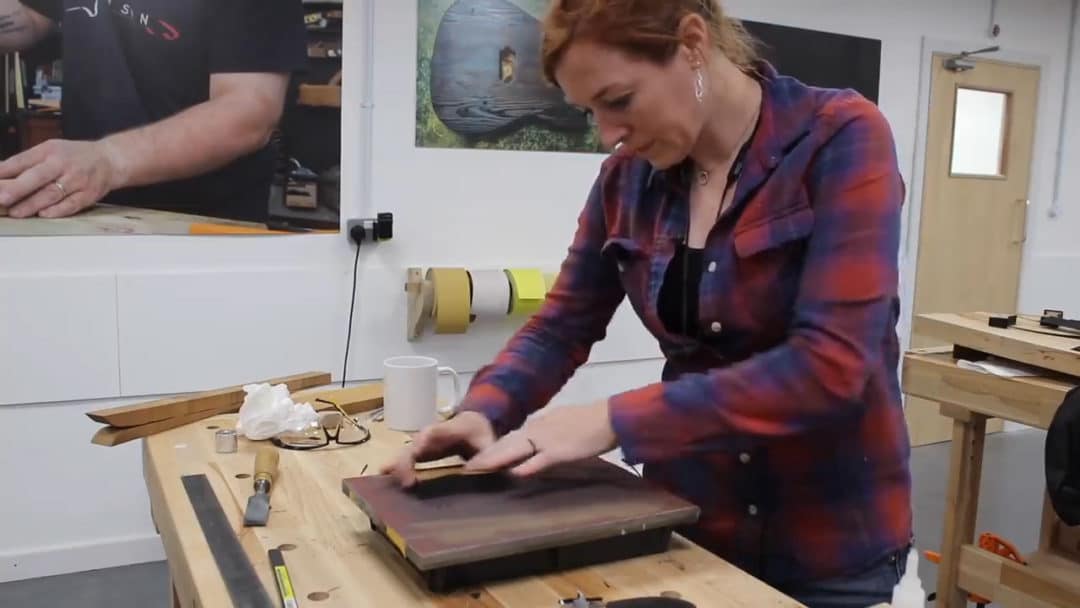
Noooow to cut in the recess into the guitar body for these bowties to be inserted into. When I’ve done bowties before I would lay the parts down, traced around, then cut each one individually. This time, Chris suggested I spend the time making one template from MDF that would allow me to use a router to cut all three in pretty quickly.
So I stuck one of my ties on a scrap (doesn’t matter which one since all are identical), scribed around it with a scalpel…
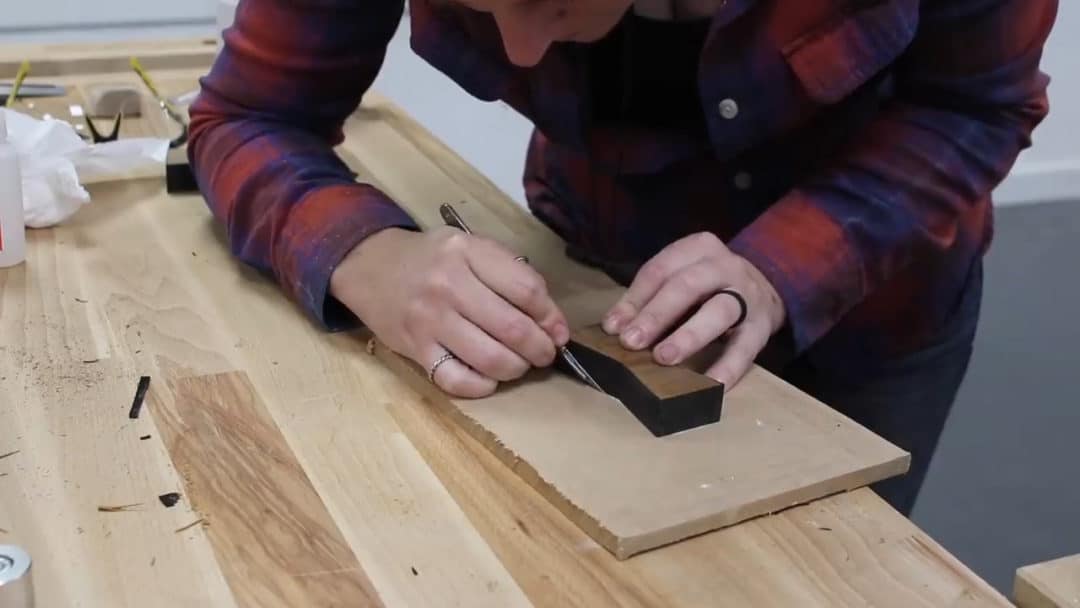
used a forester bit in the drill press to remove the bulk of material in the center…
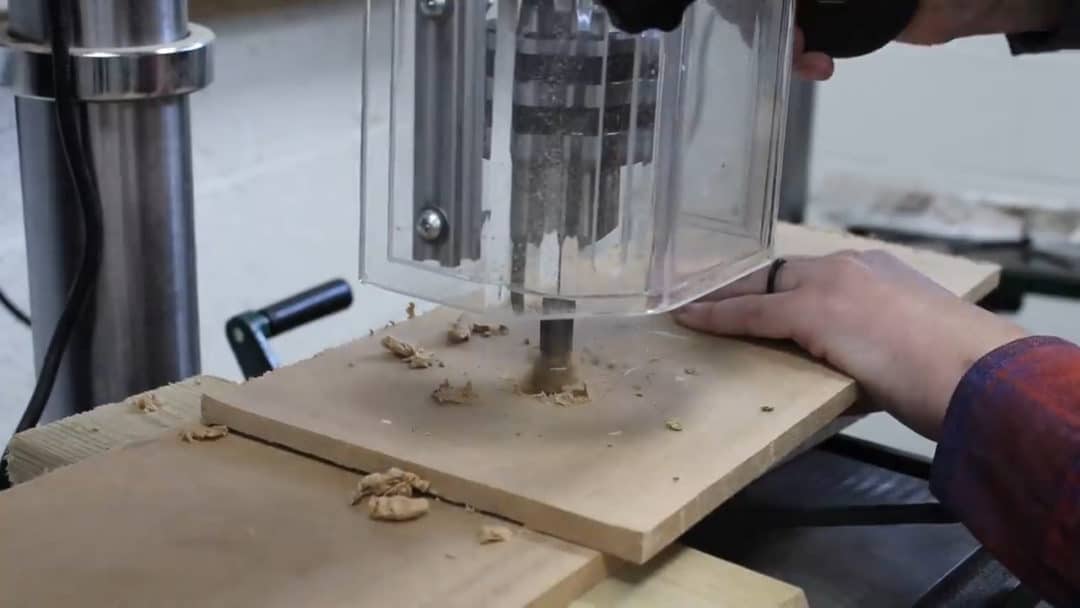
then cleaned up the perimeter with a chisel.
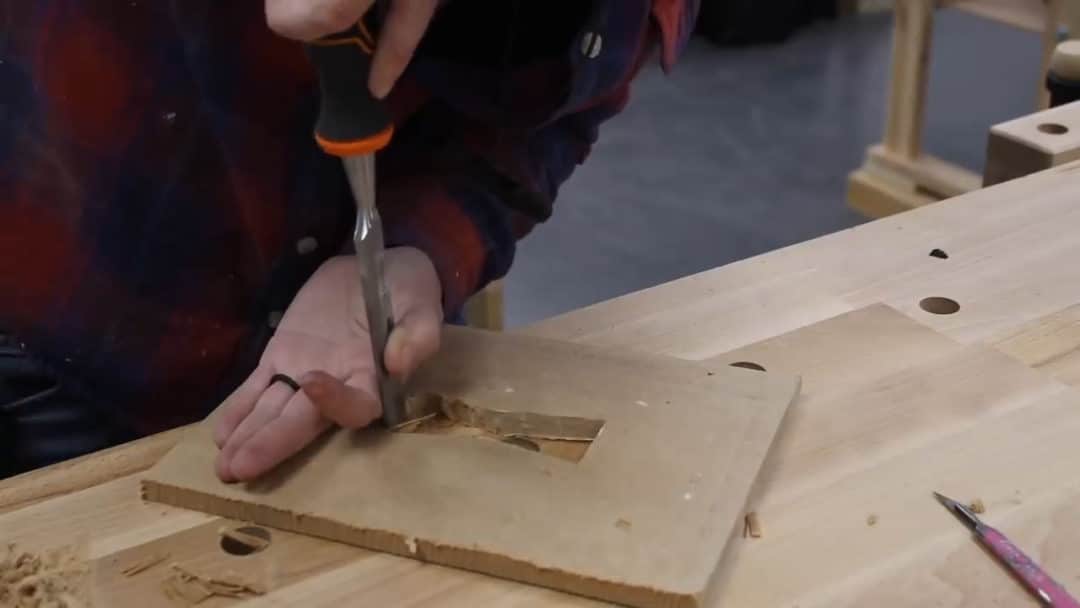
Oook, and now to cut them in. I first placed my completed bowties on my body in the position I wanted them. I tried to make them all at the same angle and of course also made sure they weren’t being placed where they would interfere with any of the electronics that would be added later.
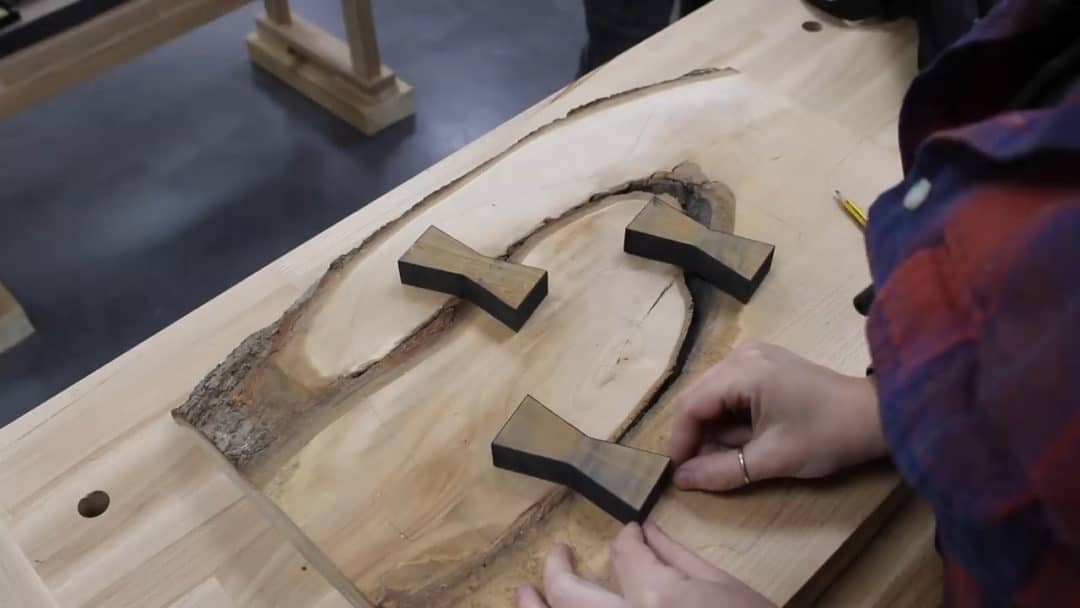
I traced around them with a pencil then one by one, stuck my template in place with masking tape and CA glue.
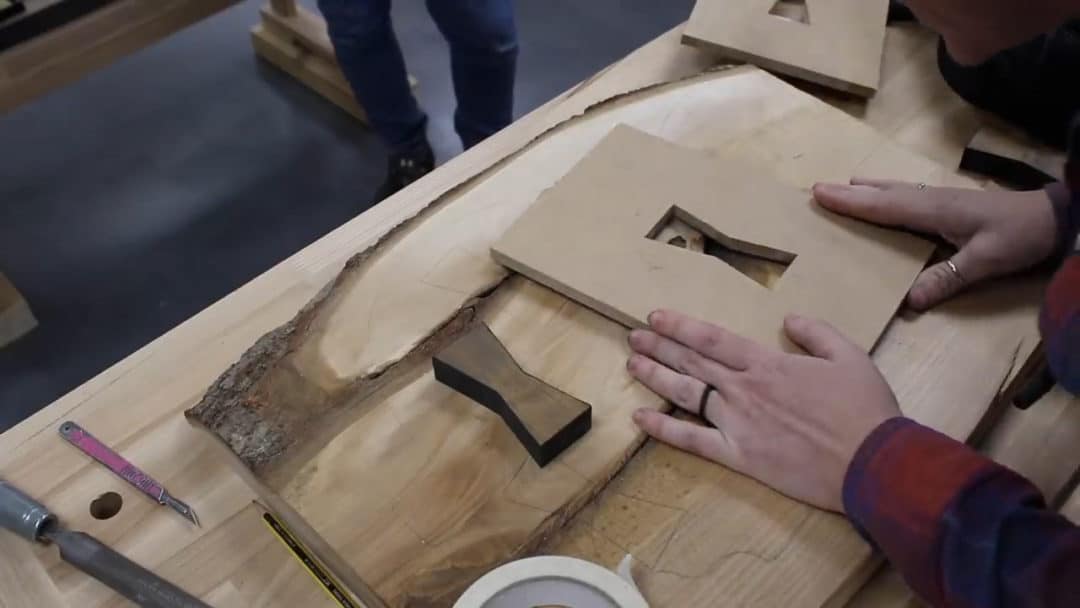
From here it was the same process as it was with making the template. I started with removing the bulk of wood from the center of the bowtie with a forstner bit at the drill press…
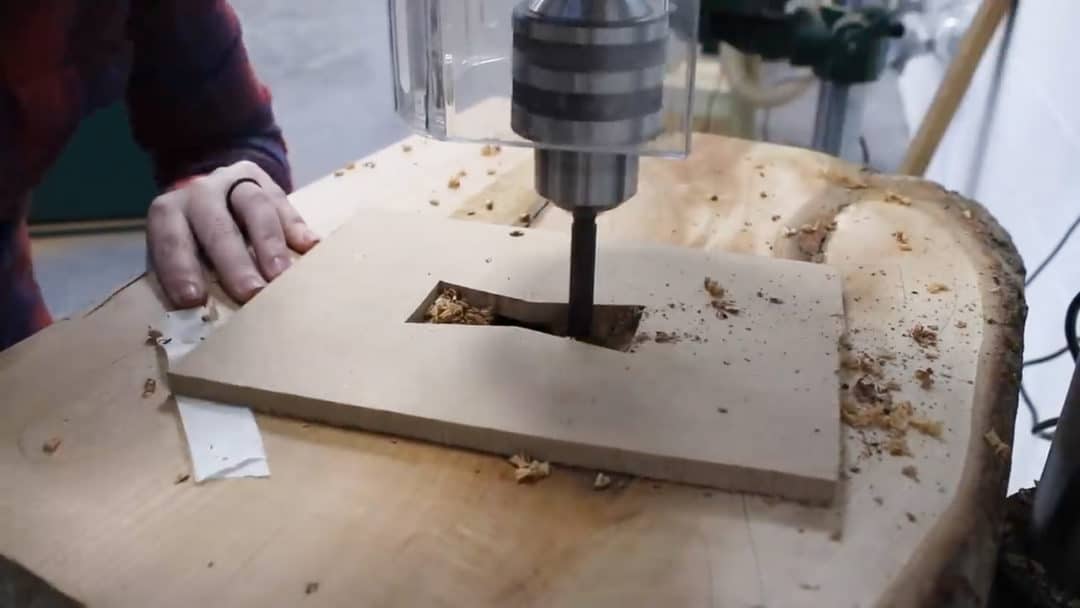
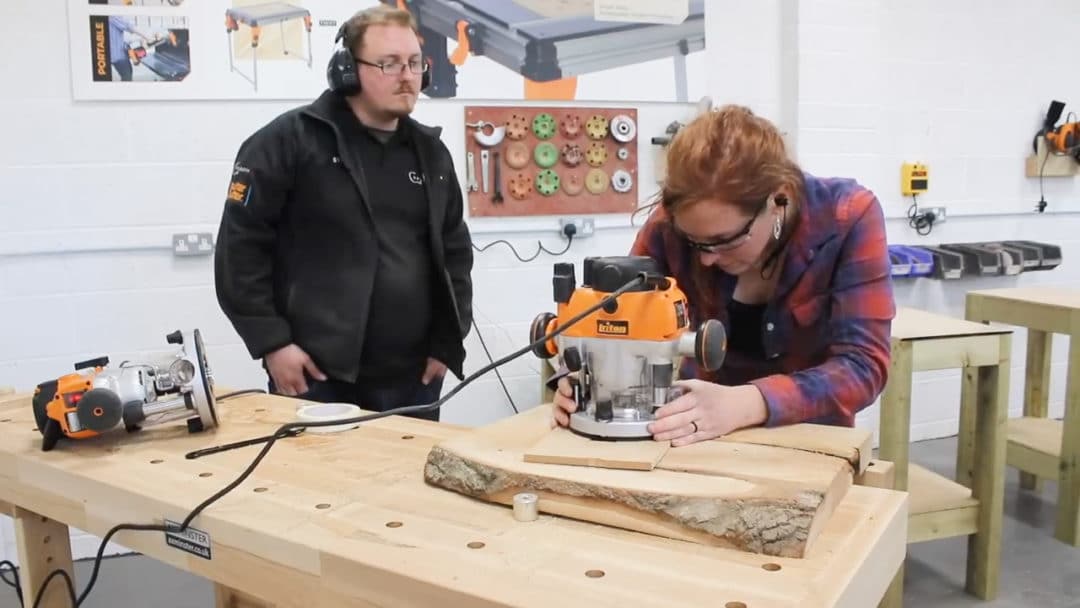
Then a flush trim bit in a router is next which removes all the wood to make the cavity identical to my template… except for the sharp corners which the round bit can’t make sharp.
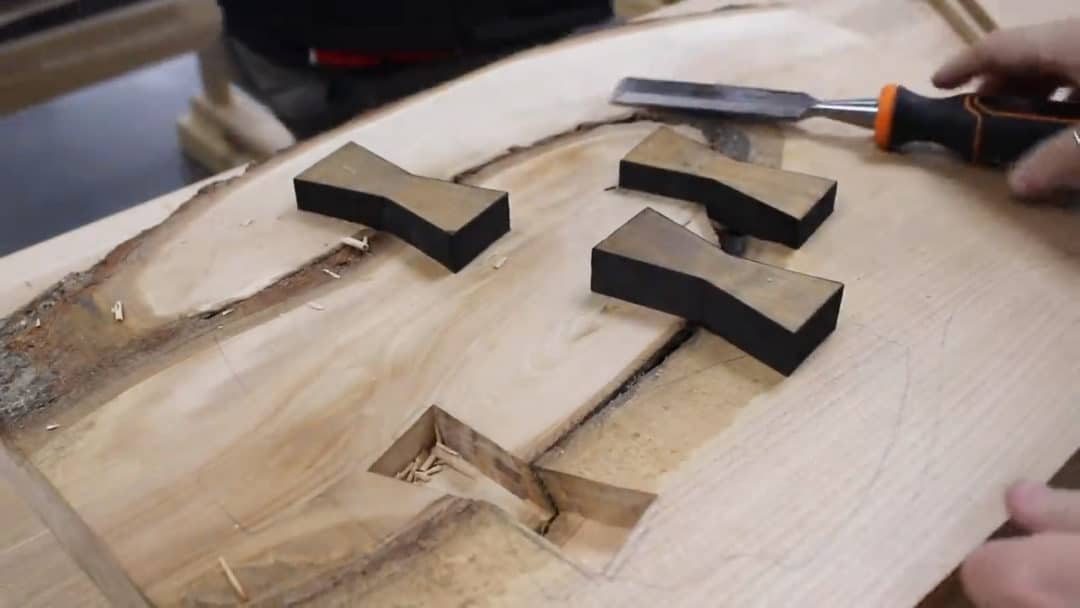
I then next a chisel is used to square these corners off and complete one bowtie.
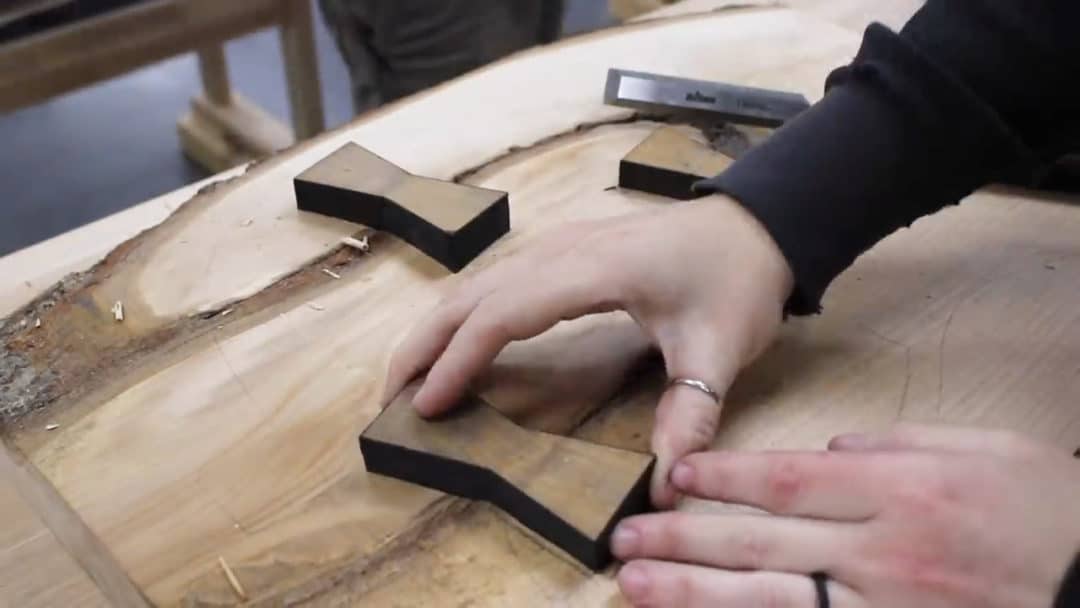
I would keep my bowtie on hand when on this chiseling step to continuously test fit it until it was a good fit. After completing one, I repeated on the other three.
Even though these made up an entire days worth of work, I love them. I love having a guitar that almost pays homage to the woodworking side of it.
Before inserting them in the body, I quickly used a chisel to cut the edges off the bottom side of all the edges. This chamfer will make inserting them a little bit easier.
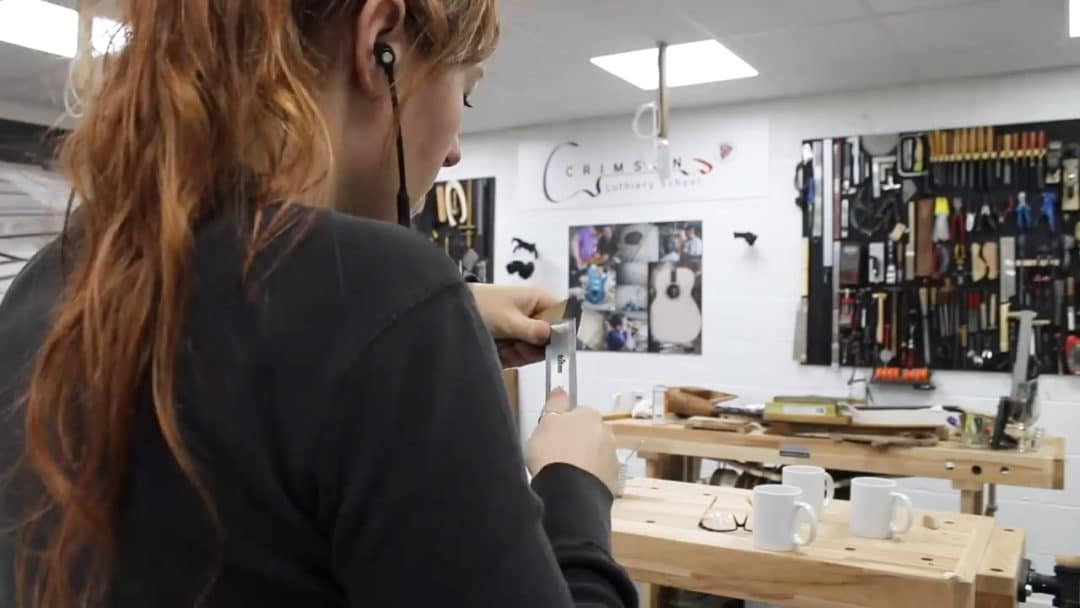
Now it’s the easy part (well, if I did everything right). Popping them in. I applied a good amount of wood glue to the bottom of the cavity as well as all of the side walls. Then lined the bowtie up and hammered it down until it seated all the way.
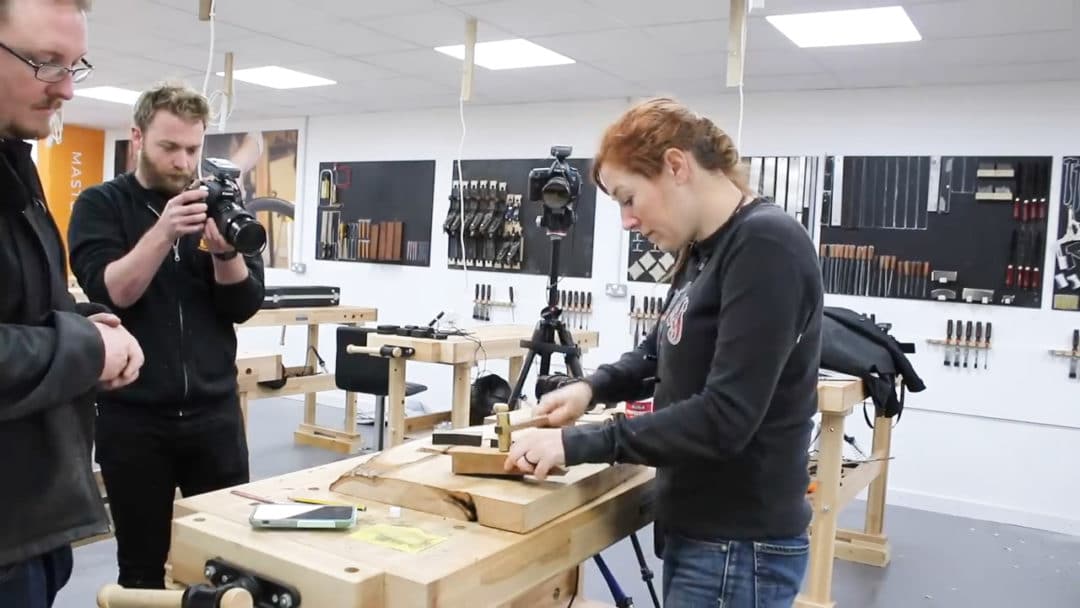
You can see I used a scrap piece of wood that spans the entire bow tie and tried to knock it in evenly.
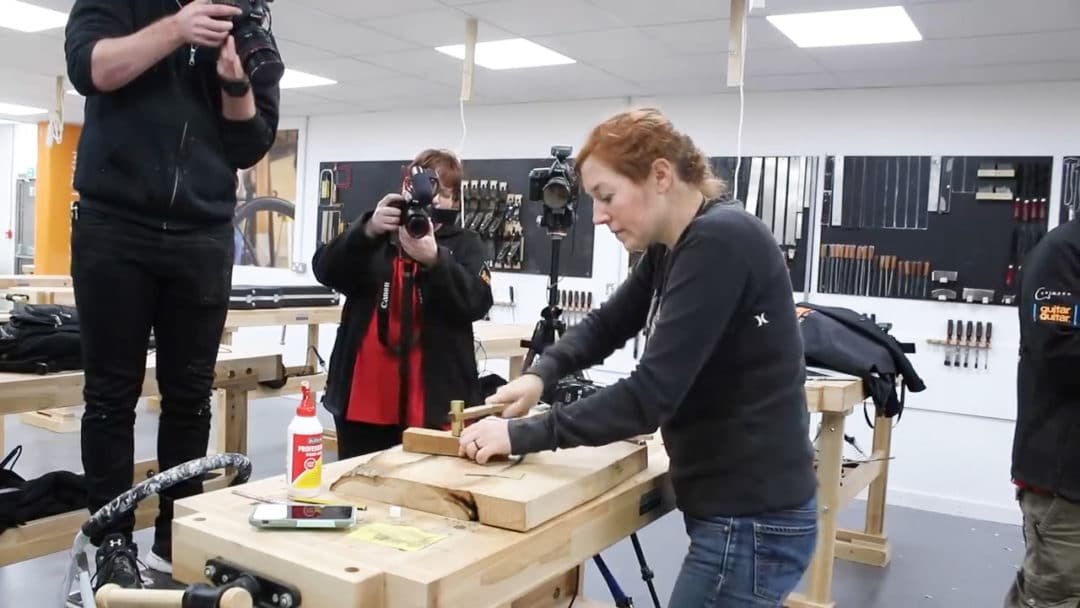
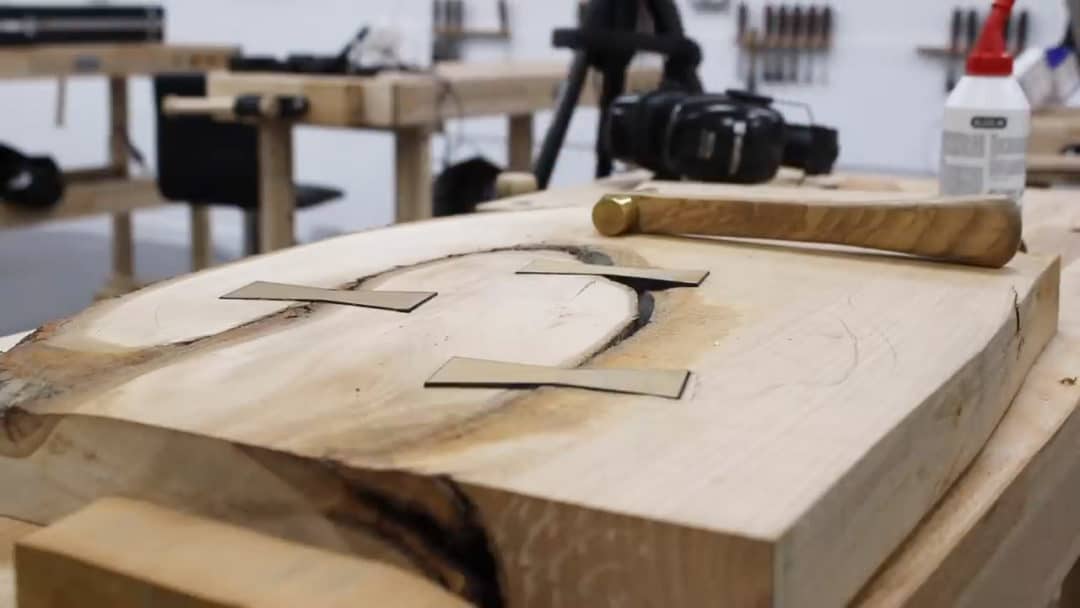
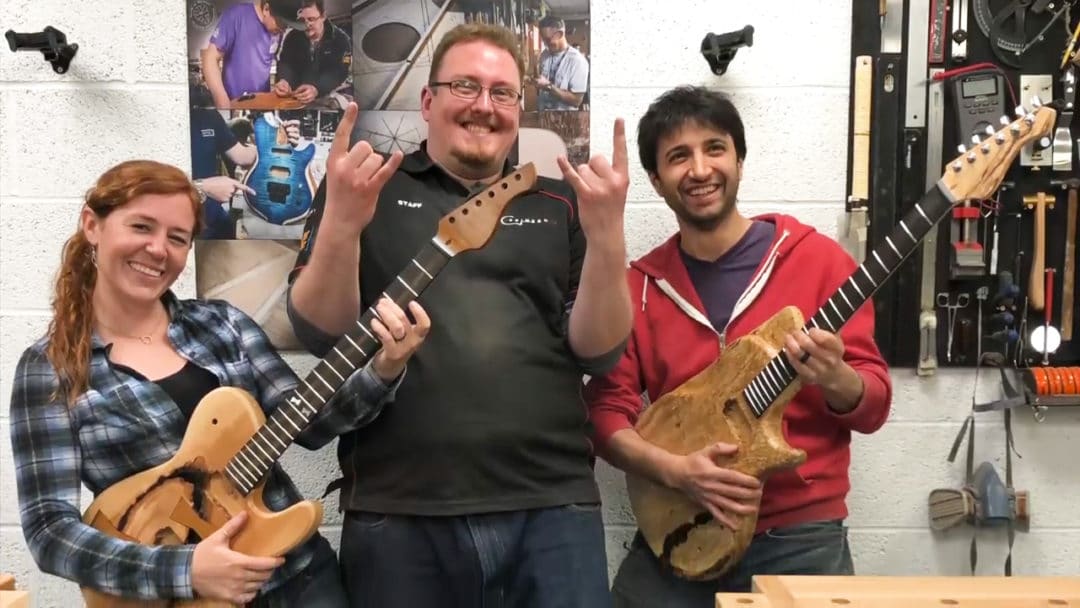
You can see Triton’s as well as Crimson’s videographers here in this photo above. Don’t forget that both Triton and Crimson have put out videos over on their channels of this experience. Not only of my guitar build, but also of Matt’s (which he is calling Sharktar, as it resembles a shark) and the guitar Ben got inspired to make. You can find Triton’s channel HERE and Crimson’s HERE
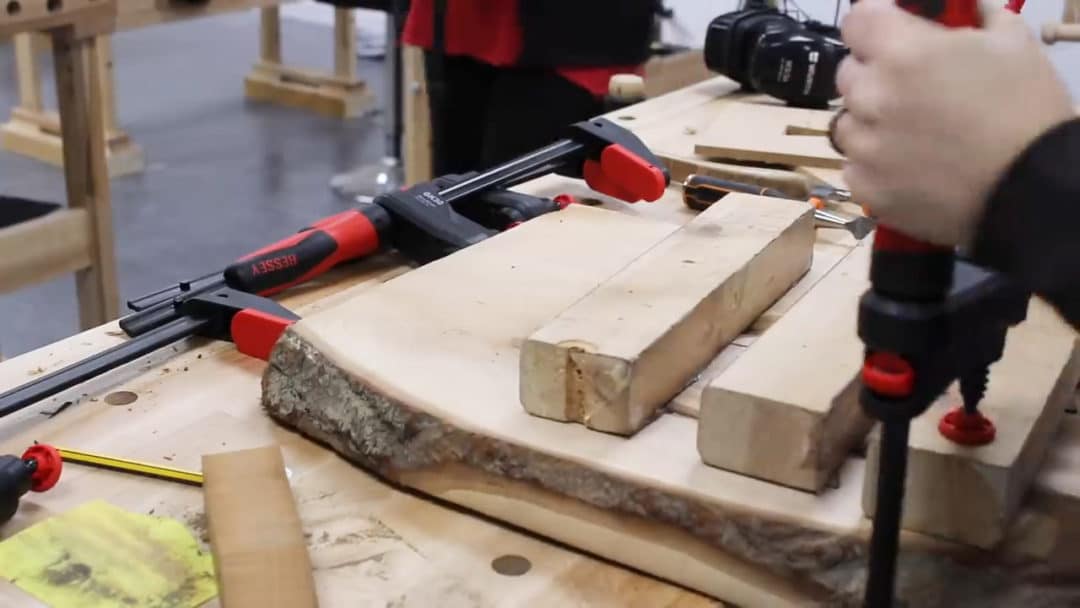
Once all the bowties were seated, I clamped three boards spanning the distance of the body, over each bowtie to sit for a bit until cured.
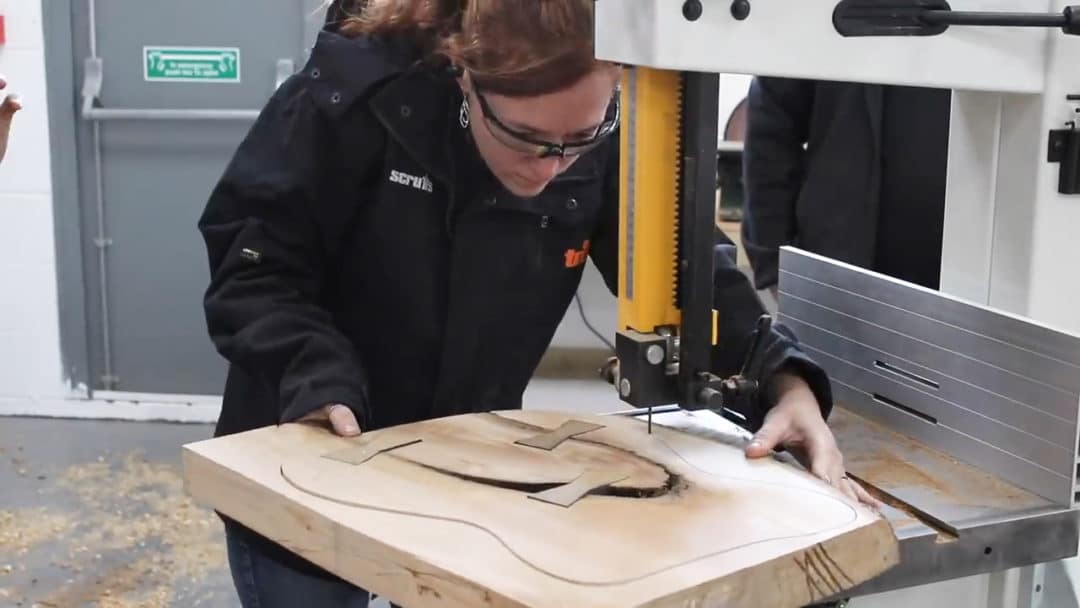
With the detail of the bowties done, I moved on to the actual body work. If you don’t have bowties then this is the starting point. I already have my body outline traced on so I took it to the bandsaw and cut it out. Just cutting right outside of the line at this point.
Oh, everybody say hi to Matt. Haha.
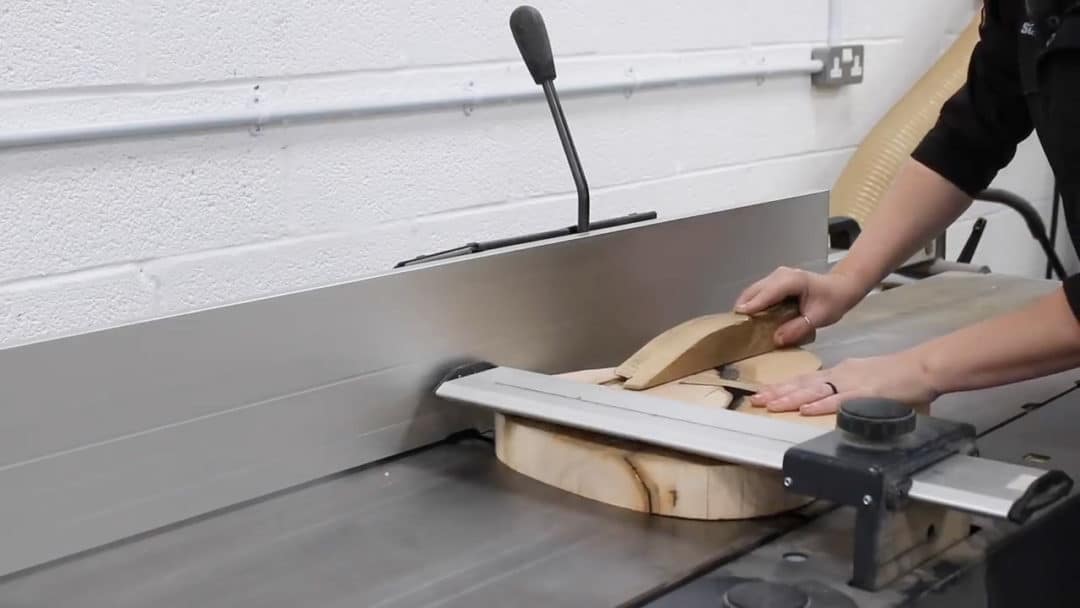
Next, I ran the bottom of the body over a jointer to get it nice and flat, then ran it through the thickness planer to get the top to match it.
Now I could go to the disc sander and carefully work right up to my lines and get the shape of the body perfect.
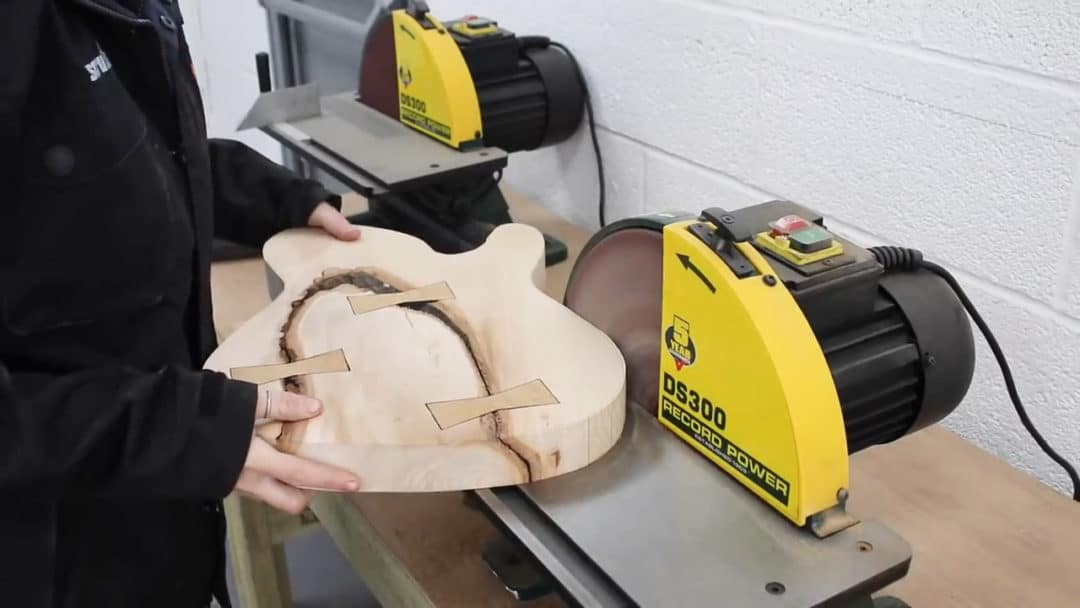
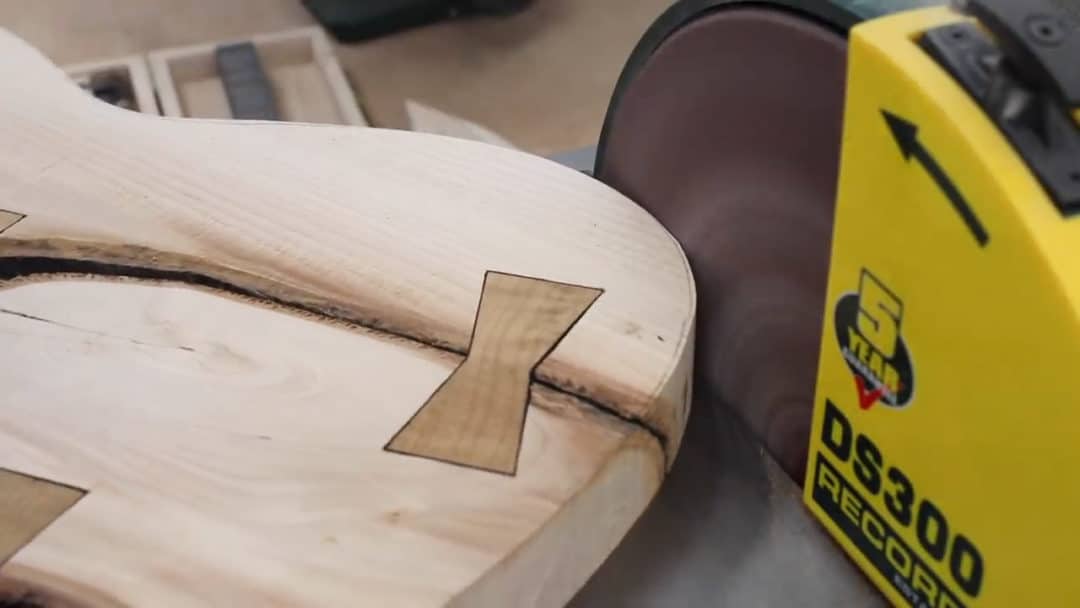
Oh my gosh, I love how that sycamore bowtie with black stain holly pops but also blends so well with the coloring of the alder and it’s crack.
The disc sander can take care of all of the convexed curves then the spindle sander was used to clean up all the concave curves. Using two different spindle sizes for the different sized openings.
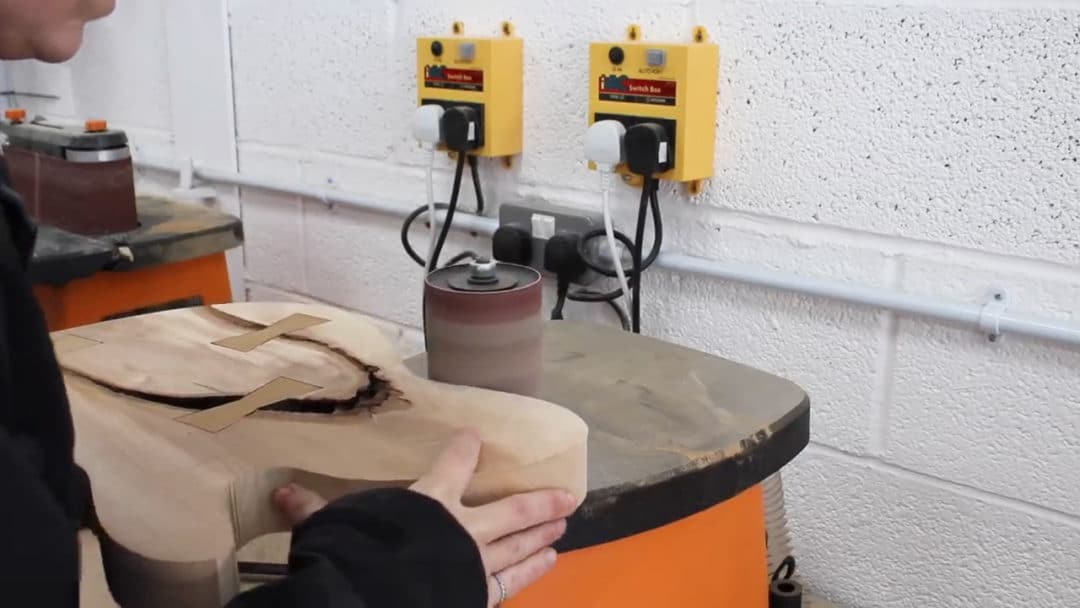
I’ll come back later to do some more shaping on the body but for now we moved to a pretty important step, which is cutting a cavity or a pocket, that will later be used to attach the neck to the body.
It’s very important that the neck be attached straight. To ensure we were doing this, I first found center of the body and of the neck then made some pencil marks as references to line up the two.
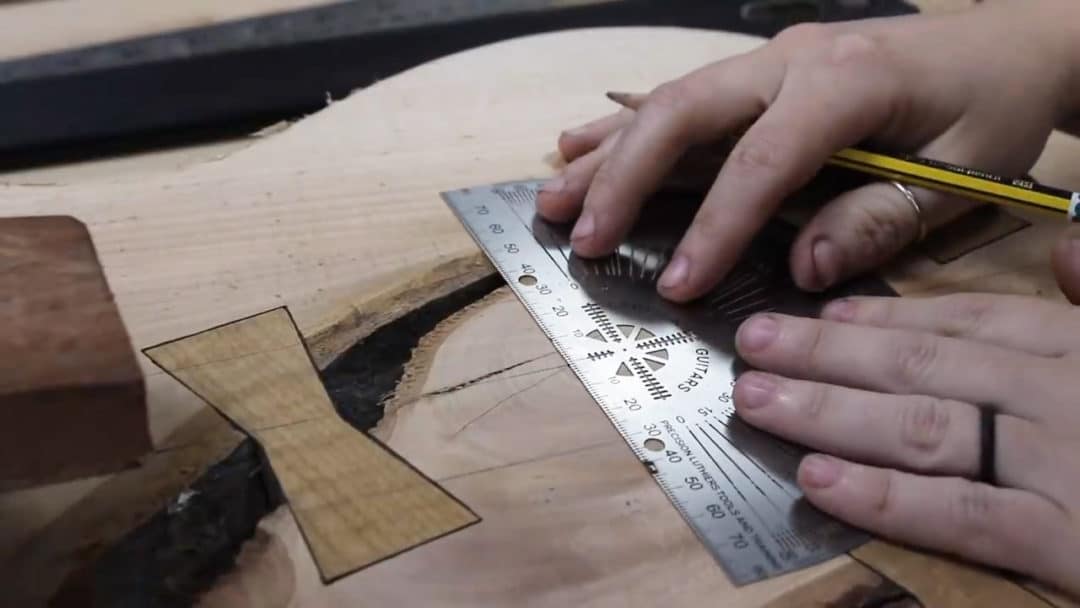
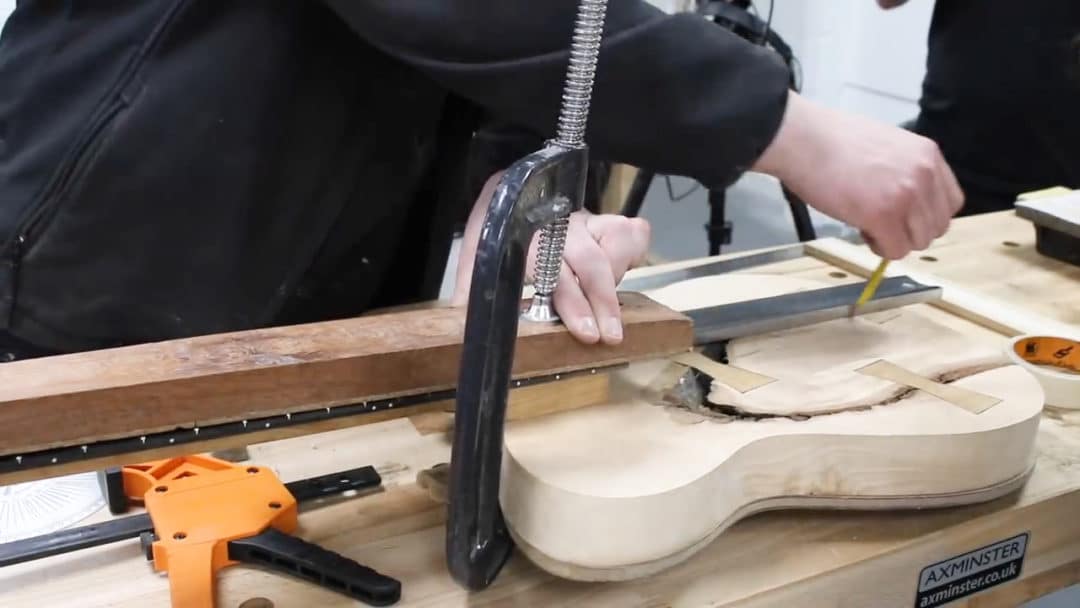
Once the neck lines were lined up to the body lines, I clamped the neck in place. The next step was to make a template, for lack of a better word, for cutting the pocket to hold the neck to the body. We did this by projecting out the two lines of the neck by butting a straight edge up to either side and tracing the inside face. This line indicates where a straight piece of scrap needs to be temporarily attached to the body. This will be the left and right guide for the router in the next step.
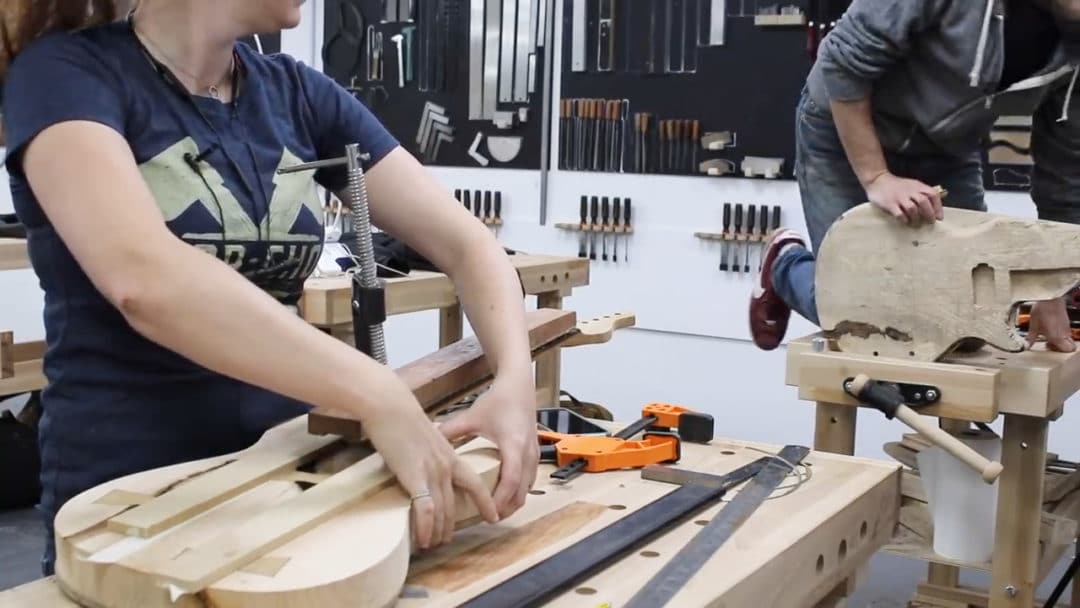
Then, before unclamping, another scrap is placed against the back of the neck. This will be the router’s guide to dictate the depth.
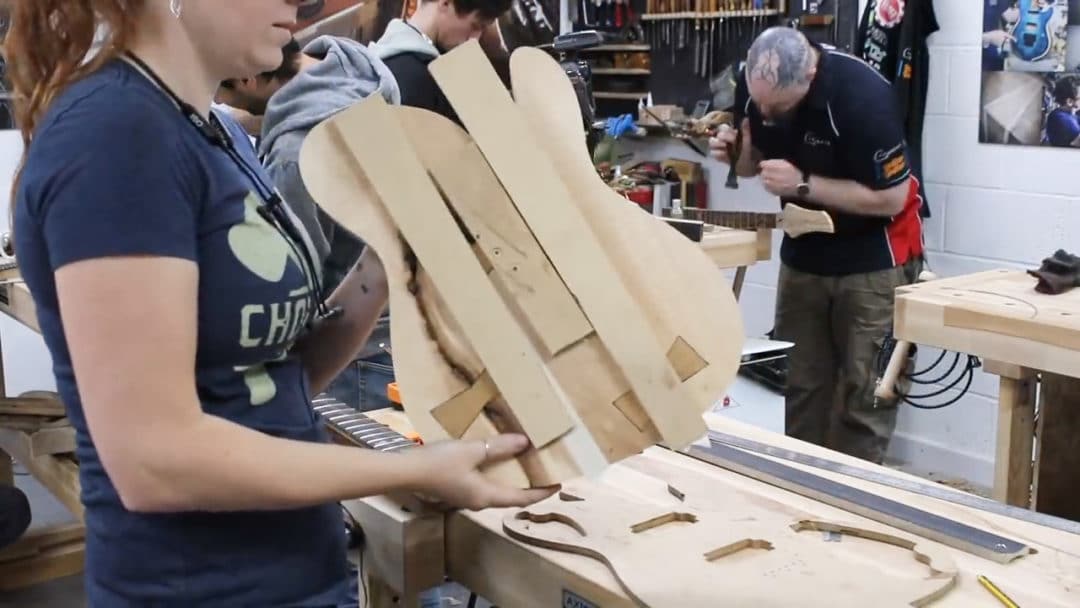
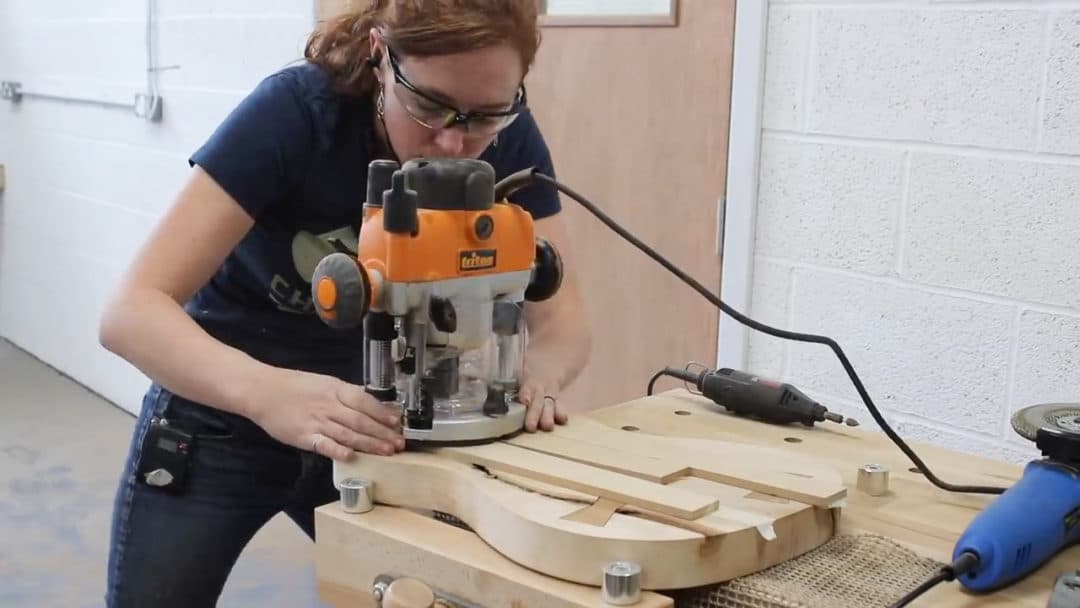
I used the router and a flush trim bit to carve out this pocket. The bearing on the flush trim bit hit those guides I set up and cut everything out inside of them. I took three or maybe even four passes for such a deep pocket.
Now, when I remove the guides you can see I have a nicely fitting spot for the neck of my guitar to later be glued into.
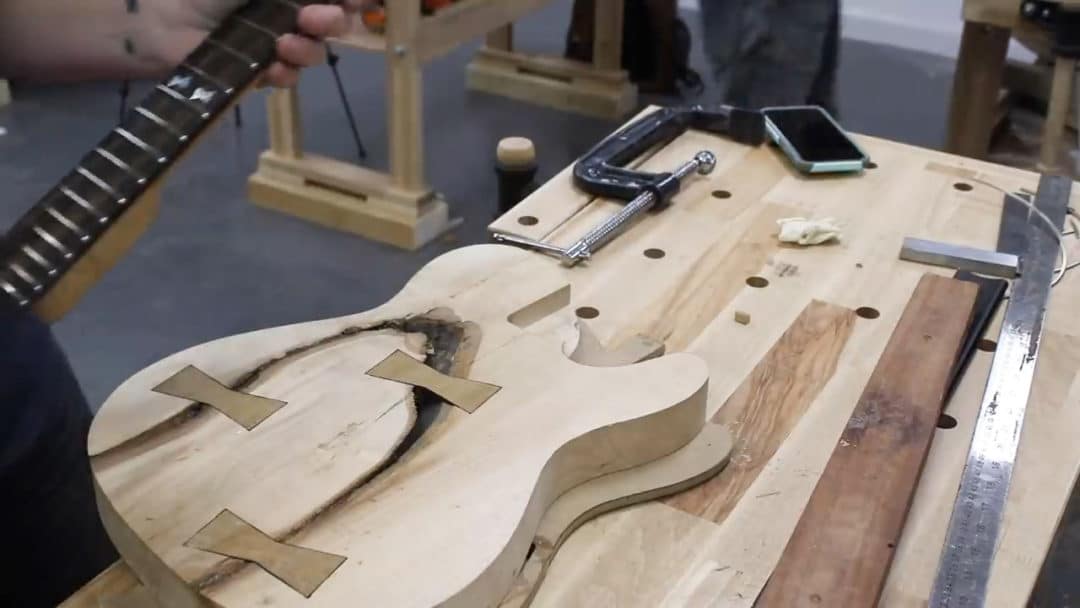
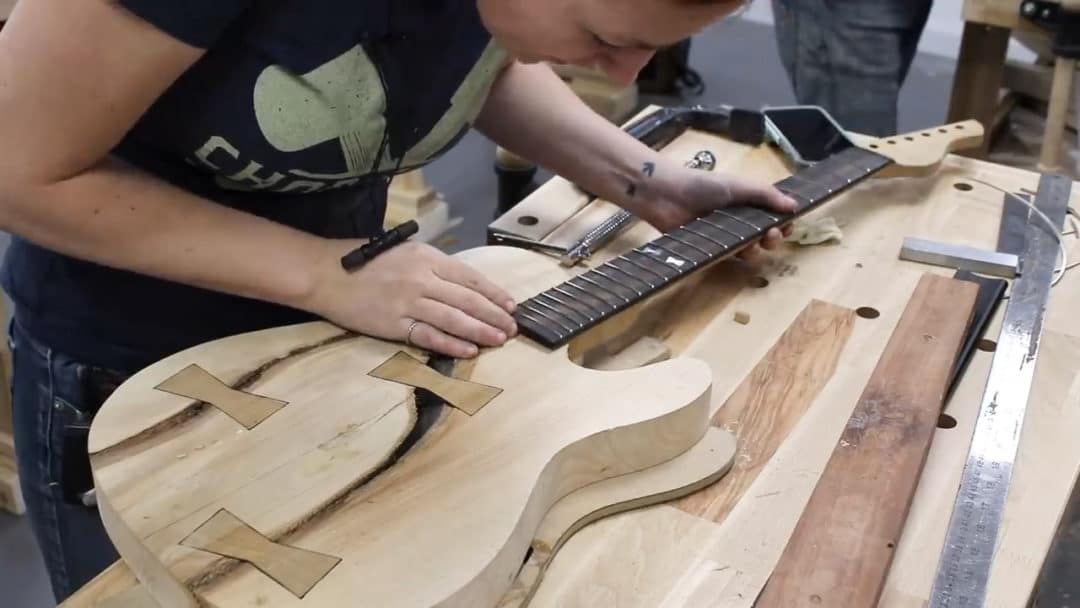
We held off gluing it in place for the mean time though, because a few things need to happen on the body first. Attaching the bridge being the next thing on the list. This is where the strings will later pop through before heading up to the head stock of the guitar.
After making a few guide lines with the protector and setting it in place, I used an awl to mark the location of each hole. This is to keep the drill bit from wondering around when drilling it to size in the next step.
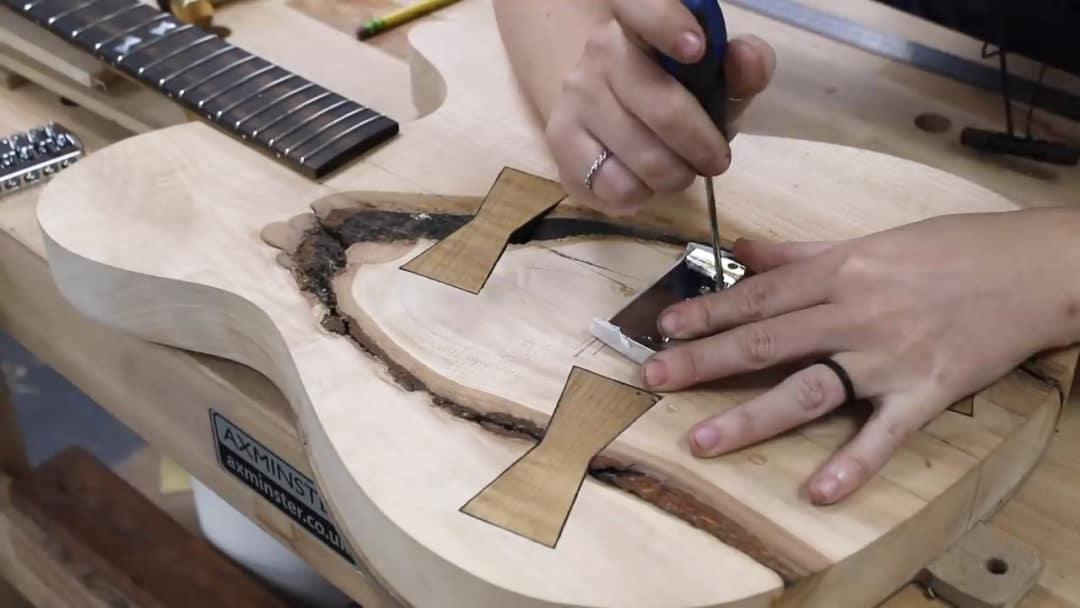
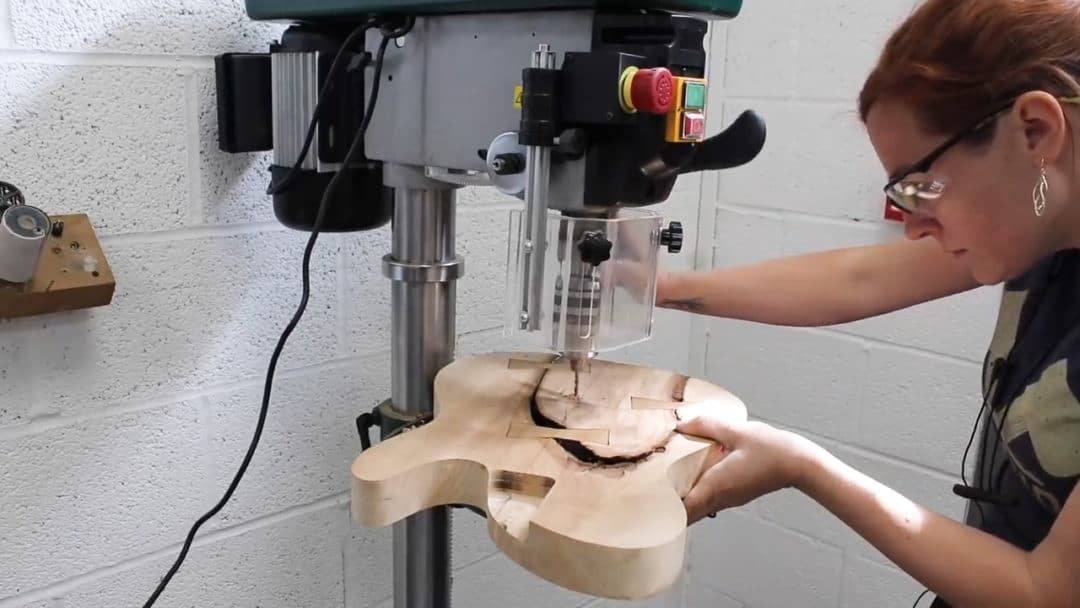
After each one was marked, I used a drill press to punch these holes nice and straight.
Next was to cut in the cavities for the two pick ups. These have a specific placement. Since their location was indicated on the template I used in the first step, I placed the bowties so they wouldn’t be in the way.
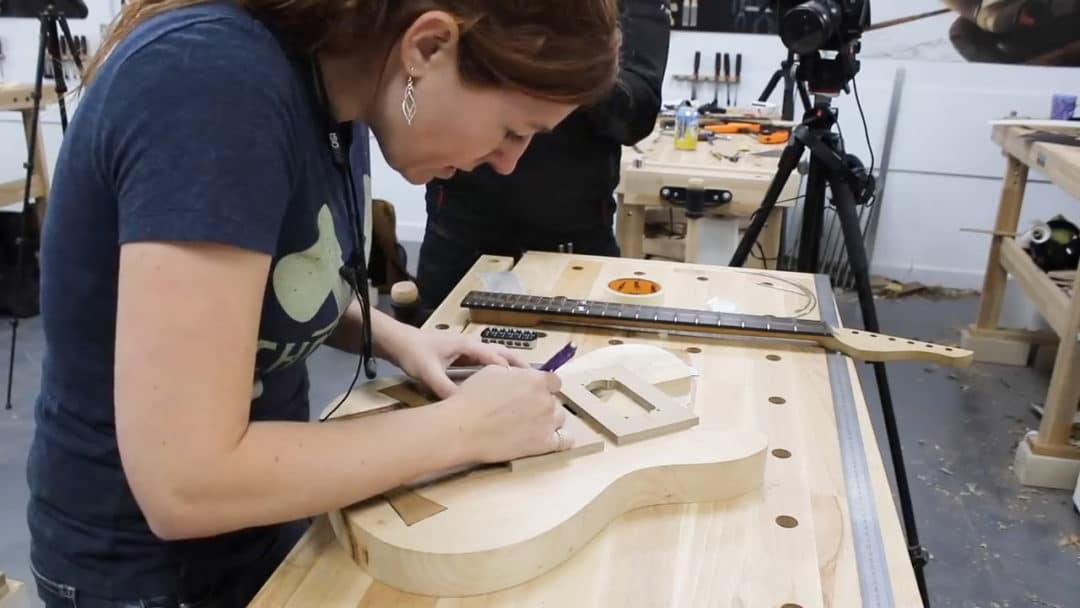
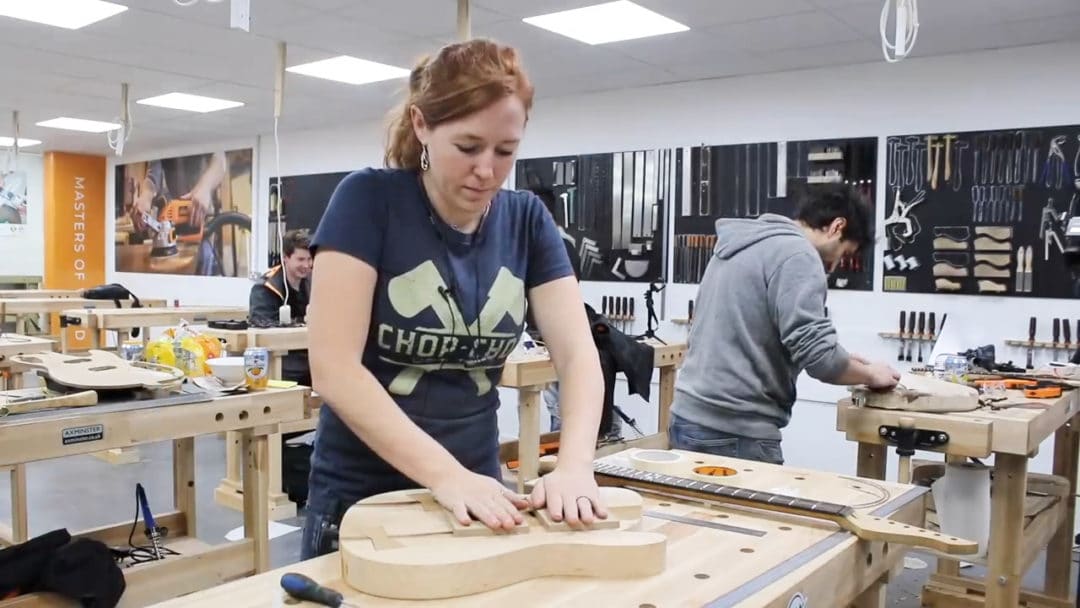
I hogged way the majority of the wood with a forestner bit then finished it off with a router.
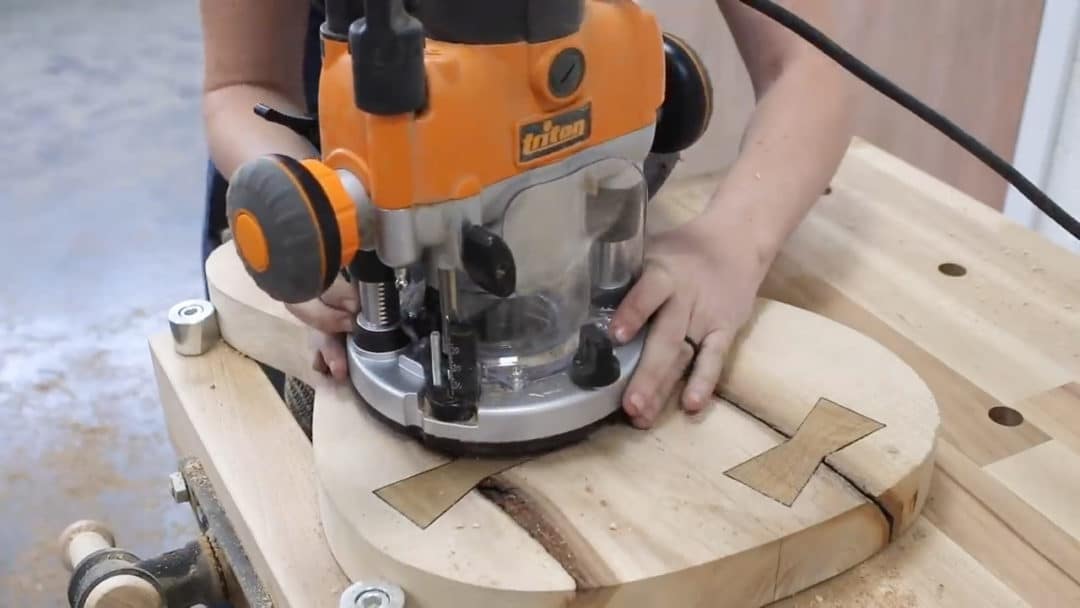
I repeated the process with the body template of mine to cut out the two large cavities in the back of the body that will later hold the electronics.
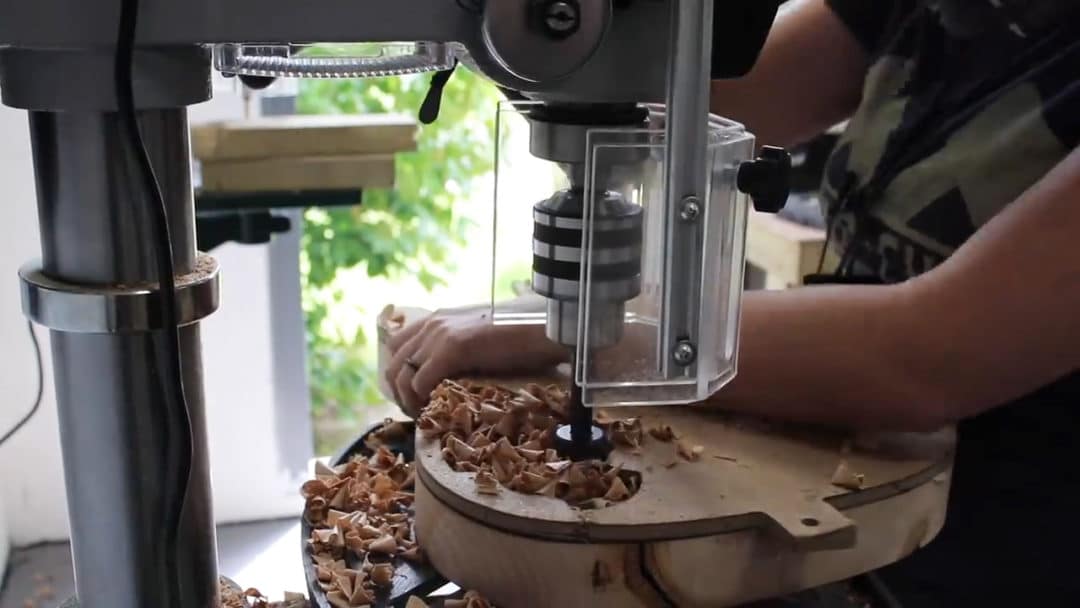
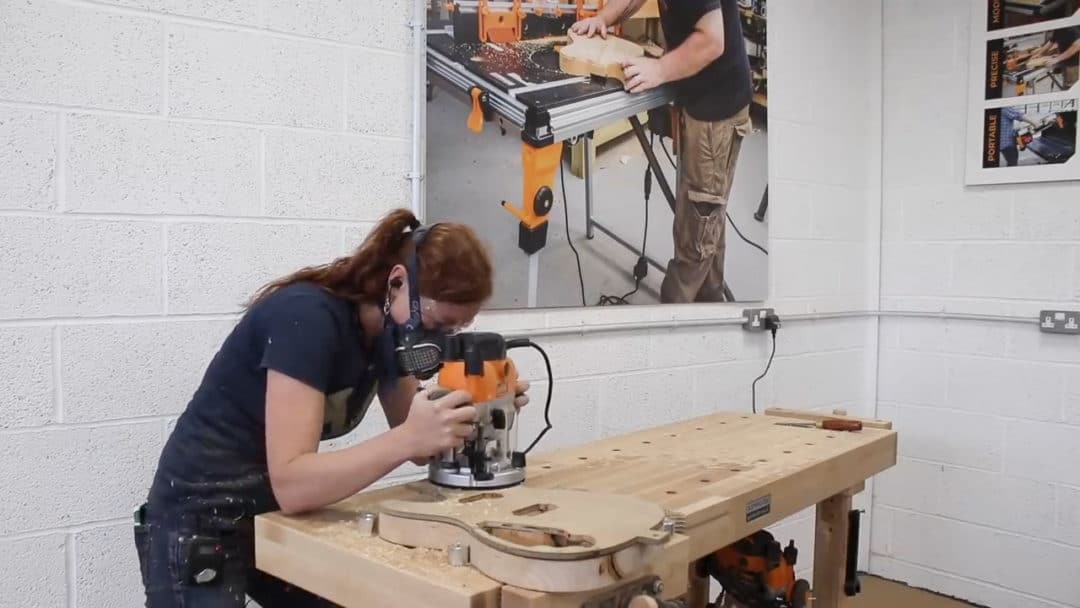
For these two back cavities, two lids needed to be made to cap them off.
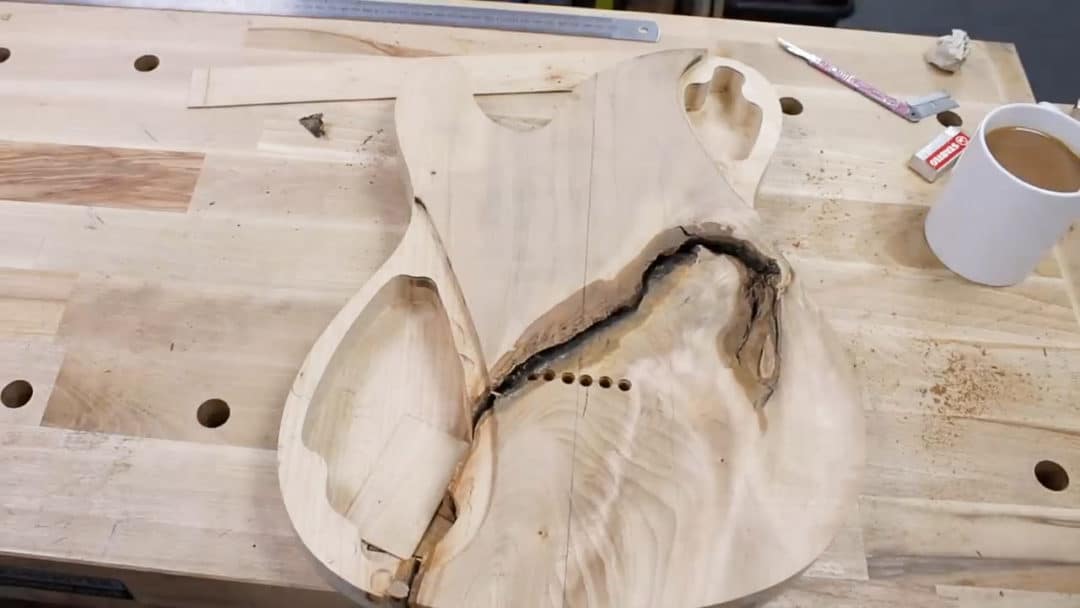
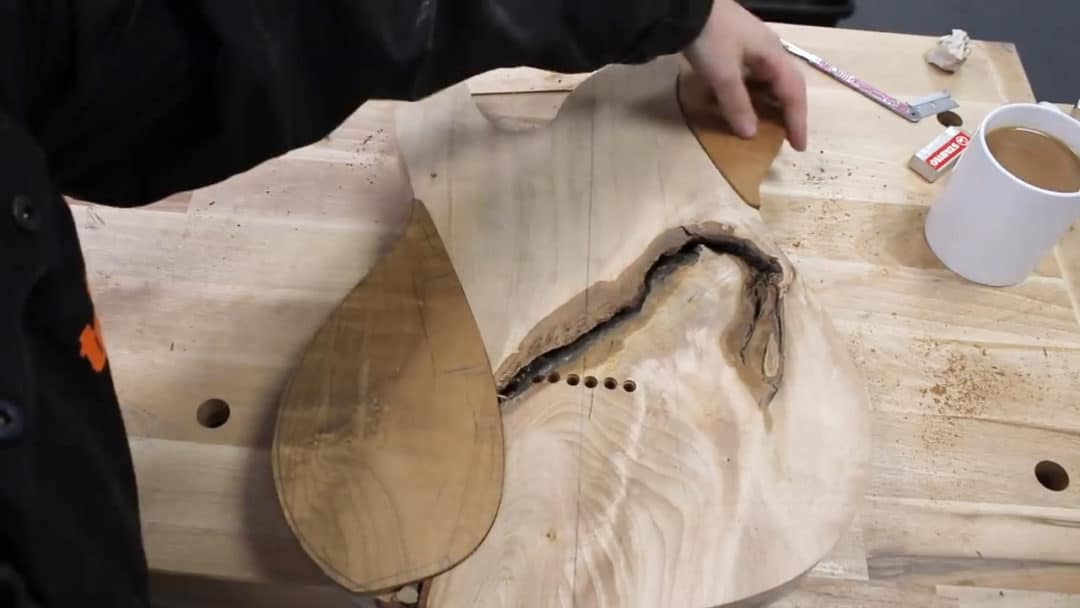
I stuck with my roasted sycamore for these parts and after doing a rough cut over at the bandsaw, I used the disc sander to refine the shape.
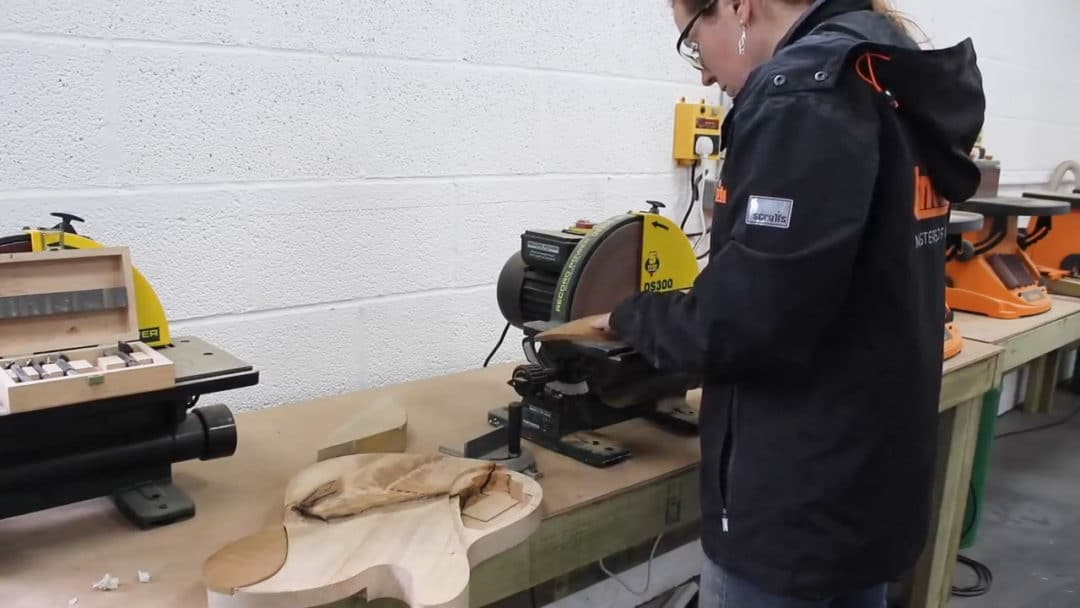
These need to be a pretty good fit because if there are any gaps, you will always be able to see it. So while I did a lot of the tuning with the disc sander after getting it close, I moved back to the workbench and Chris stuck a piece of sand paper to a straight edge so that I could whittle away at the high spots and just sneak up slowly on them until both of these teardrop caps fit perfectly.
Alrighty, quick tea break then it was time to drill a hole for the output jack. Which I thought was a pretty serious moment, but apparently I was the only one. If you can’t tell, we were having fun.
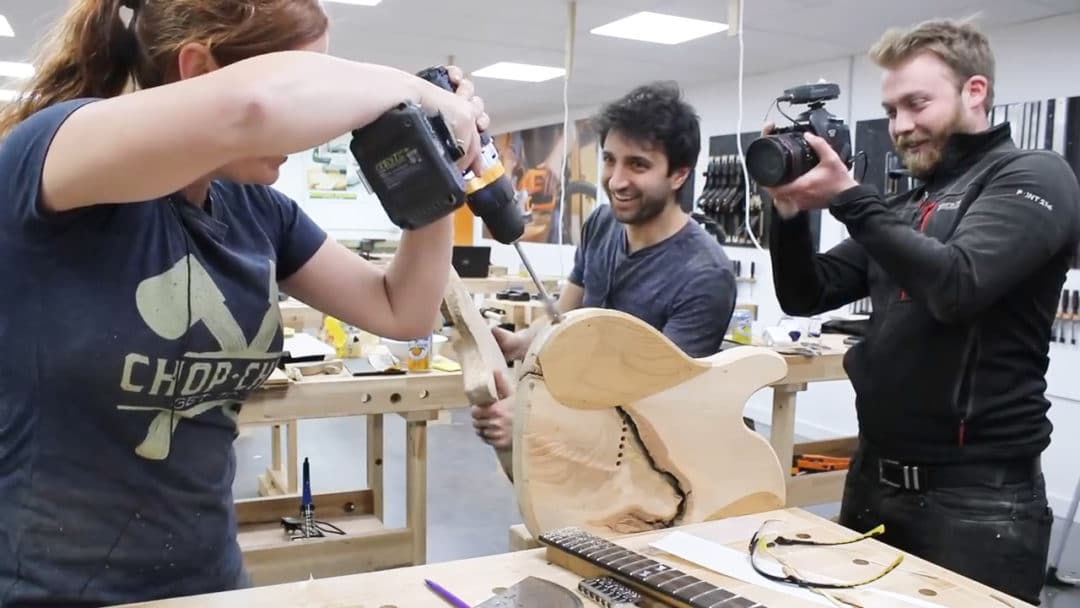
Oh yeah, at some point before this, I put a chamfer around the perimeter, but I don’t seem to have any footage of it. Sorry bout that, but it’s just a simple chamfer around the edges.
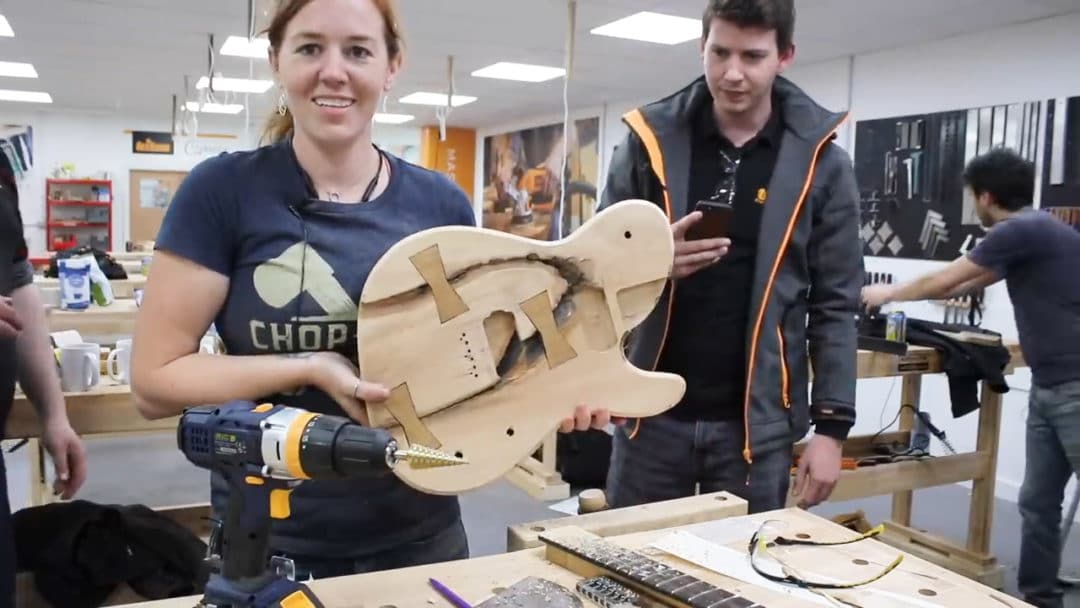
Ok time to drill more holes! A few holes are needed to connect the different cavities to each other so that when we run the wire, they can feed from one section to the other.
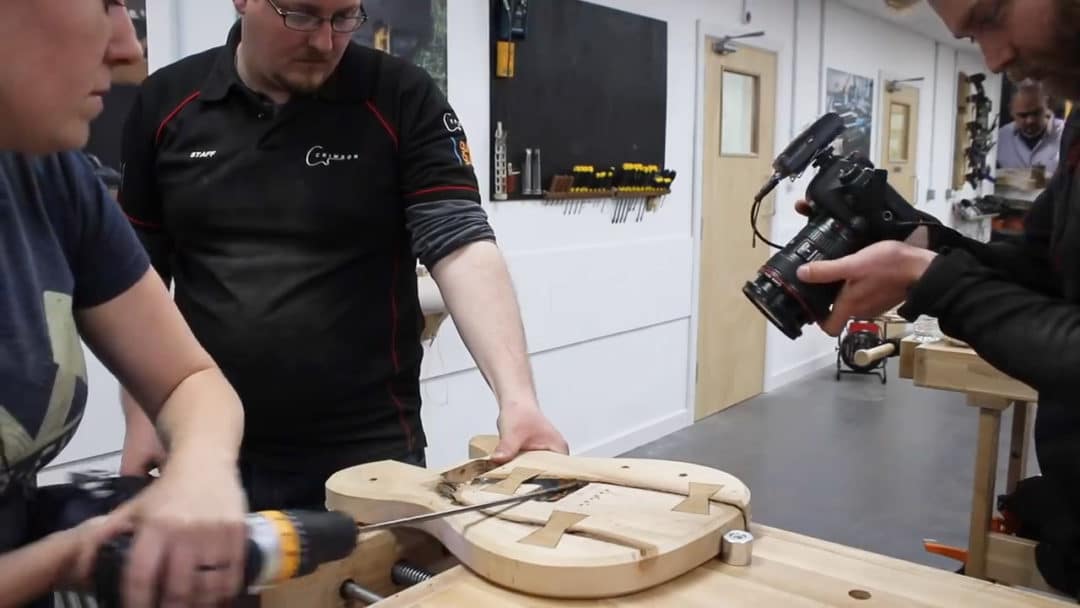
Even though punching holes in my beautiful new body wasn’t my favorite, I didn’t think any of them were particularly scary. Nothing like punching into the truss rod cavity in the last video.
Annnnd I believe that is just about it for the body.
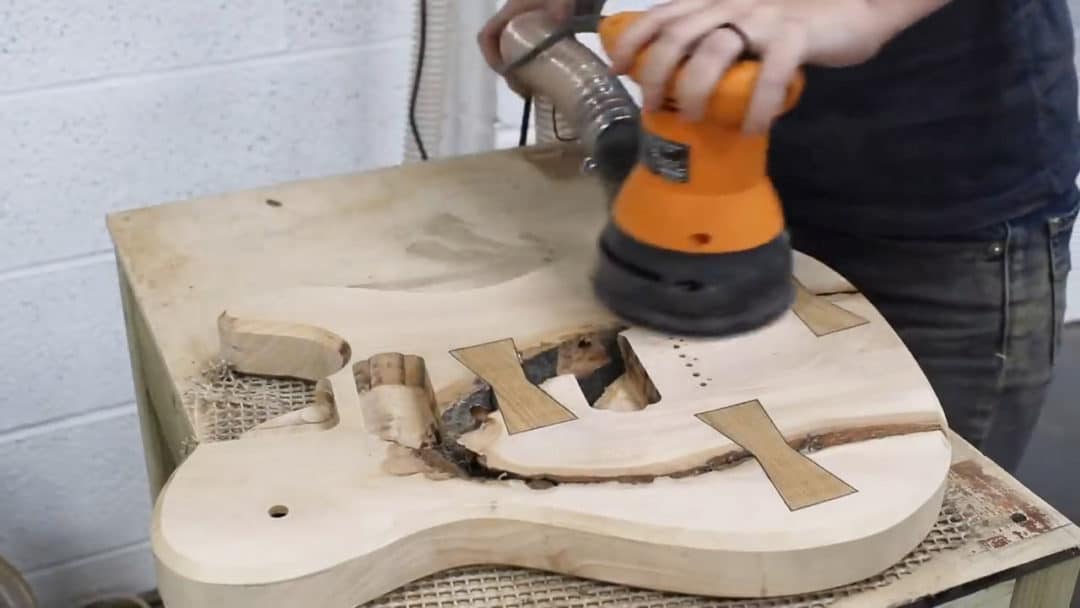
We really wanted to get our necks glued up to our bodies before calling it a night so we spent a good amount of time doing all of the finish sanding. Starting off with the Palm ROS and running through the grits on the large flat surfaces. Then switching over to sandpaper and card scrapers to get the inside edges as well as the chamfer.
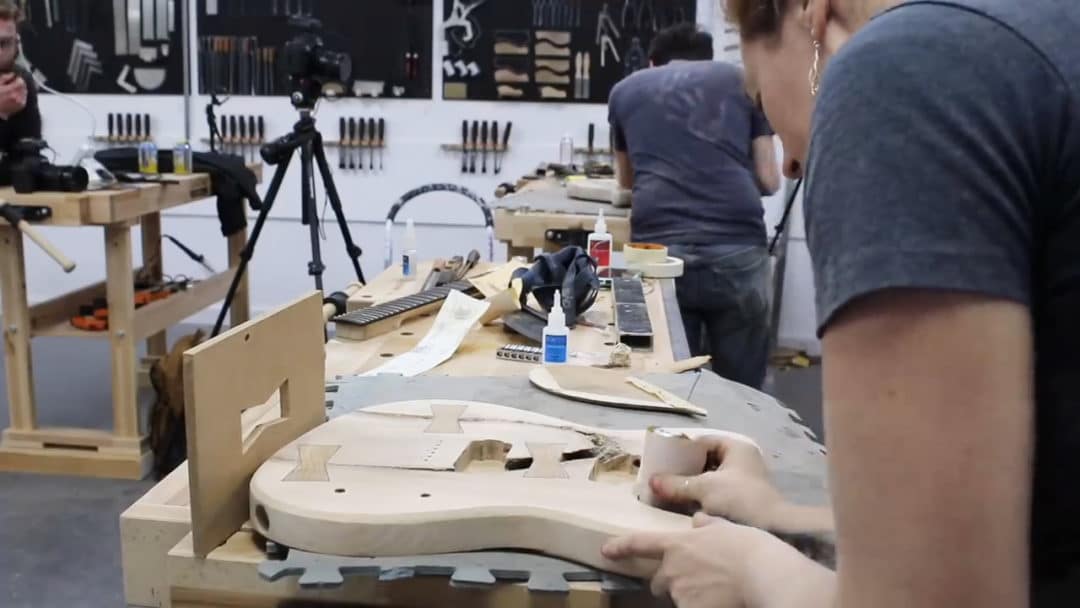
Ok lets glue the neck into place shall we? I feel like this was a huge moment. Both components, the neck and the body had taken so much time to get to this point, but there was nothing to be nervous about as the operation to join the two was simple.
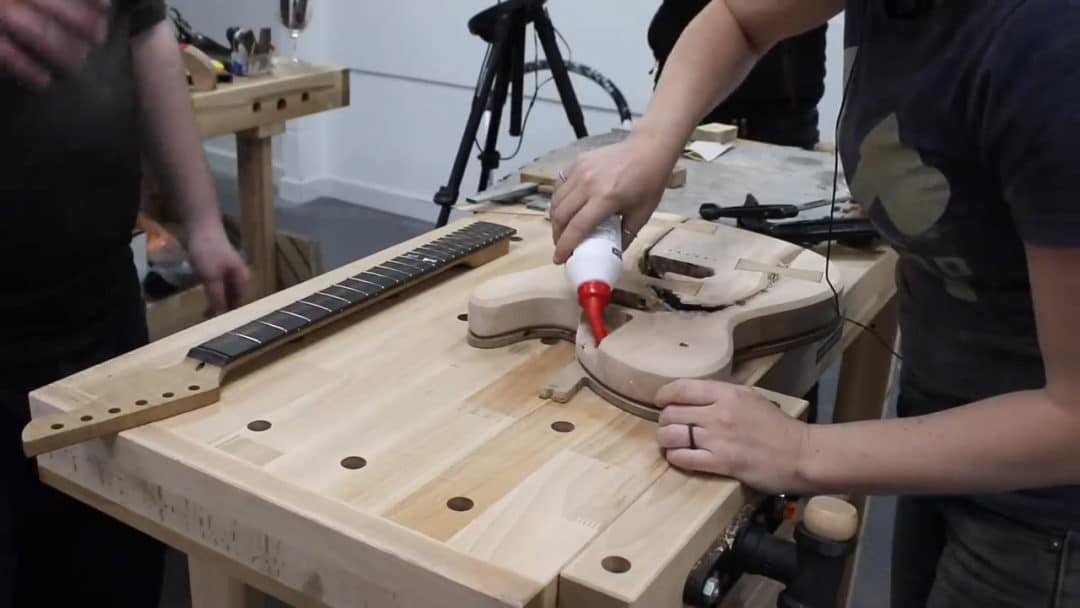
Wood glue smeared all along the bottom and side walls of the pocket in the body, then clamps on stand by to apply downward pressure.
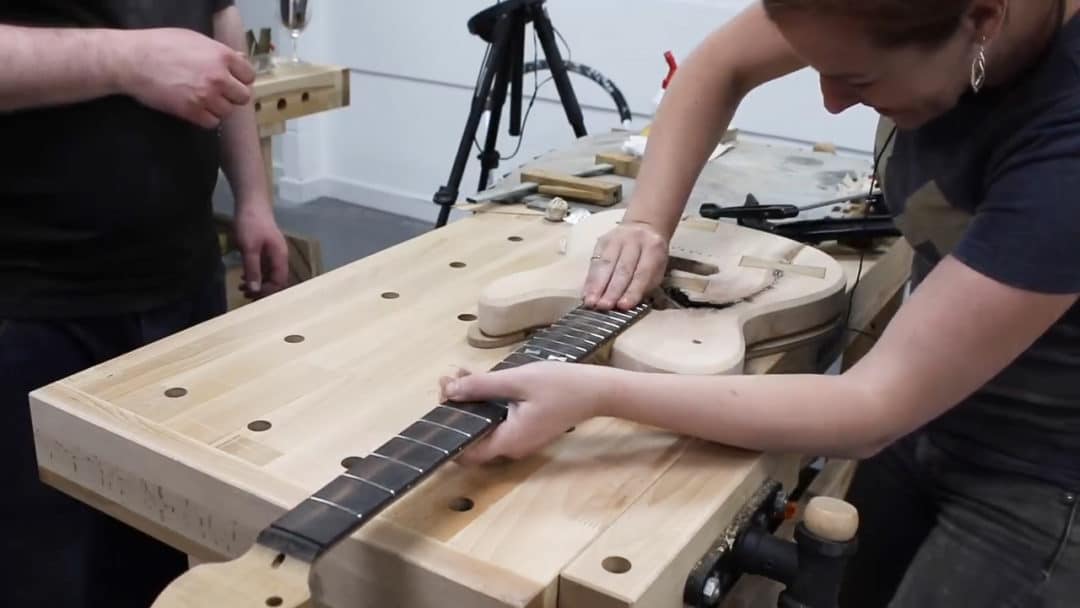
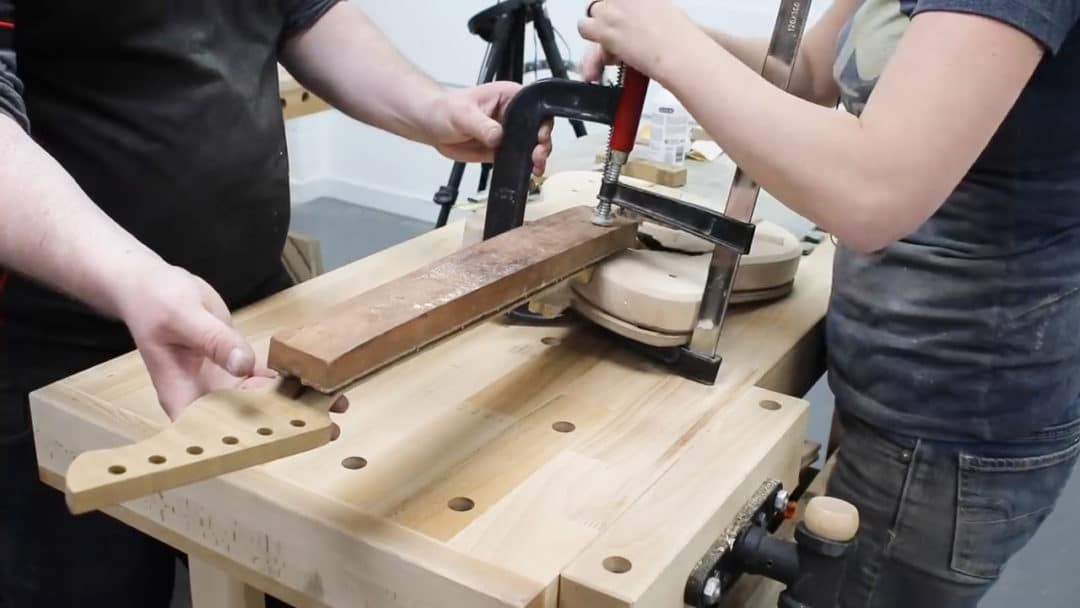
The main thing to pay attention to here, is that the neck is seated all the way inside it’s cavity. Oh and also to have some sort of material on hand to protect the neck from the clamps. This piece I’m using has a cove cut into it that matches the curve of the neck and is also lined with cork and I also have the body template on the underside to protect that surface as well.
Before calling it a night, I got mine in clamps, Matt got his, and Ben even got his.
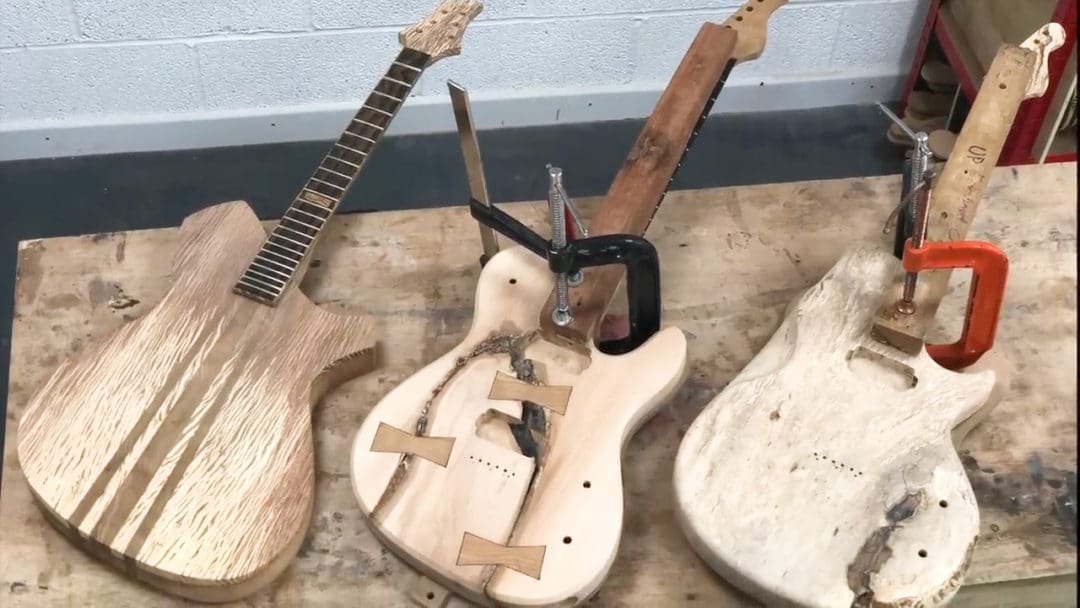
We let those sit up over night then unclamped them to admire them as a full guitar for the first time.
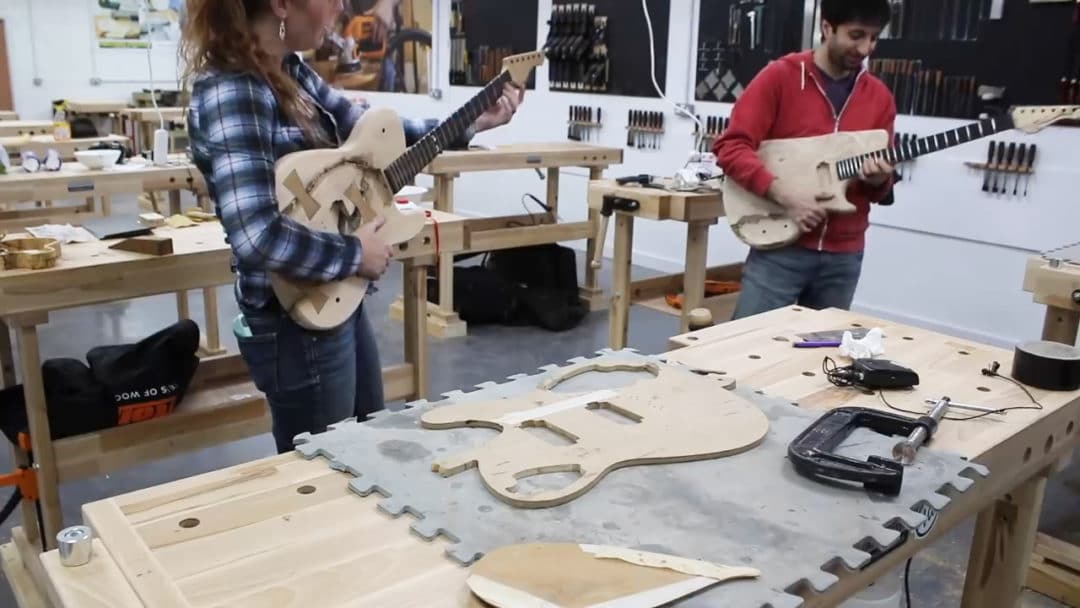
At this point the guitars are ready for finish. Crimson has an in house spray finisher so Matt and I picked out the type of finish we wanted.
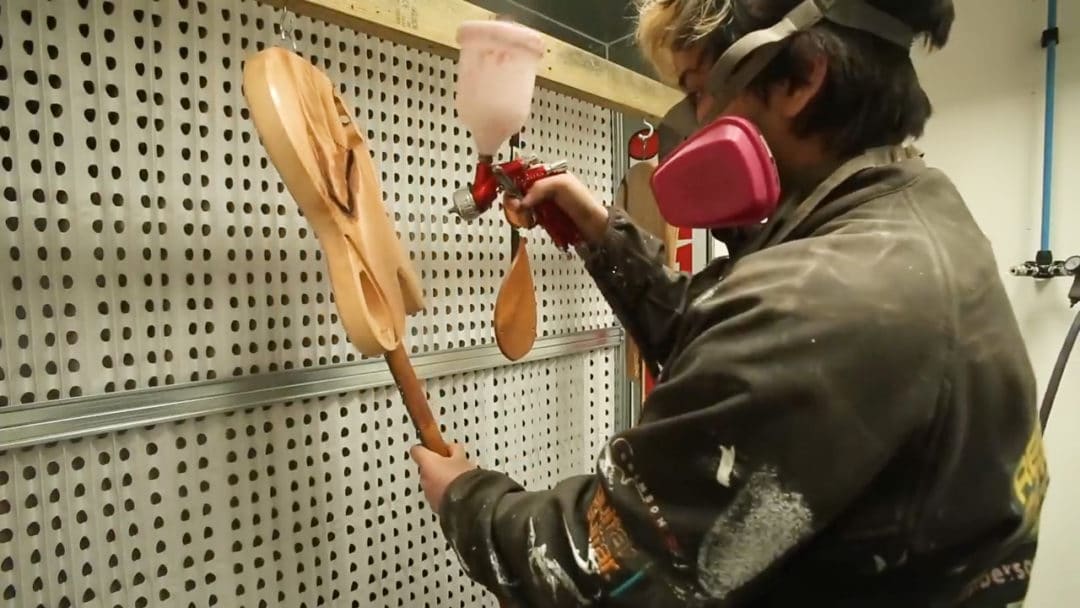
While Josh took the guitars to apply the finish, we went off with Triton Tools to explore the local saw mill/lumber yard called Yandles. Which I highly recommend if you’re ever near Somerset. By the time we got back the guitars weren’t only coated, but they were also dry.
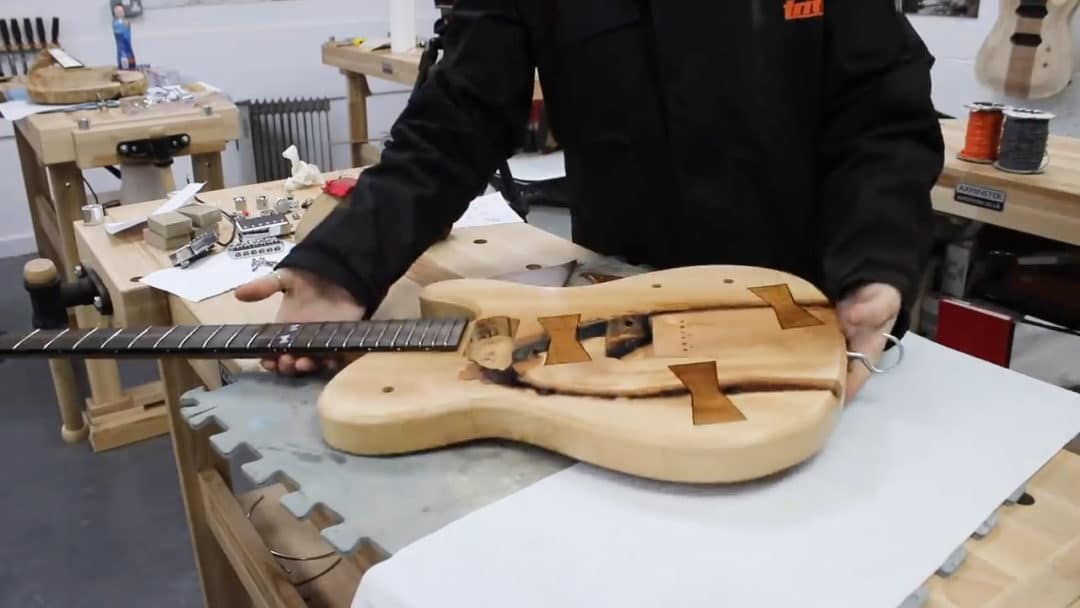
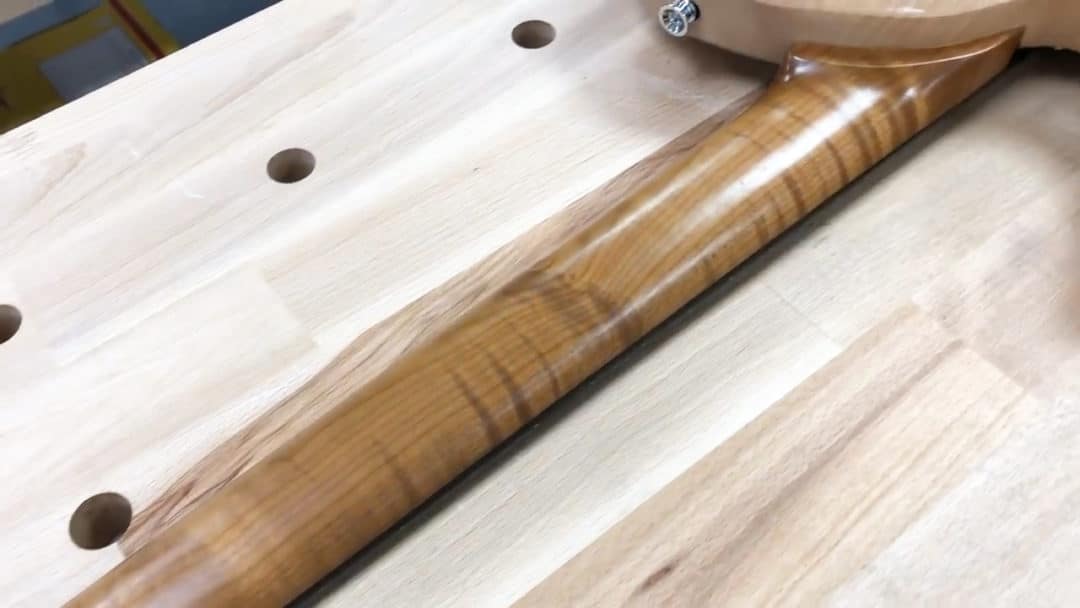
My my my. I know I’m bias but I’m absolutely in love with this guitar. The bowties, the flame in the neck. The mother of pearl inlay against that ebony. Just all of it, I love it.
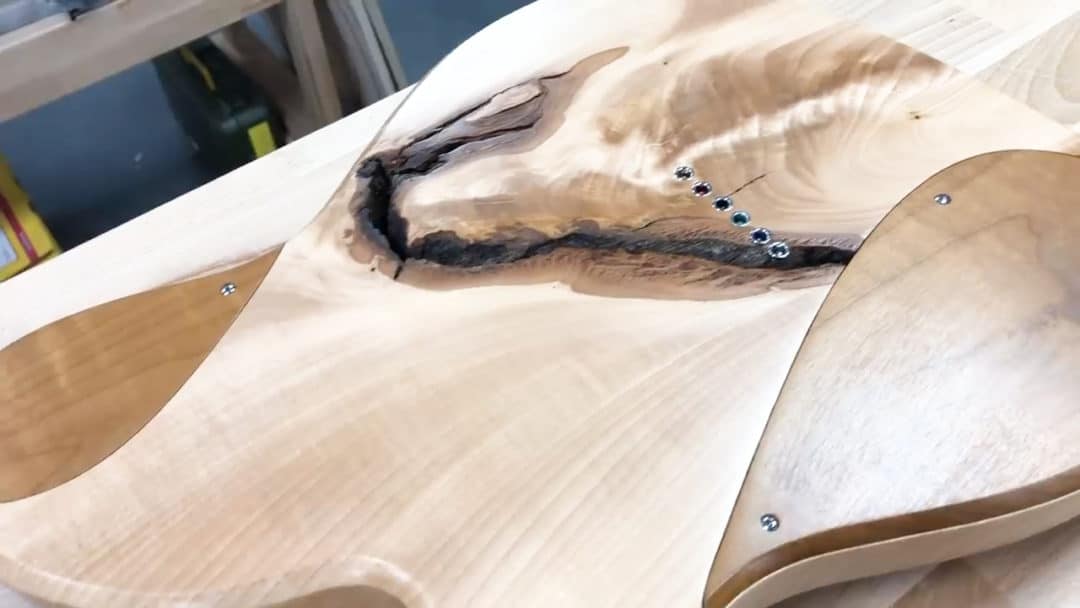
Ok enough gawking! Lets finish her off.
Up to this point I had been pretty strict about people keeping their hands off and letting me do the work on my own guitar, but Matt and I were determined to finish the guitars before calling it a night. So I welcomed the help of James and Chris to quickly throw in the electronics, route the wires, attach the tuning and volume knobs, string and tune the guitar, attach the two pick ups, then flip it over and mount the two back plates.
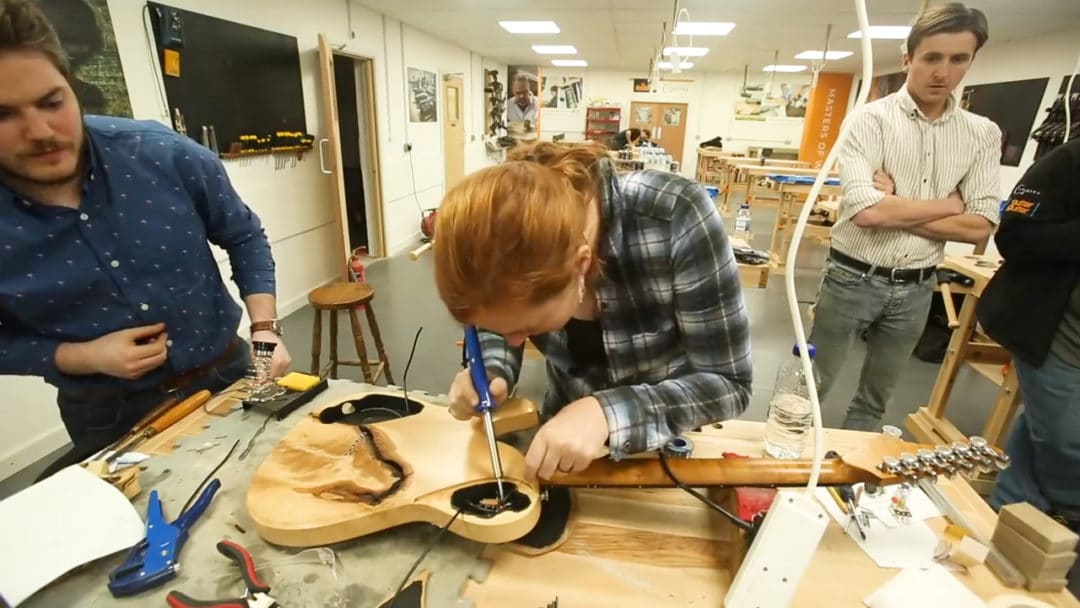
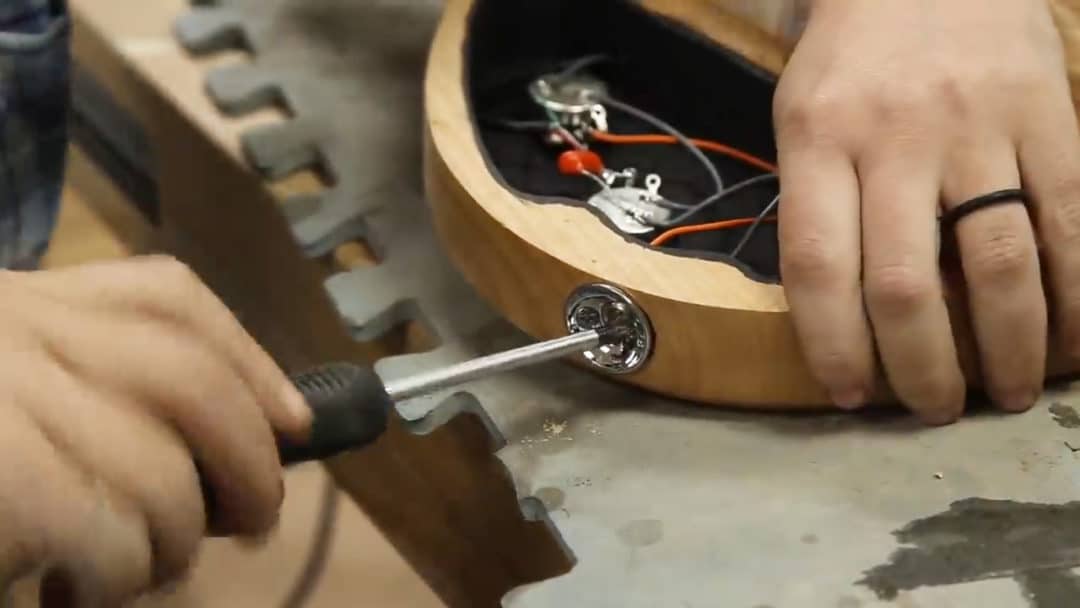
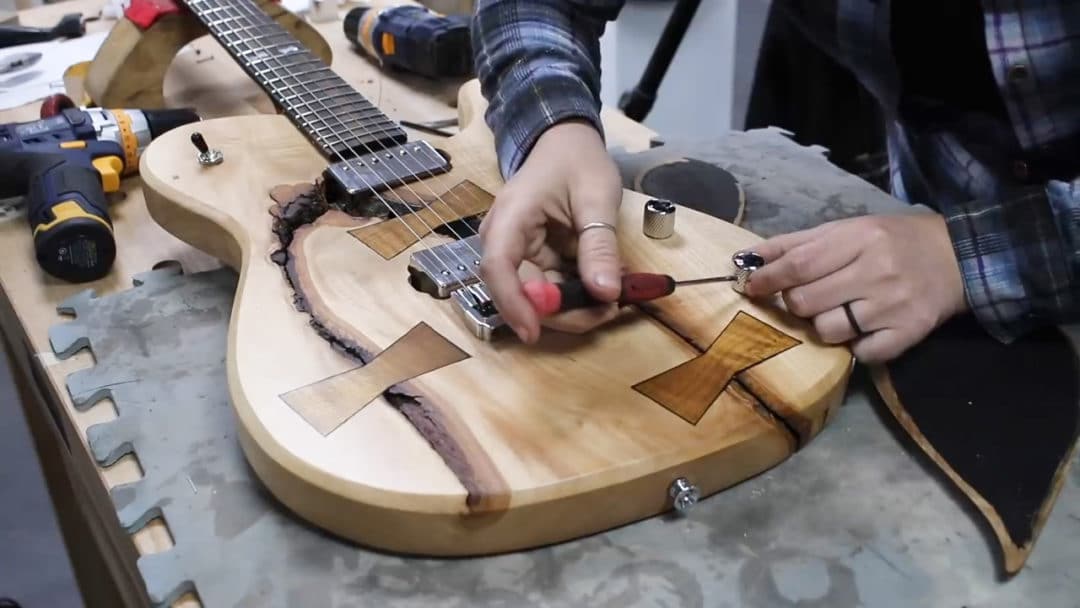
If I had been drifting off before, I was wide awake now. After four days of extreme fun but detailed work, I got to plug my guitar in and make some noise with her.
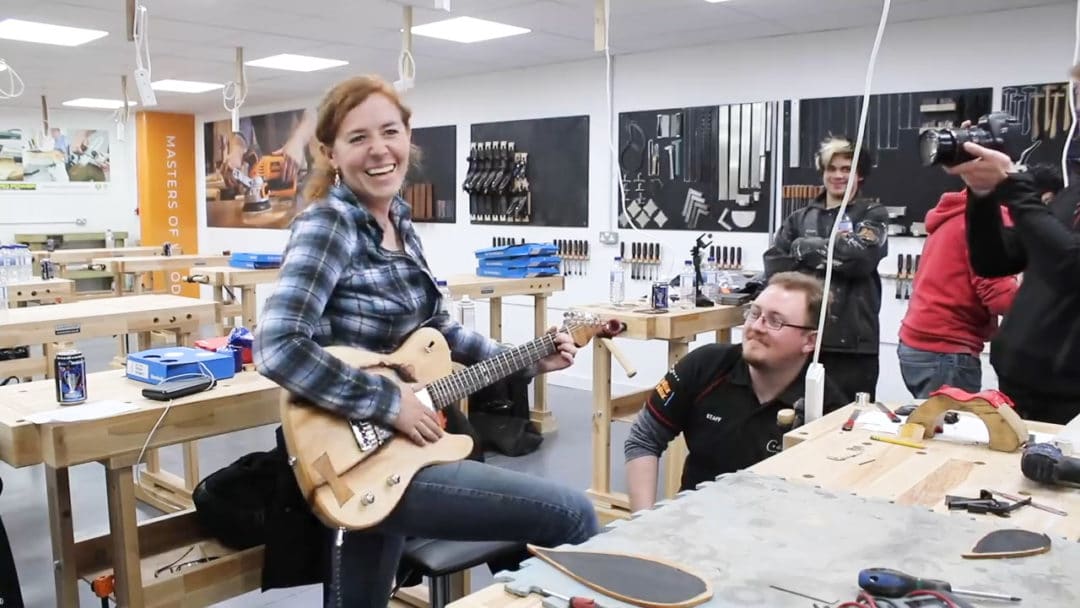
I can not express how amazing this experience was and it has my full recommendation if you’re thinking about taking a class. If you want to check Crimson’s schedule, you can check that out HERE.
If you’re a maker but not a guitarist (like Matt and I) I still recommend it. If you’re a guitarist but not a maker, I still recommend it. The luthiers at Crimson can be as hands on or off as your skill level needs them to be. I learned so much, I laughed more in that one week than I have all year I think, and I have this amazing handcrafted guitar that I’ll keep for the rest of my life.
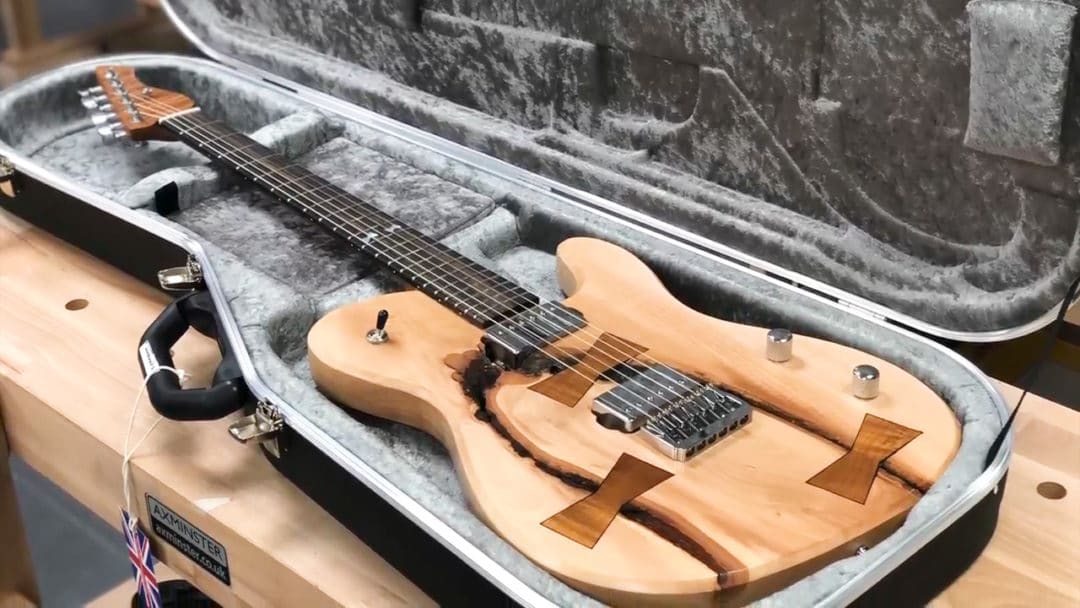
Be sure and check out the video at the top of this page if you’d like to see more details on this build.
I really hope that you guys enjoyed this project. Be sure to follow Crimson Guitars, Matt Cremona and Triton Tools on YouTube, if you aren’t already. We all have different versions of the build story and how much fun we had.
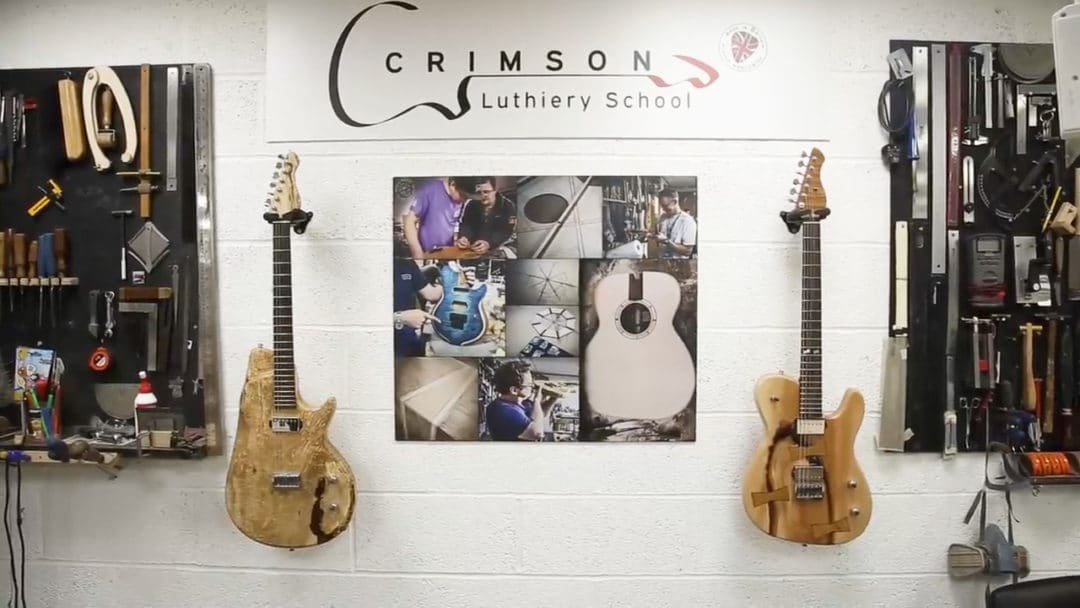
Rock on, and see you on the next one!
ISOtunes Bluetooth Hearing Protection
Spindle Sander
Router Table
Thickness Planer
Router
CA Glue
Bessey Inline Handle Clamps
Palm ROS
Triton Tools Video
Triton Tools Website
Crimson Guitars YouTube
Crimson Guitars Website
Matt Cremona YouTube
One Response
Beautiful guitar! ???????????? Awesome work April! ????????????????
Comments are closed.