How To Build A Single Seater Porch Swing | 10 Easy Steps!
- Outdoor DIY Projects
- April Wilkerson
- Updated: March 5, 2023
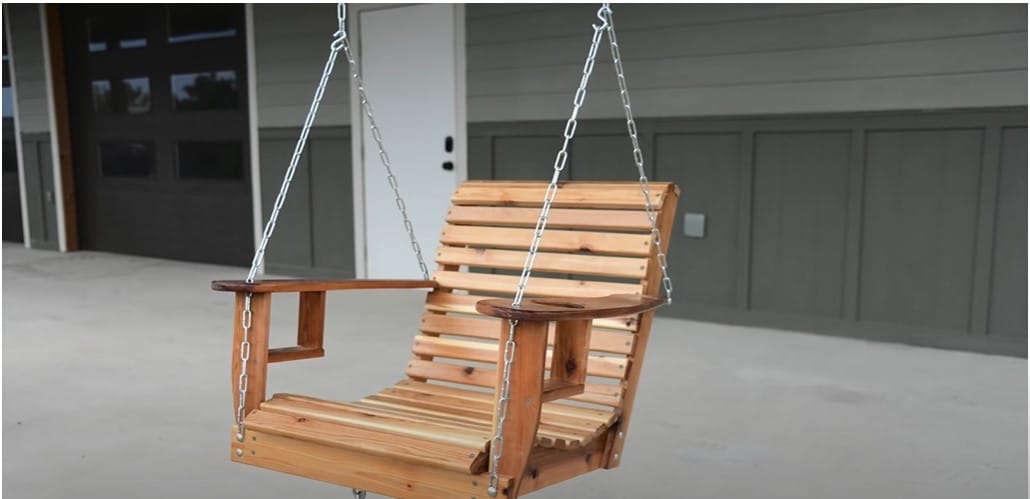
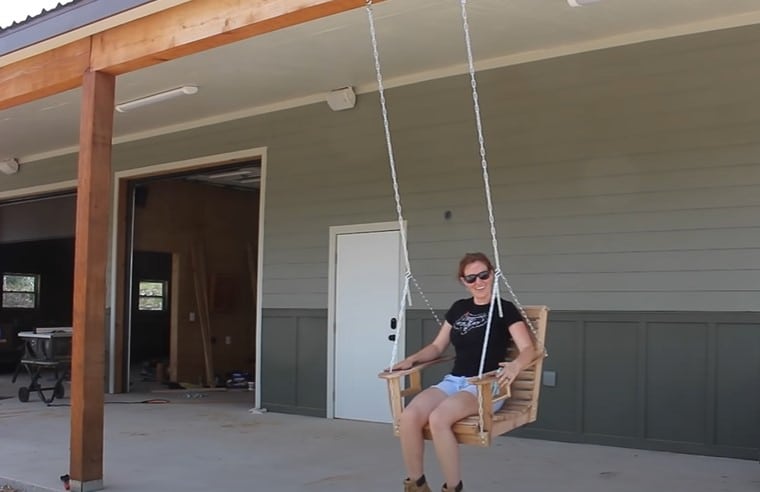
I’ve created a set of easy to follow Porch Swing plans and templates to help you build your own single seater porch swing. These templates can also be used to make a double seated porch swing as well.
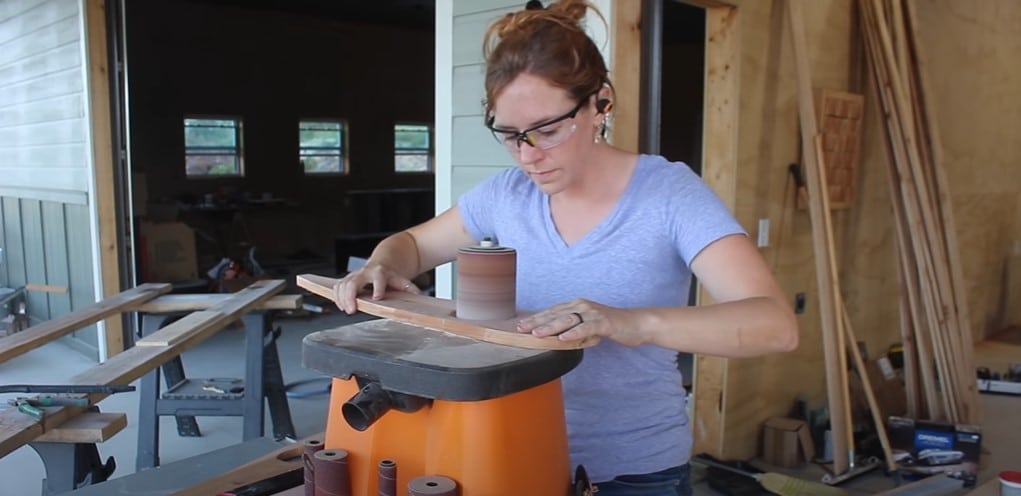
I first started by tracing out all my parts using templates onto my wood boards before taking them over to my band saw. I also used this time to cut out the cup holder in the arm piece of the swing. I first drilled a hole in the center with a drill bit then used a jigsaw while using my superjaw clamps to hold the piece in place while I made the cut. To clean up the inside of the cup holder, I used the largest attachment on my spindle sander. If you don’t have a spindle sander, hand sanding will work just fine.
With all of the parts cut out, I went over them with 120 grit sand paper with my palm random orbital sander. For the outer edges of the parts, I took them over to my router table and used a round over bit to soften the edges. I even did the inside of the cup holder again
I started by joining the front structure of the two vertical arm supports. I’m using carriage bolts to assemble a majority of the swing. At this connection there are two bolts so I first drilled a through hole for the first bolt. Then before drilling the second, I placed the bolt in the hole to keep it in line while I drilled the second. Carriage bolts can be a little difficult to work with if you don’t get the head if the bolt sunk in properly before trying to tighten it down.
I always use a mallet to hit the head into the wood slightly before flipping the pieces over and tightening on a flat washer and a nylon locking nut.
I repeated the process to connect the bottom support piece to the back support piece. again, since I had two holes here, I drilled one place a bolt to hold its position then drilled the second.
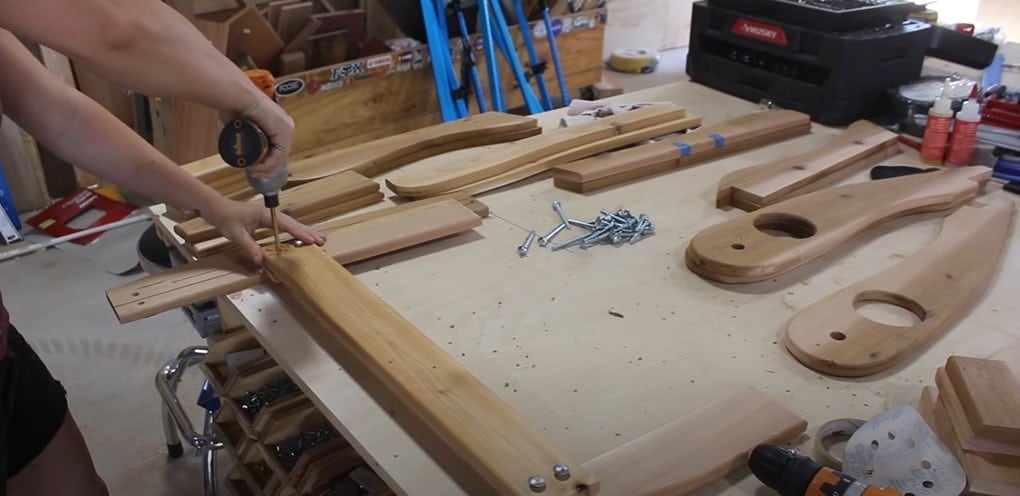
To join the two assemblies the bottom supports connect very easily to the front assembly. I always use a speed squarer to make sure that they are attached square, then hold the in place while I pre-drill with a countersink and then drive in a screw. After getting one support attached, I repeat on the other side.
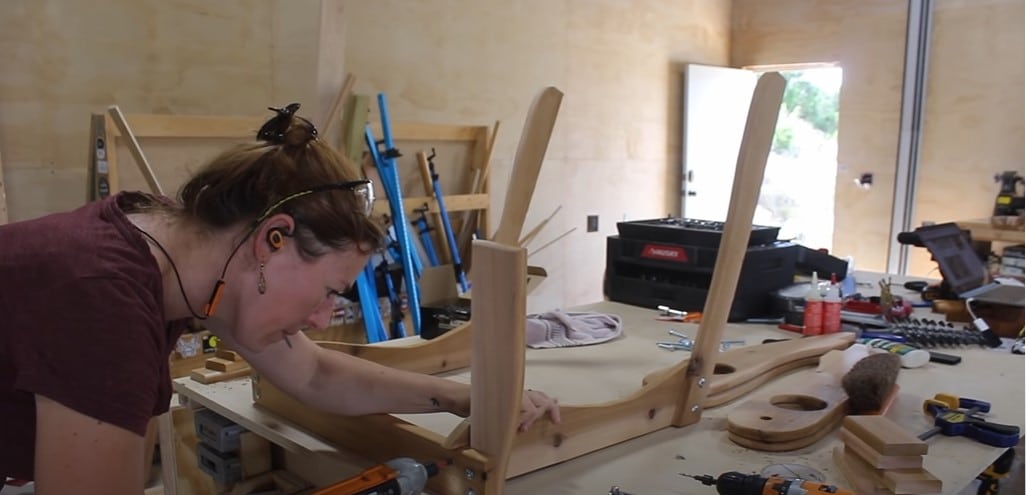
Next I connected the arms. Using a spacer, make sure that the gap between the back of the arm and the back support is enough to later receive a slot. then also making sure the arm is level. The arms are attached in the back with a carriage bolt so while the arm is in place I drilled a through hole then shoved in the bolt. I did place a washer and a nut on this bolt but I didn’t tighten it down yet because the chain for the porch swing will later be attached to this bolt.
When leveling, makes sure that the surface the product is on is also level so that you don’t ed up with a lopsided product.
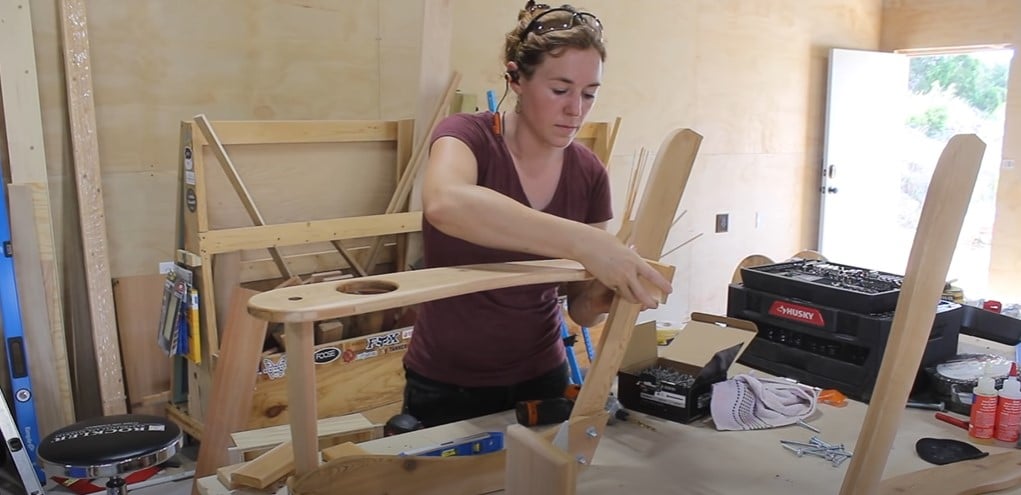
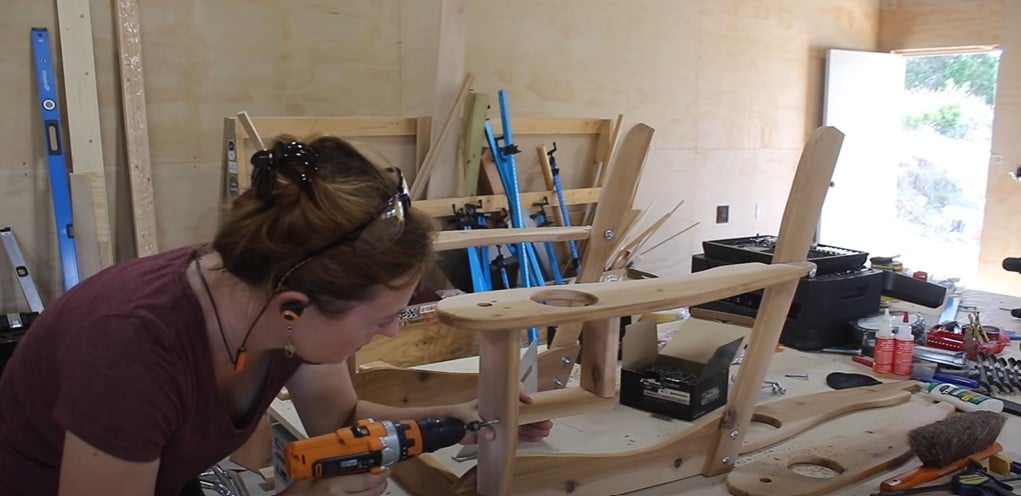
The cup holder is made up of two pieces joined together at a 90 degree angle ad then joined to the swing on the arm and front assembly. I pre-drilled then used screws to join it all together. After this, the body of the porch swing is done!
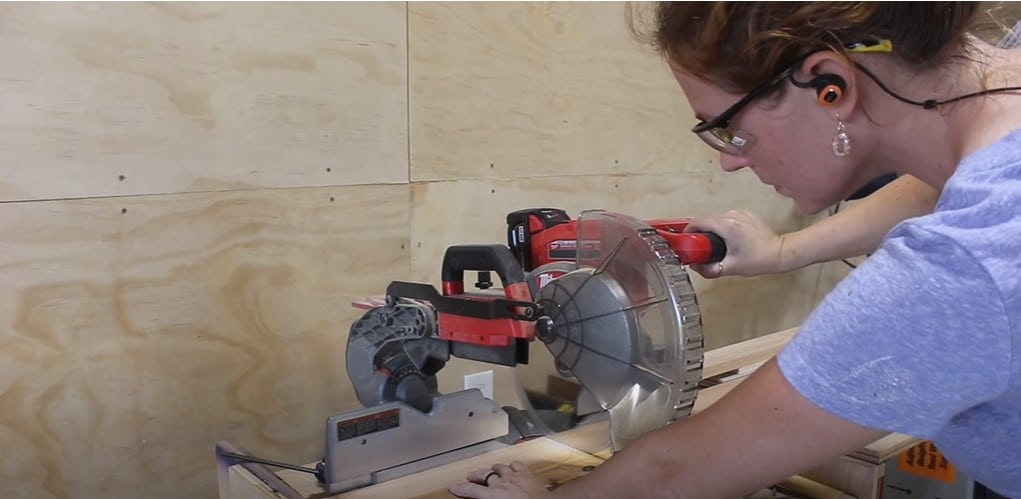
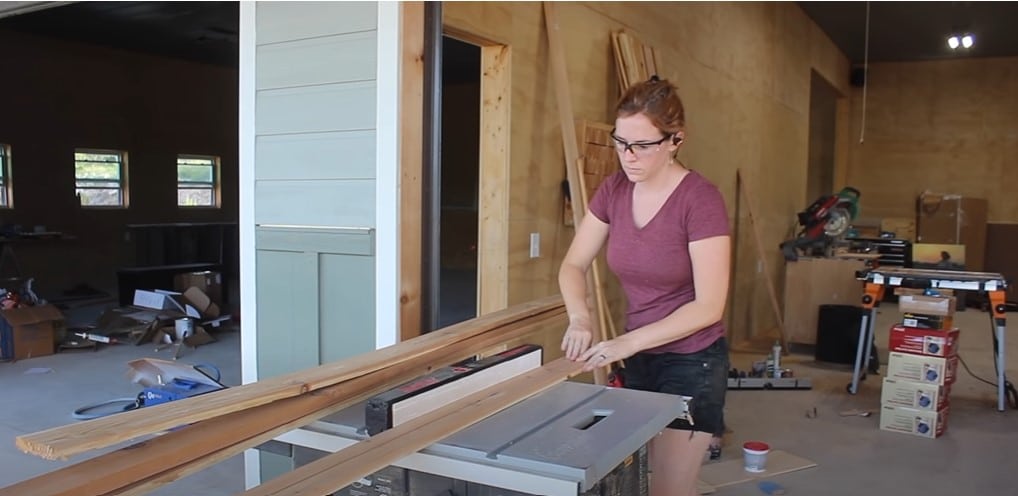
To make slats easier you can buy 1×2 boards from the store but I have found it very hard to find boards that are straight enough to use. SO instead i buy wider boards and rip them down to make the slats. This route is also cheaper. After getting the board ripped I run them through the router table with the same round over bit to soften the edges. To get them to their needed length I set up a stop block over at the miter saw and then very quickly cut everything to size.
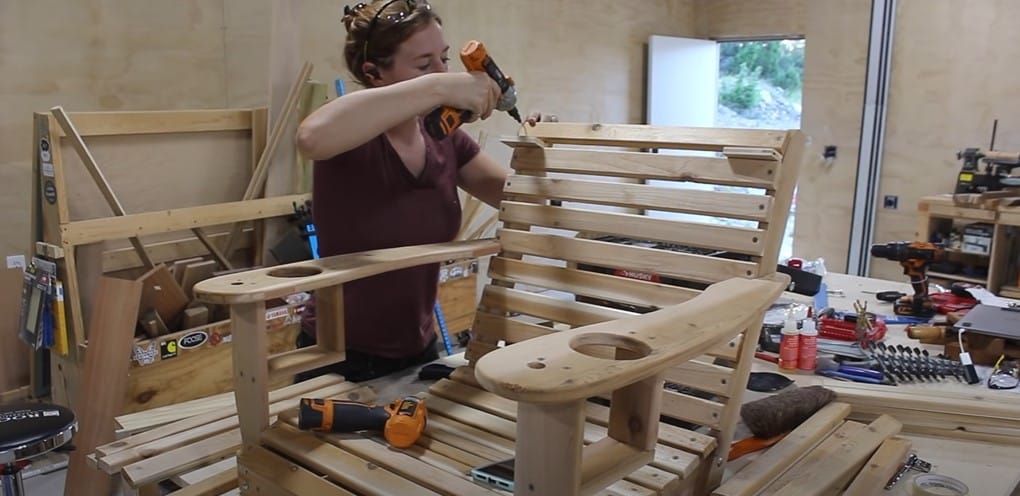
When attaching the slats I start off by placing the very front one then moving to the back ad pacing the very back one just to keep the seat square as I’m assembling it. The process of attaching the slats is easy but it is a little item consuming as each connection requires a predrill with a countersink and then a screw to drive in. To speed thing up I get two drills going, one with each needed bit in them then also I use a space to make spacing spot-on, but also faster.
Once all the slats on the bottom were attached I repeated the process with the back of the swing. These slats are flush with the sides of the back support so it’s easy to align them each time, whereas the slats for the bottom have a slight overhang on each side. And there we go folks. One porch swing body done!
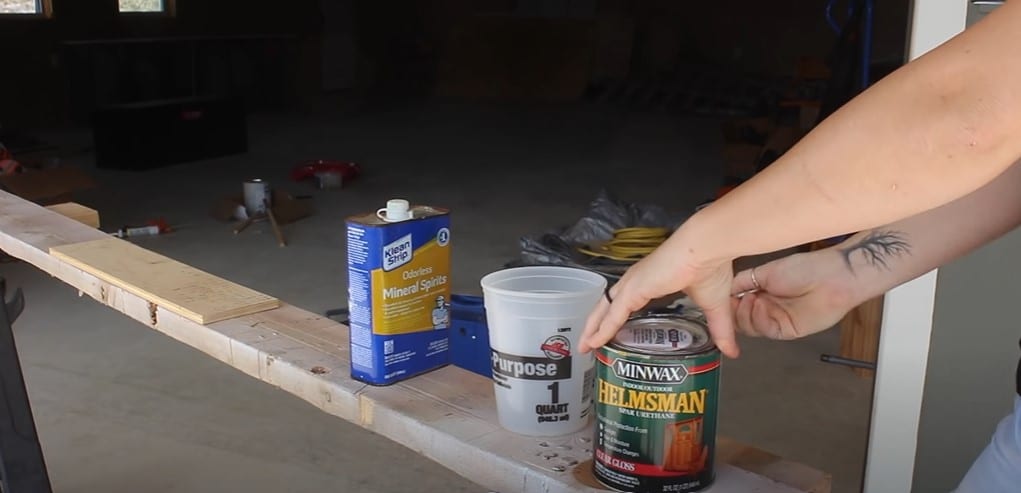
Let’s move on to a protective finish. The type of wood I used is resistant on it’s on but i don’t like how it grays out over time when exposed to the sun. to protect my porch swing i am applying Minwax Helmsman spar urethane which will not only protect my porch swing from moisture but also from UV rays. This is my go-to finish for any outdoor pieces.
You can apply the finish directly to the wood from the can, however I added a small amount of mineral spirts to thin it just slightly. Now I use a natural bristle brush to apply the finish all over the porch swing, making sure to get all the edges as well as the back .
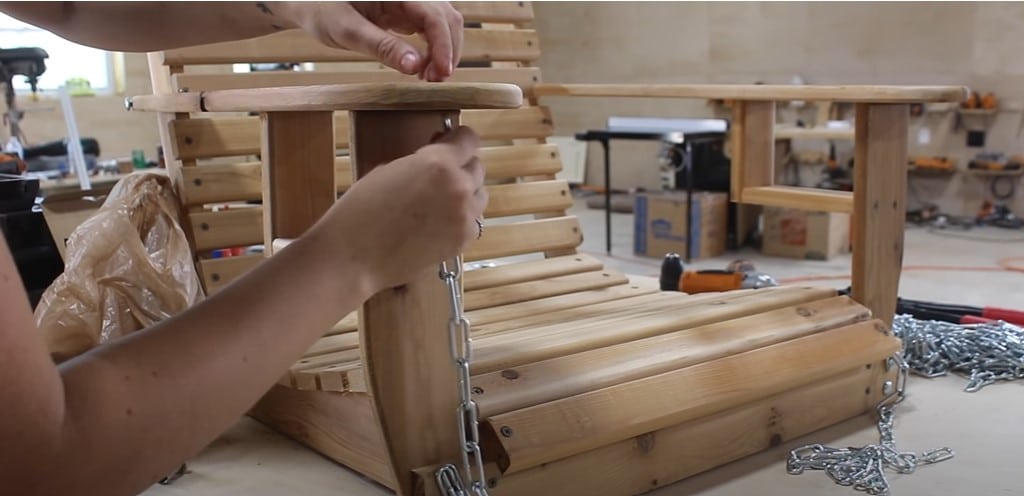
To attach the chain I first popped out the top carriage bolt on the front of the swing and then reattached it after threading on the chain. I also did the same to the carriage bolt in the back support. Since the chain prevents the head of the carriage bolt from sinking into the wood i used a pair of pliers to hold the head while I tightened down on the nut.
At this point I left all of the chains long because it is always a process to test and tune the position of the hooks on a swing to get the tilt as well as the height just right. When you get the angle right, you’re done! Your porch swing is ready for tons of outdoor sittin’!
Some of the links above are affiliate links. If you make a purchase using one of these links, I will get a small commission from the sale of the products. In a small way it helps to keep this website alive and kicking. I appreciate your support in this way! Cheers! – April