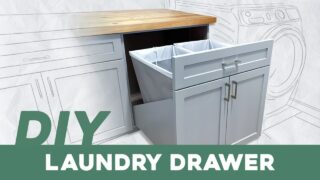
Easy DIY Laundry Basket Holder
- Home Decor DIY Projects, Storage DIY Projects
- April Wilkerson
- Updated: March 9, 2023

Here is the one I made. I found some 1/2 inch plywood at Home Depot for $0.51 so I used that instead of 3/4 inch. It might not be as sturdy, but it serves its function and after everything was said and done I only had $2.50 invested in materials. Woo Hoo!


6 Responses
Love the paint job! Awesome!
This is adorable!
I think you are resourceful, too! What an awesome idea and oh my, the Wham and Bam is perfect.
: ) Why thank you!
VERY nice! And what a savings you made – plus got to be creative!I am going to keep this in mind – maybe it’d work better in my small laundry room … makes me think I’ll keep my stacking w/d instead of sitting them on the floor! Hey, I like that. They’re a pain to unstack. Thanks! Jenn Link #63 on Sarah’s Homemaking Link Up (or scroll down on my blog to see the cake/icecream cones photos. You can’t miss them. 😉
cool!I would LOVE it if you shared this in my #10 Linky Party!
Comments are closed.